The Checkout Page is a customizable page for your business with a custom short link. You can share the Checkout Page with your customers and they will enter the amount to pay and complete the payment seamlessly. This is convenient as the invoice is created automatically and your customers can easily complete payments using the Checkout Page.
This guide provides step-by-step instructions on how to customize your Checkout Page. By following these steps, you can personalize the link, select your desired header color, and choose mandatory, optional, or hidden customer fields. Additionally, you can add custom fields to gather specific information.
1. Click on Checkout Page

2. Click the Edit Pen Icon to edit your Checkout Page's Short Link


4. Choose your Header Color

5. If you want your customers to enter custom amounts, enable Custom Amount Input

6. If you want to offer your customers Preset Custom Amounts, click the Plus Icon to add Custom Amount Input Options

7. Enter the Preset Amounts:
- Amount
- Description

8. You can enter multiple Preset Amounts

9. Customize the Customer Fields:
- Full Name
- Mobile Number
- Delivery Address
- Additional Notes

10. You can choose to make the Checkout Fields:
- Hidden
- Optional
- Mandatory

11. You can add Custom Fields to your Checkout Page to collect more information from your customers. Click the Plus Icon to add Custom Fields

12. For each Custom Field, enter:
- Field Name English
- Field Name Arabic
- Field Type (Text or Dropdown)
- Field Status (Hide - Optional - Mandatory)


14. Click Save

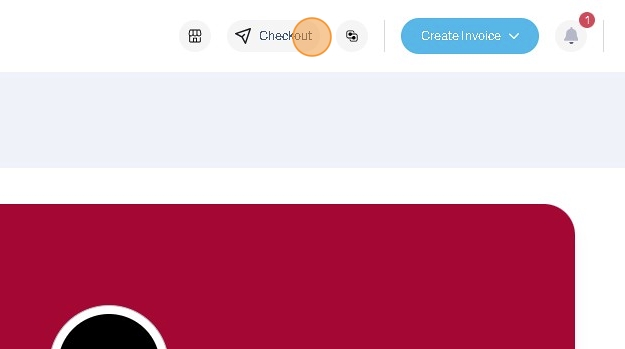
15. To preview your Checkout Page, click the Checkout Quick Link at the top of the merchant dashboard

16. Your Checkout Page contains your business information

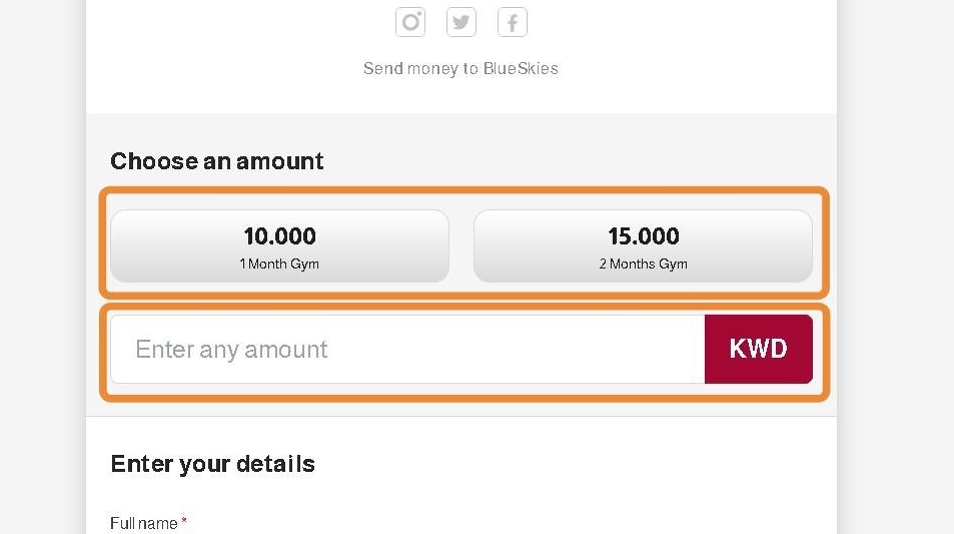
17. Your customers will be able to choose an amount from the presets or enter a custom amount

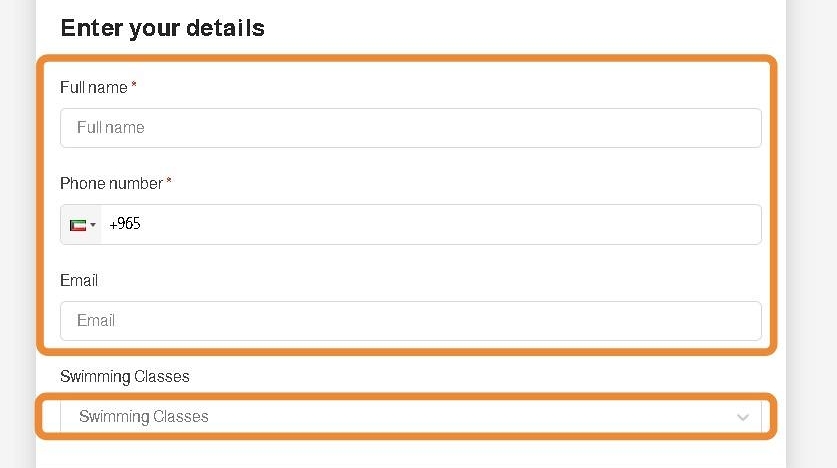
18. Your customers will be able to add their information and custom checkout fields

19. Customers will be able to complete payment using the Payment Methods you enabled for the Checkout Page

Was this article helpful?
That’s Great!
Thank you for your feedback
Sorry! We couldn't be helpful
Thank you for your feedback
Feedback sent
We appreciate your effort and will try to fix the article