This guide provides you with a step-by-step tutorial to help you configure your store's checkout fields. Checkout fields help you gather the information you require about your customers in order to properly complete order fulfillment or for aftersales and marketing use cases.
1. Click My Store

2. Click Settings

3. Click Store Settings

4. Click Checkout Fields

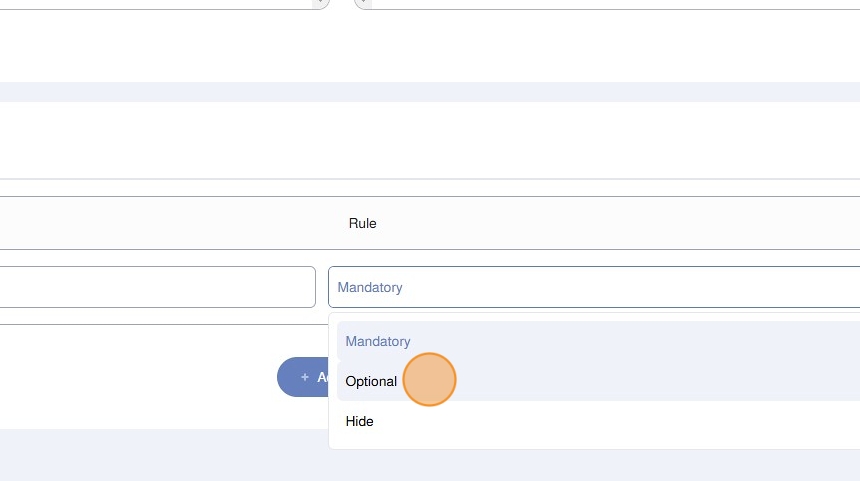
5. For each Checkout Field, you can adjust the options from the dropdown list
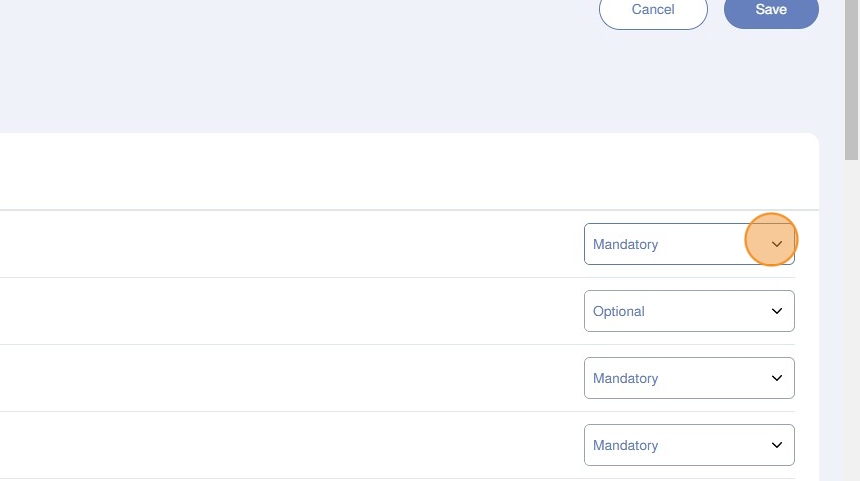
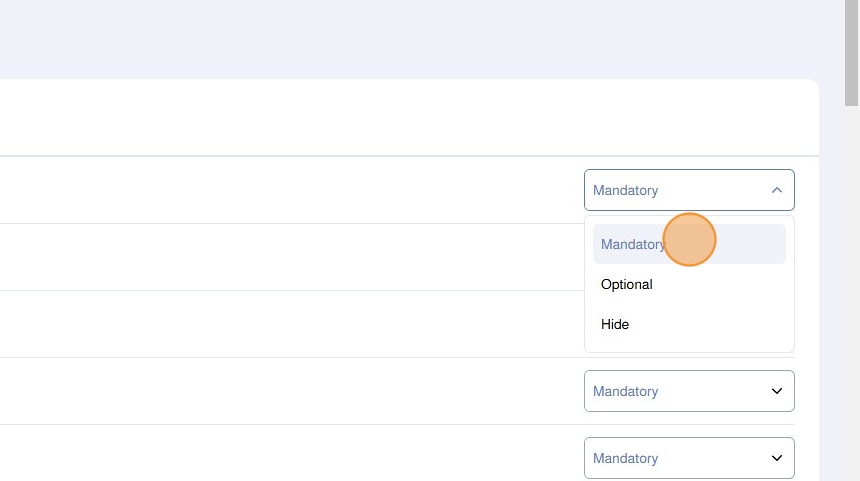
6. You can choose between:
- Mandatory: The field is visible and required
- Optional: The field is visible and not required
- Hide: The field is invisible/hidden
7. The first set of fields include:
- Full Name
- Email Address
- Mobile Number
- Area
- Block
- Street
- House
- Avenue

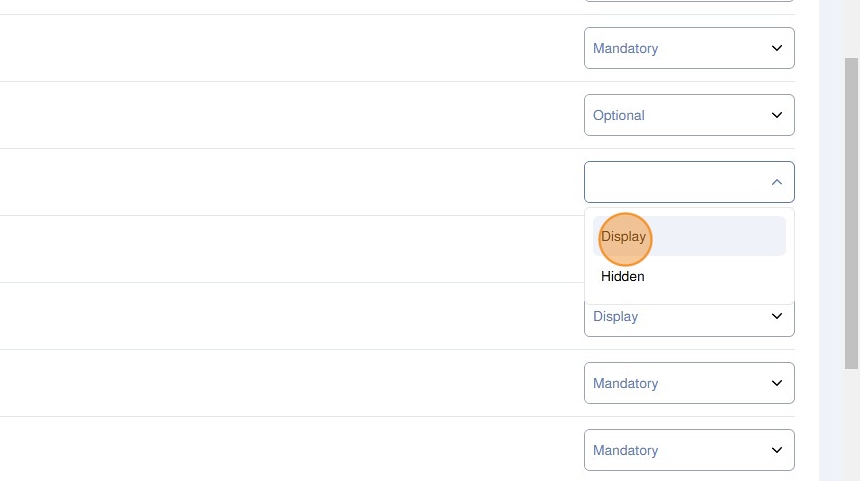
8. There are a set of special Button Fields including:
- House button
- Apartment Button
- Office Button

9. The options for the special Button Fields are:
- Display
- Hidden
10. You can toggle the following information visible or hidden by using the toggle control:
- Terms & Conditions
- Delivery Notes

11. Enter the Terms & Conditions in English and Arabic

12. Enter the Delivery Note in English and Arabic

13. You can toggle the Show Refund Policy

14. Enter the Refund Policy in English and Arabic

15. File allows you to add upload capable checkout fields where users can upload files and images
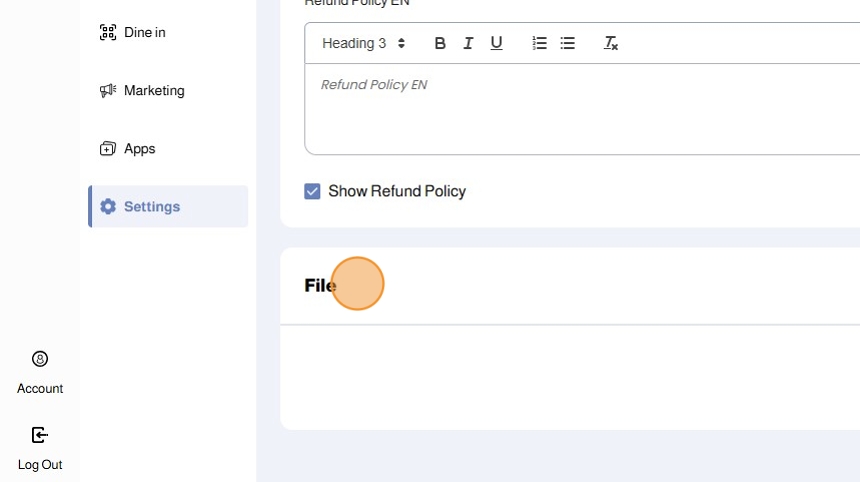
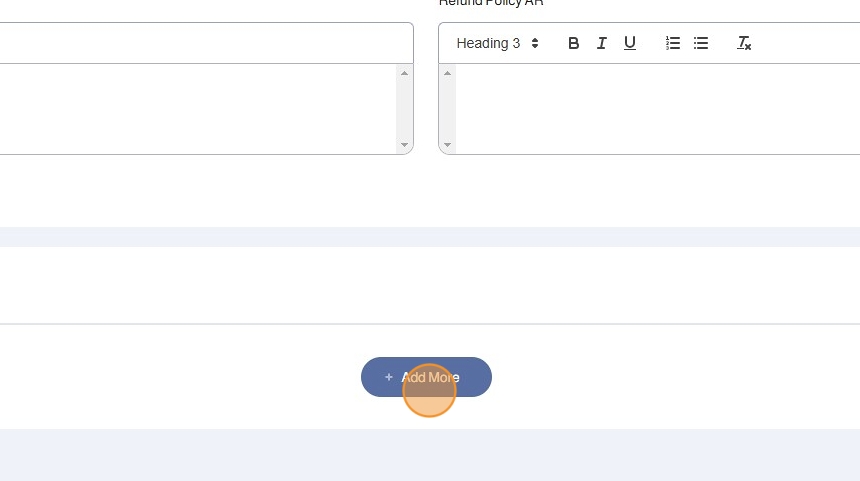
16. Click Add More to add a new File Checkout Field
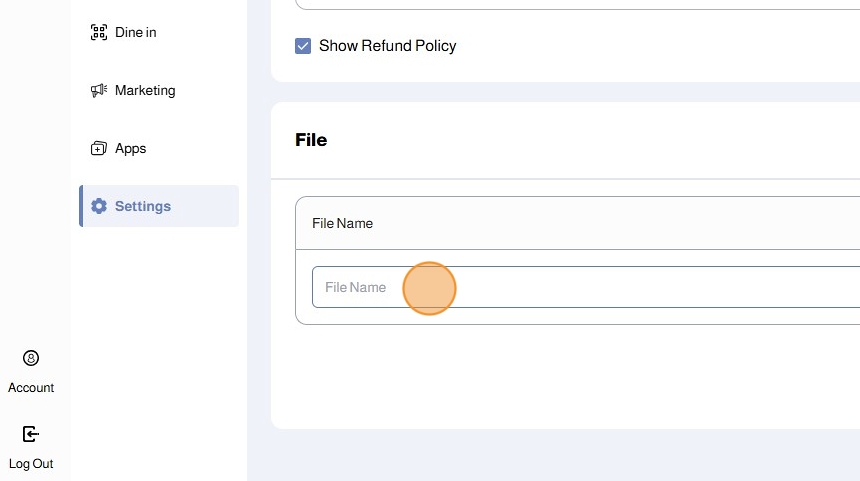
17. Enter the File Name
18. Choose the File Rule from the dropdown list
- Mandatory: The field is visible and required
- Optional: The field is visible and not required
- Hide: The field is invisible/hidden
19. Click Save

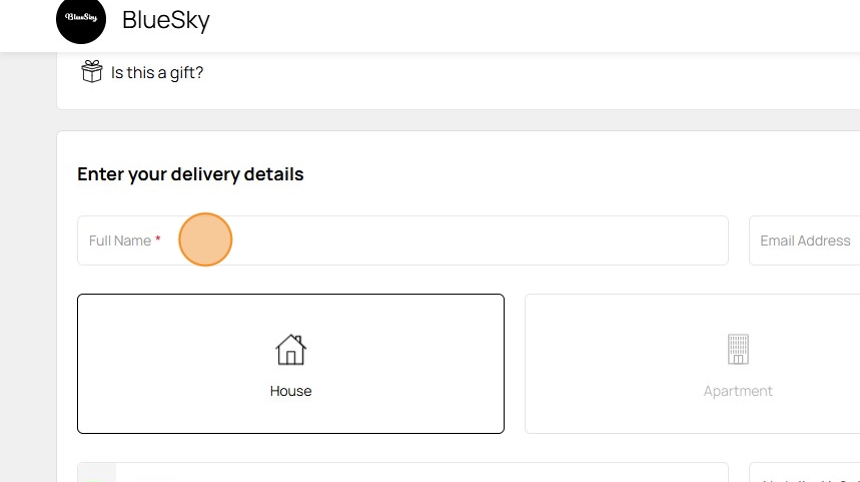
20. The customer will see all checkout fields as per your setup at the checkout page

21. Mandatory Fields will have a red asterisk
Was this article helpful?
That’s Great!
Thank you for your feedback
Sorry! We couldn't be helpful
Thank you for your feedback
Feedback sent
We appreciate your effort and will try to fix the article