This guide provides step-by-step instructions on how to create a UPay invoice. Following these steps will allow users to easily generate and send invoices to customers, customize the invoice details, add discounts and payment plans, and enable recurring invoices. This guide is helpful for anyone looking to streamline their invoicing process and improve efficiency in managing customer payments.
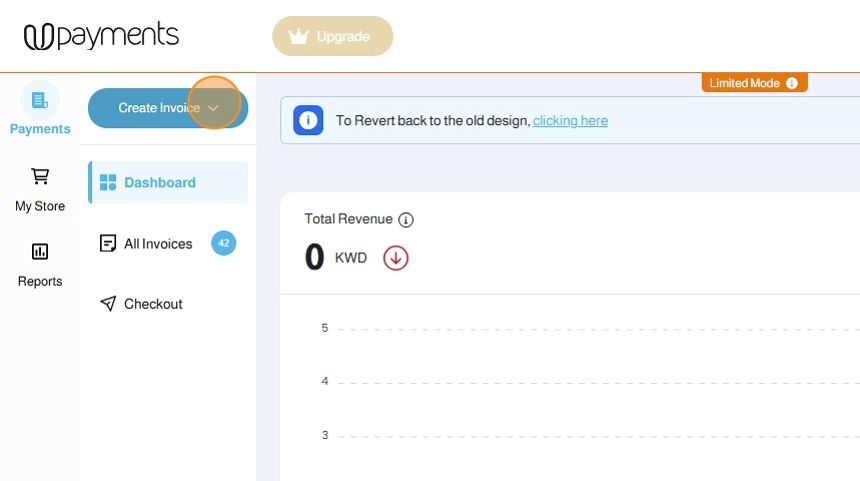
1. Click Create Invoice under Payments
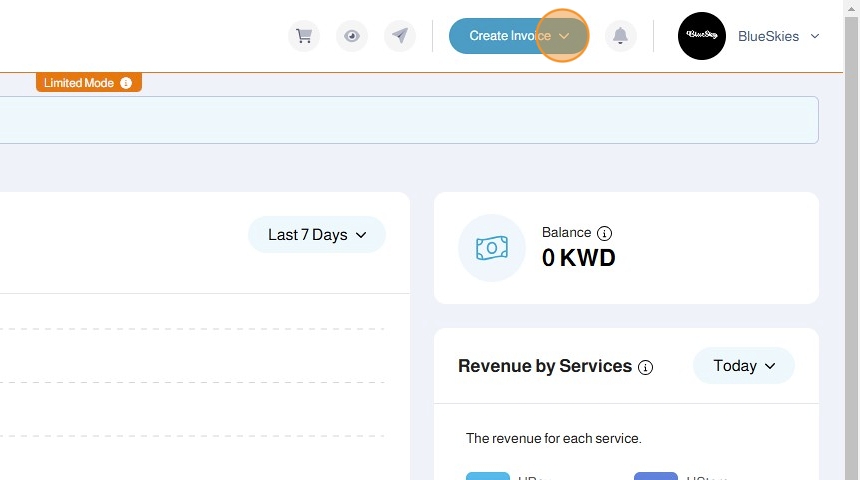
2. OR Create Invoice in the top right side at any section in the merchant dashboard
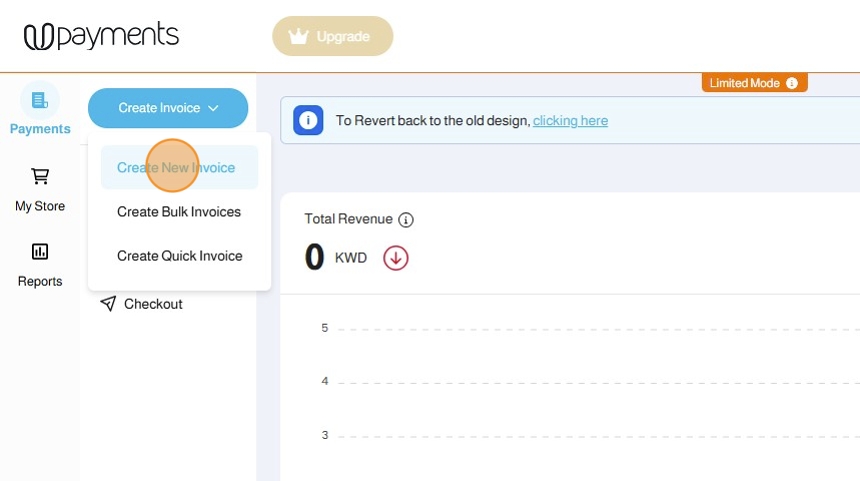
3. Click Create New Invoice
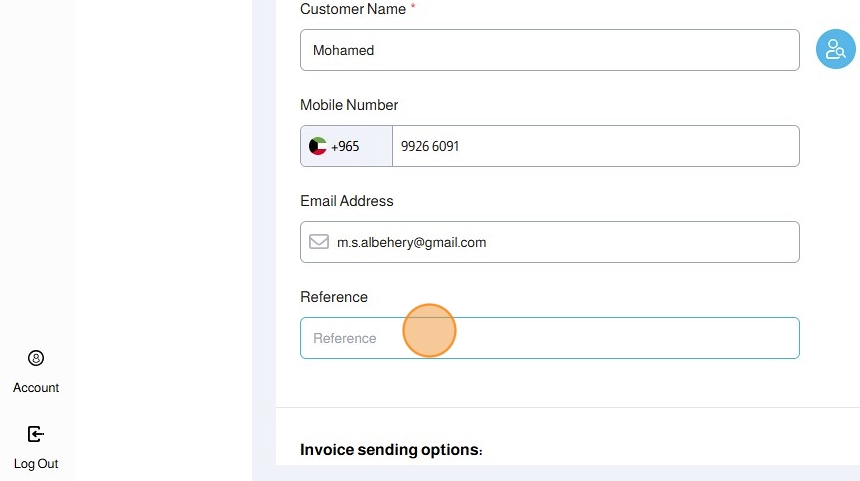
4. Enter the Customer Name - Mandatory

5. Enter the Mobile Number - Optional

6. Enter the Email Address

7. Enter the Reference - Optional
8. You can choose an existing customer by clicking the Customer button

9. From the Select Customers window, choose your customer

10. From the Invoice Sending Options choose:
- Send SMS to send the invoice to the customer via Whatsapp and SMS
- Send E-Mail to send the invoice to the customer via E-Mail

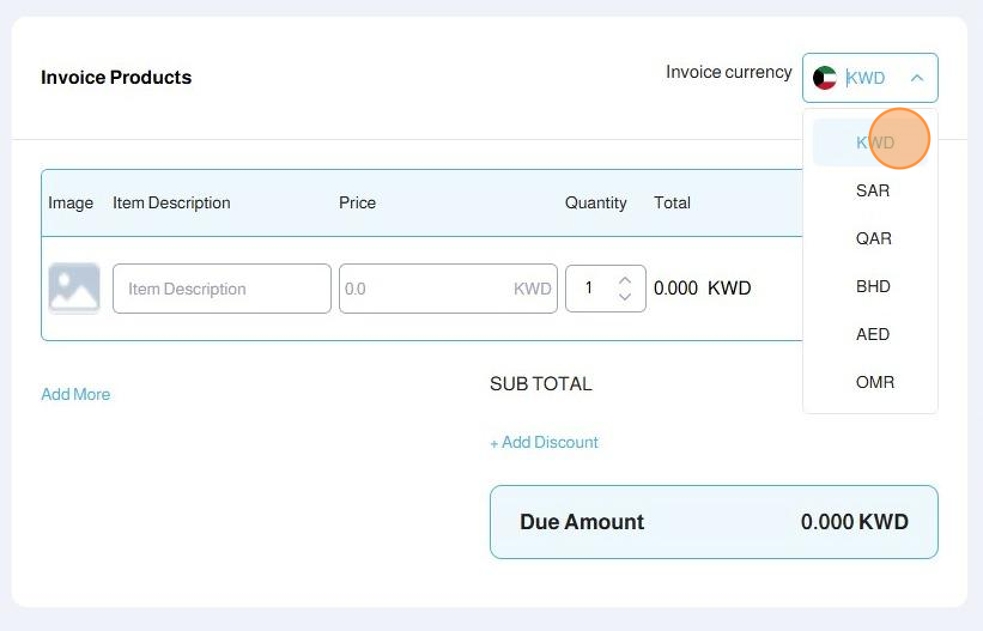
11. Under the Invoice Products section, choose the desired currency from the Invoice Currency drop-down
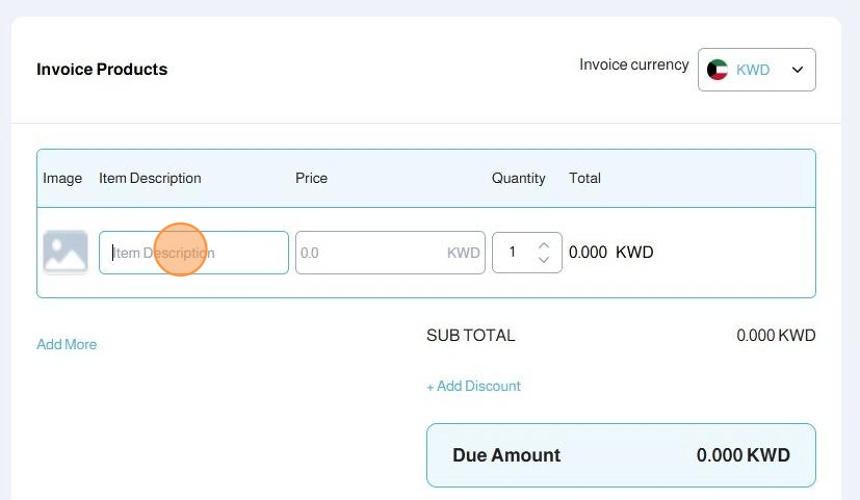
12. Under the Invoice Products section, enter the item details including:
- Item Description
- Price
- Quantity
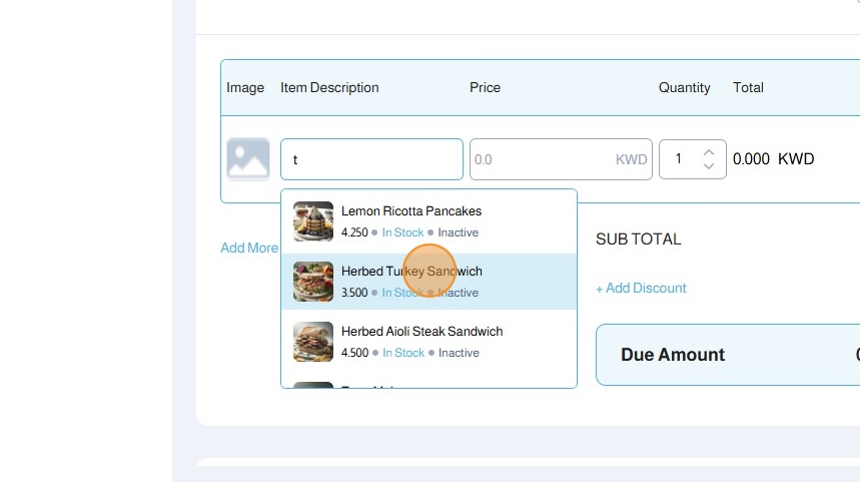
13. If you have already entered products in your online store, your products will be suggested based on the text you enter in the Item Description
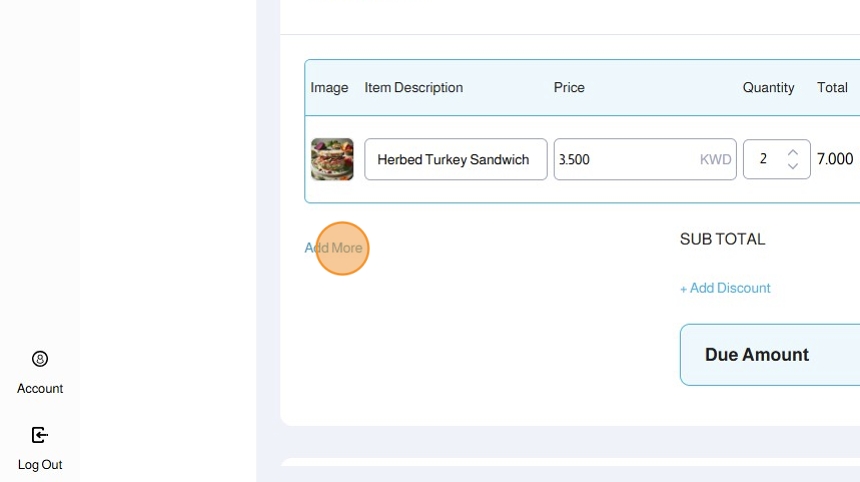
14. You can add more products by clicking Add More
15.
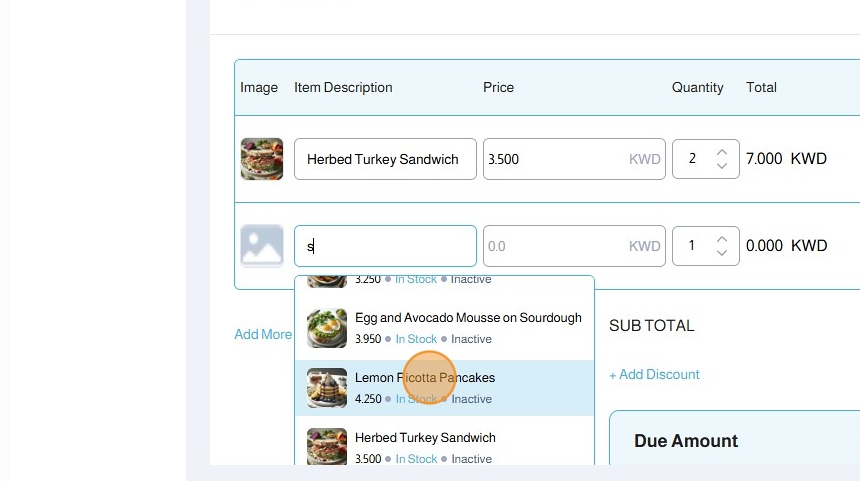
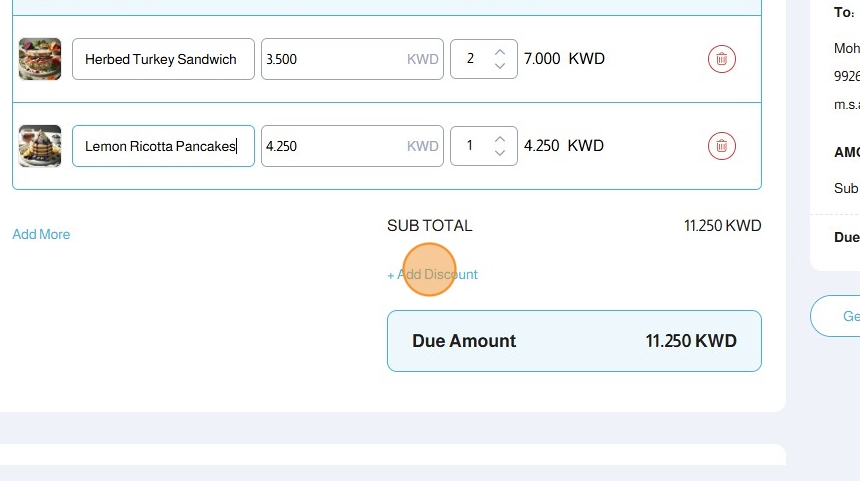
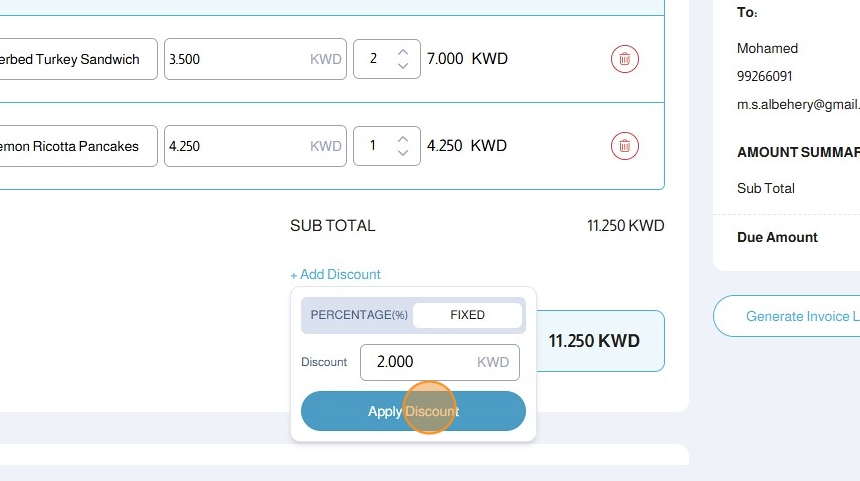
16. Click + Add Discount to add a discount to the invoice
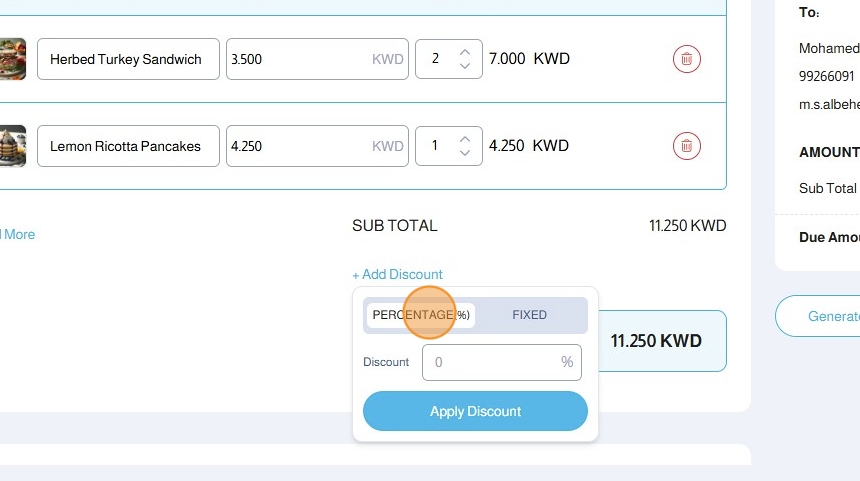
17. Choose the discount type between Percentage% or Fixed
18. Enter the Discount amount
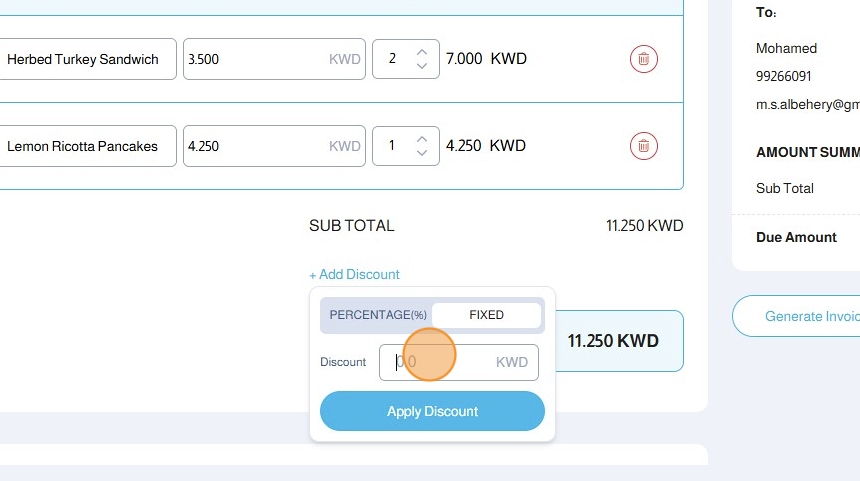
19. Click Apply Discount
20. If your invoice includes fulfillment and delivery, enable the Delivery Details

21. Enter the Delivery Details:
- Address Type: House - Apartment - Office
- Country
- Area
- Block
- Street
- Avenue
- House

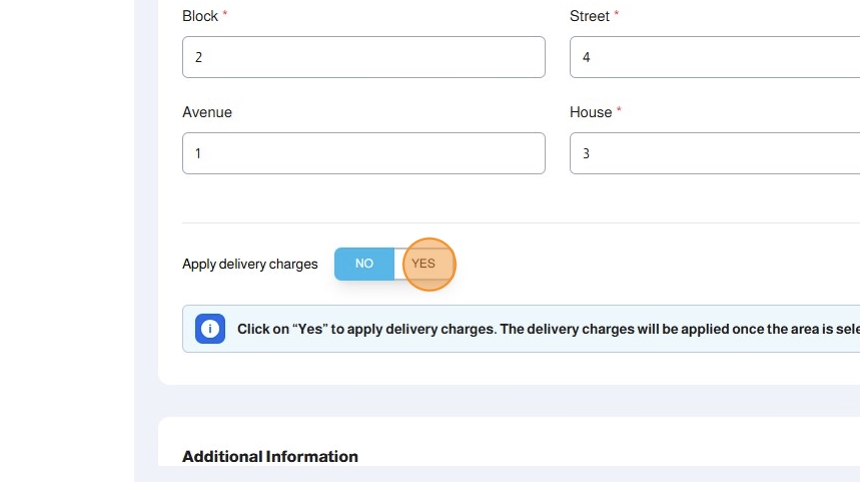
22. If you want to apply delivery charges, choose YES for Apply Delivery Charges
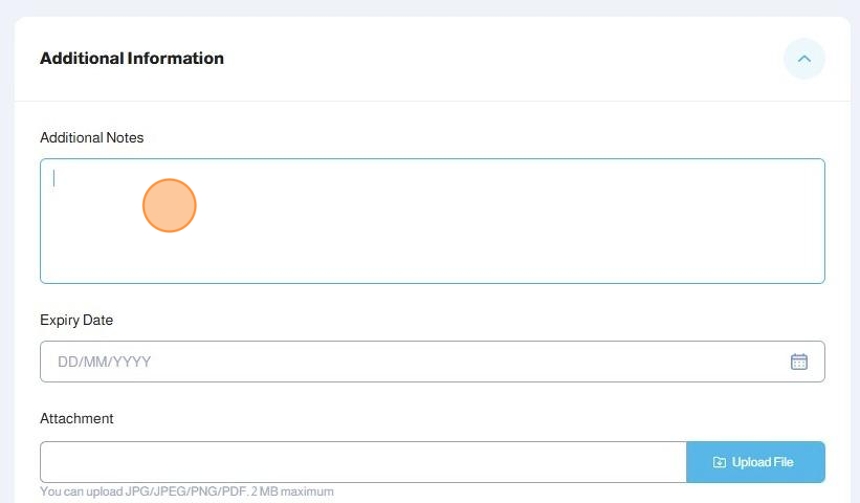
23. Expand the Additional Information

24. Under the Additional Information section, add the following:
- Additional Notes
- Expiry Date
- Attachment
25. If you want to split the invoice payment, enable the Payment Plan option

Alert: Important Note: Payment Plan does not automatically deduct the amounts. The cardholder must complete the payments of the payment plan manually.
26. Under Payment Plan, choose the number of payments you want to split the invoice into

27. Enter the Installment Due Date and Installment Amount

28. You can choose to Allow Payer to Amend Amount Due

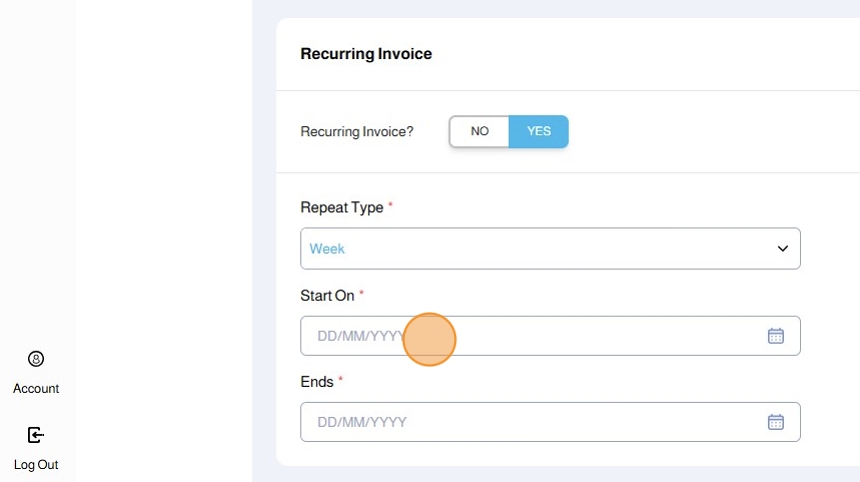
29. You can enable Recurring Invoice

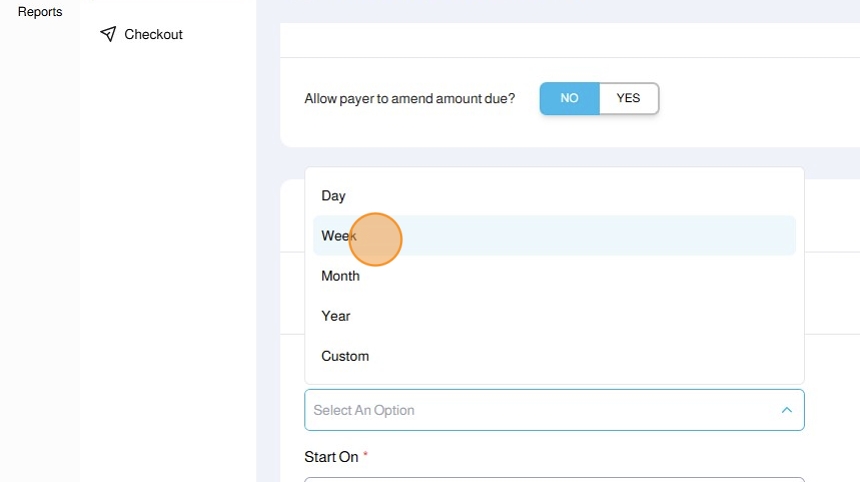
30. From the Repeat Type drop-down, choose the repeat frequency:
- Day
- Week
- Month
- Year
- Custom
31. Enter the Start On Date
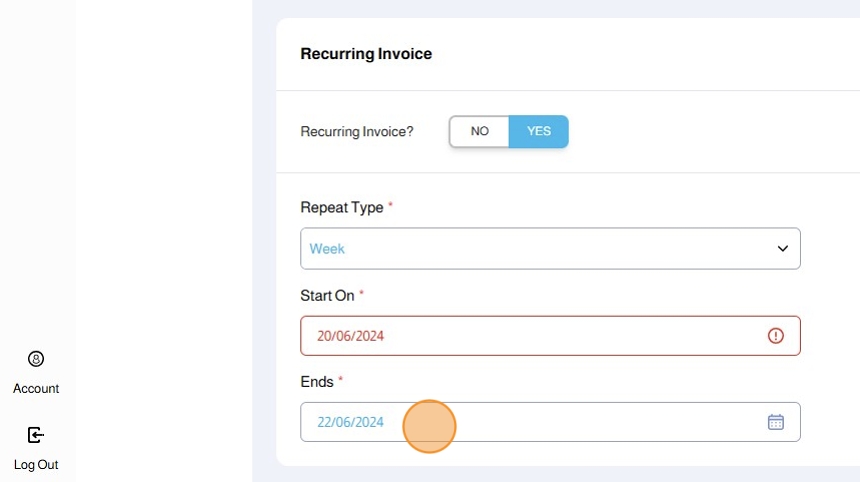
32. Choose the End Date
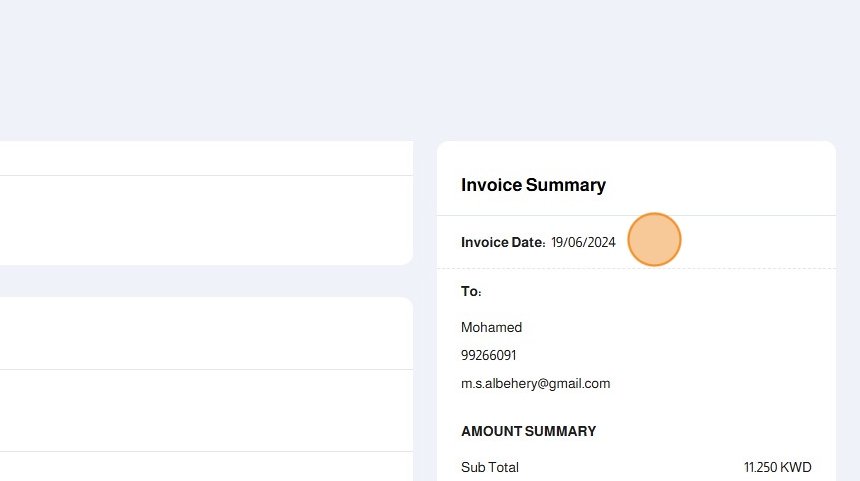
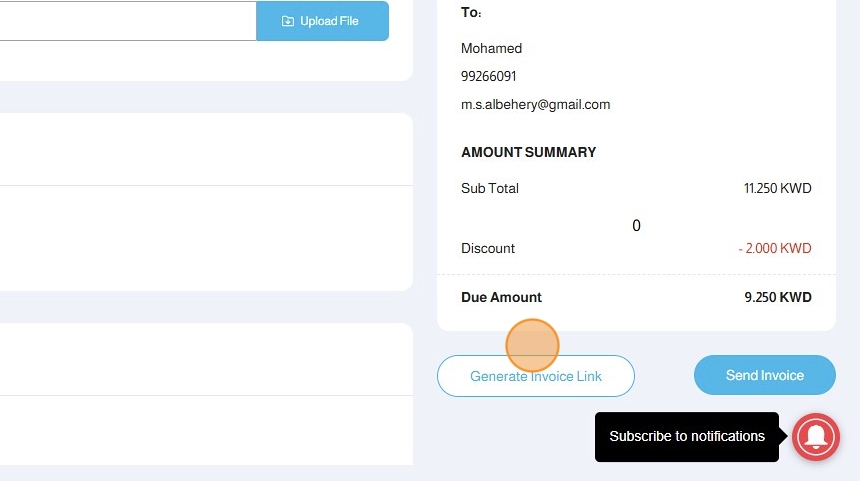
33. View and review the Invoice Summary
34. Click Send Invoice to send the invoice to your customer via Whatsapp and/or E-Mail
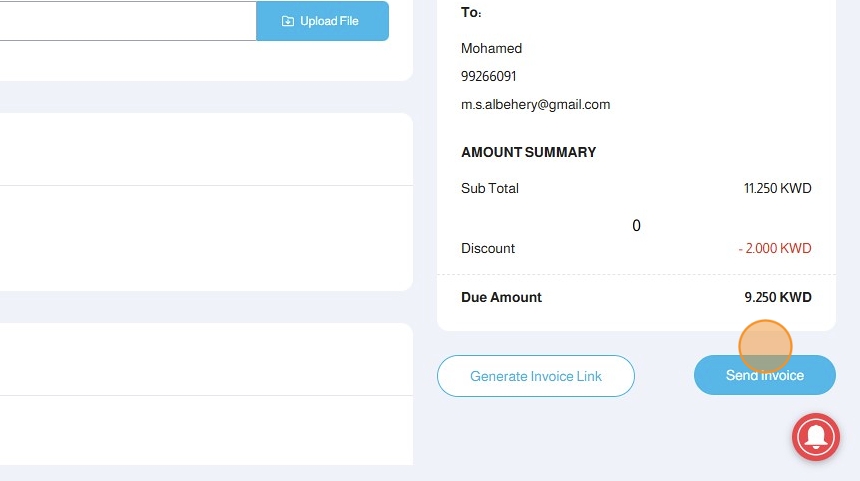
35. Click Generate Invoice Link to generate the invoice without sending it to the customer
36. After you send the invoice, you can Open the invoice, Copy the invoice link or Share the invoice

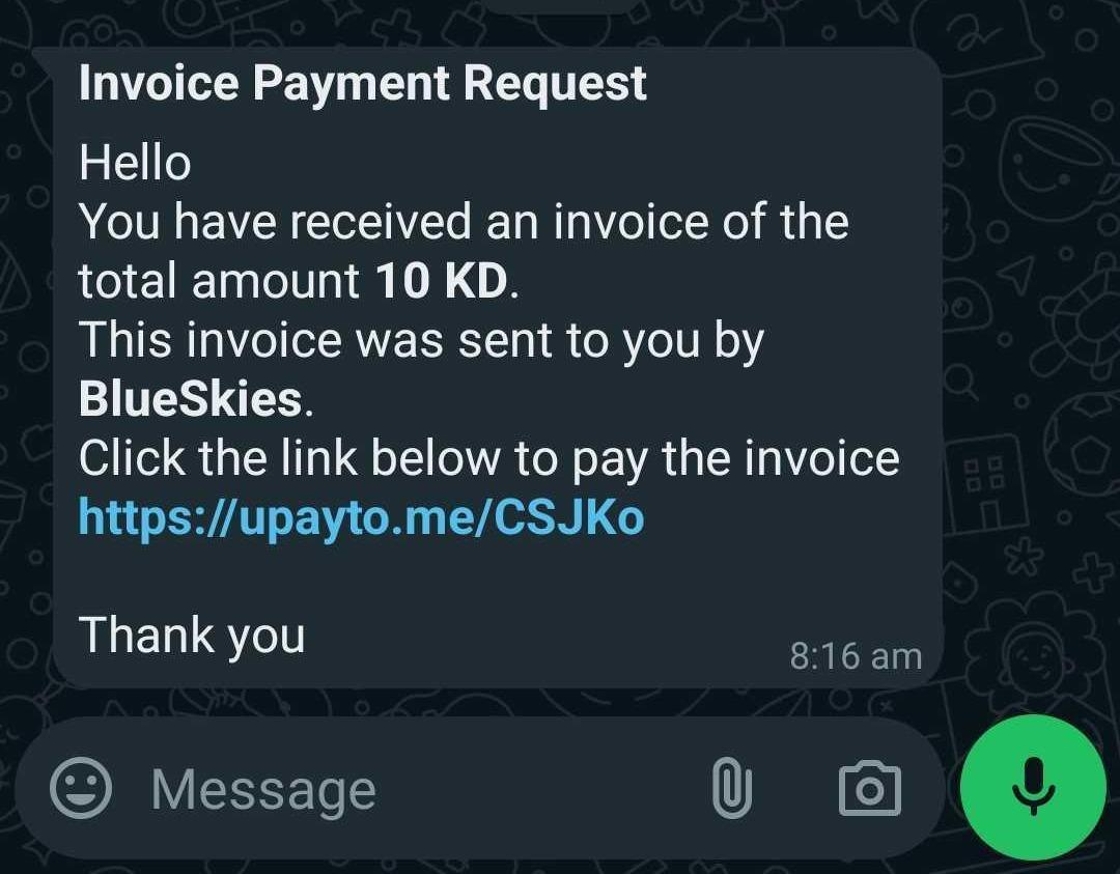
37. If you have entered the Mobile Number and choose to send the invoice, your customer will receive a Whatsapp message with the payment request and invoice
38. If you have entered the Email and choose to send the invoice, your customer will receive an email message with the payment request and invoice
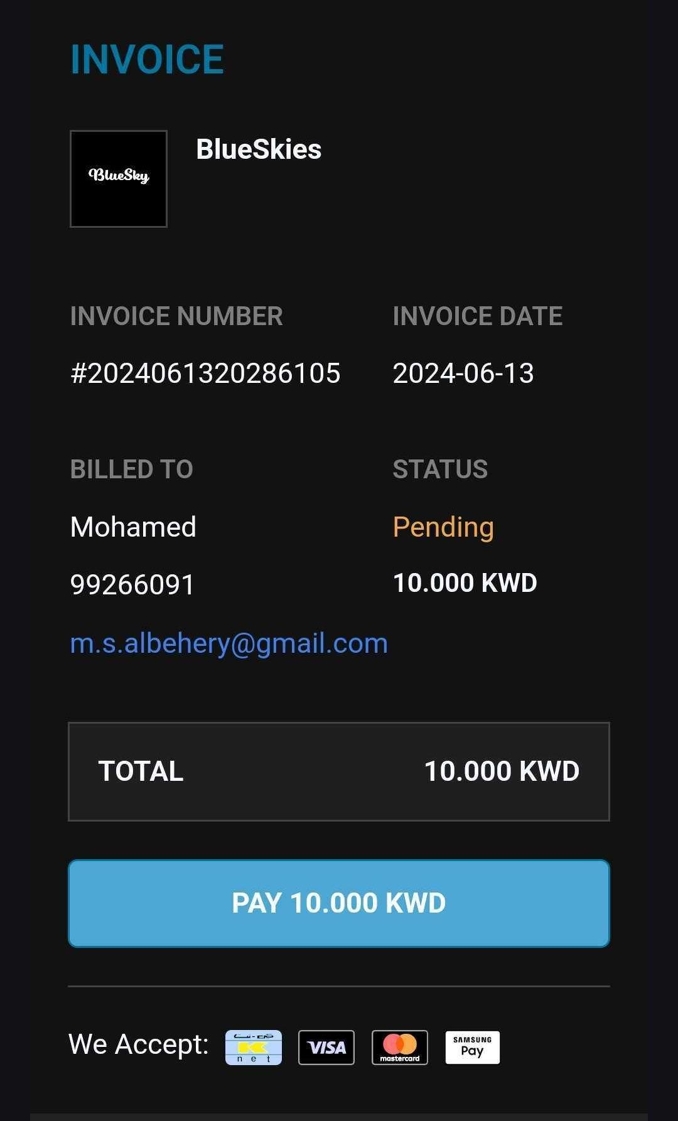
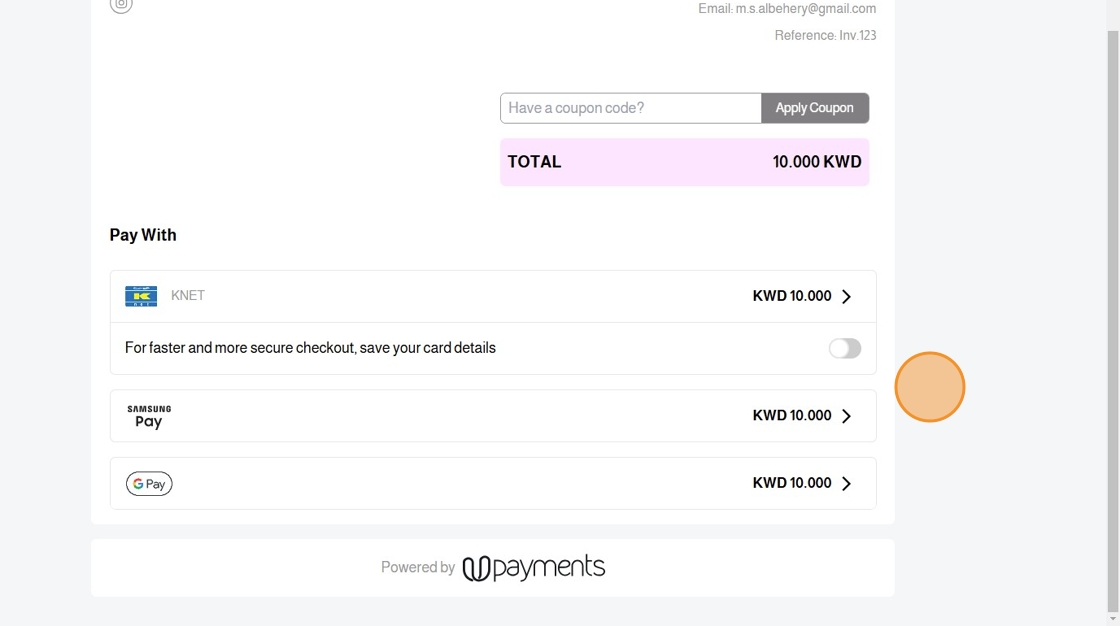
39. This is the invoice your customer will receive
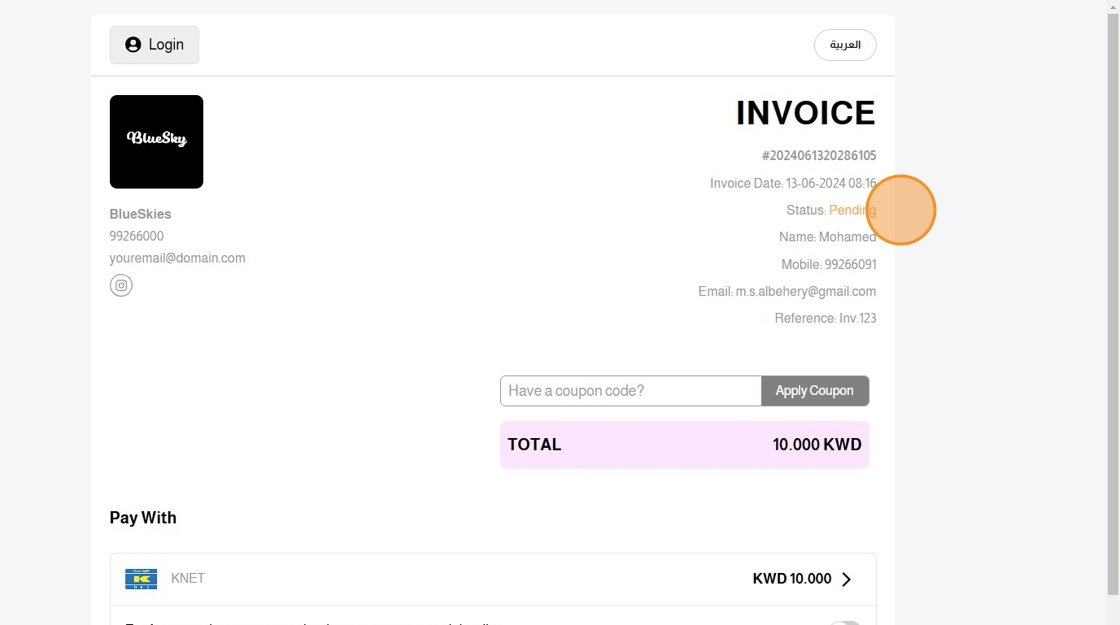
40. Your customer will be able to pay the invoice using the payment methods you have enabled
Was this article helpful?
That’s Great!
Thank you for your feedback
Sorry! We couldn't be helpful
Thank you for your feedback
Feedback sent
We appreciate your effort and will try to fix the article