This guide explains step-by-step how to connect your Facebook Pixel with UStore. By following these instructions, you can easily set up the pixel and start tracking your website's analytics and performance on Facebook.
2. Login to your account
3. Click All Tools
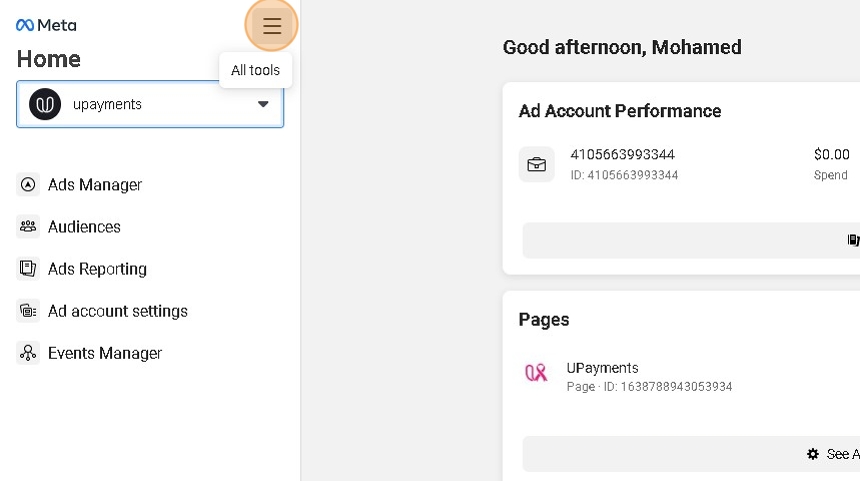
4. Choose Events Manager

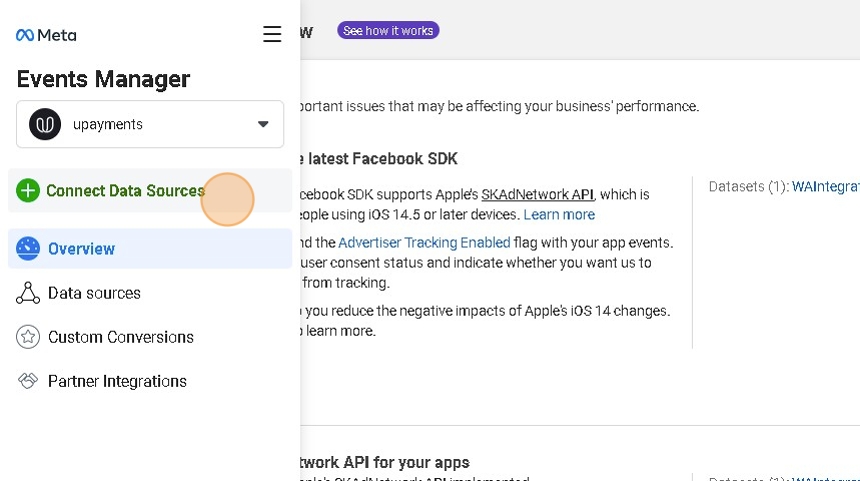
5. Click Connect Data Sources
6. Click Web

7. Click Connect

8. Enter your pixel Name
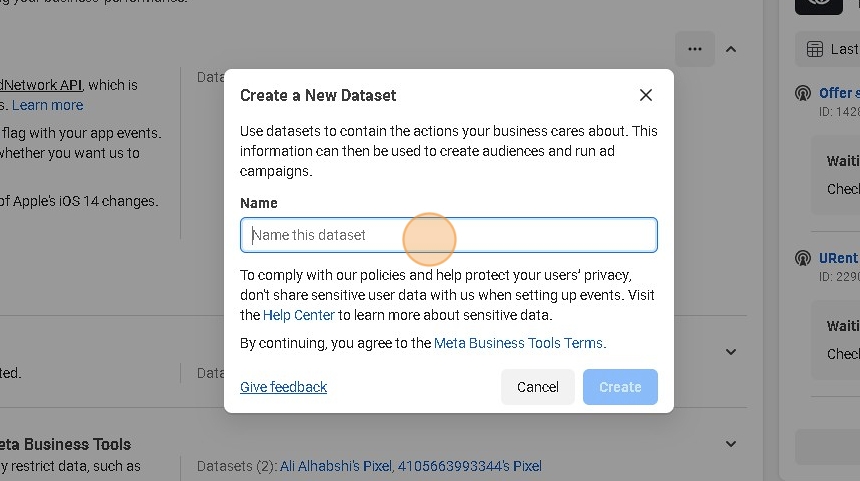
9. Click Create

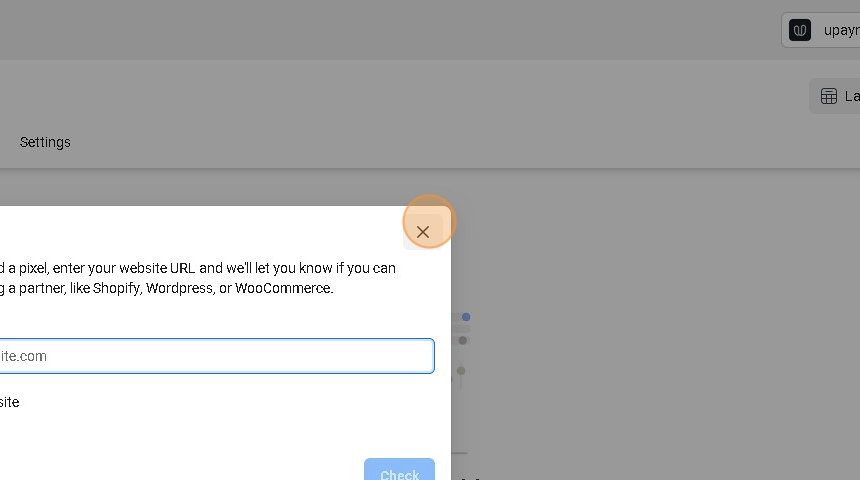
10. Close the new popup
11. Click Settings

12. Copy the Pixel ID
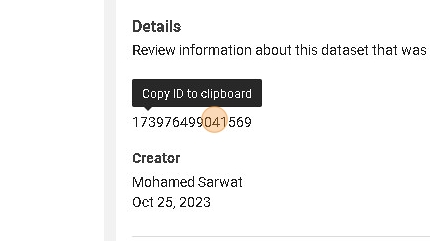
13. Navigate to UPayments Merchant Dashboard
14. Click My Store
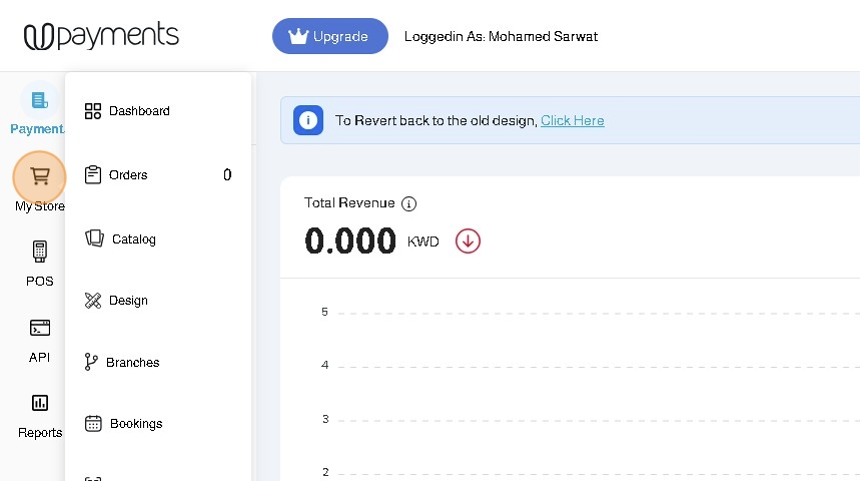
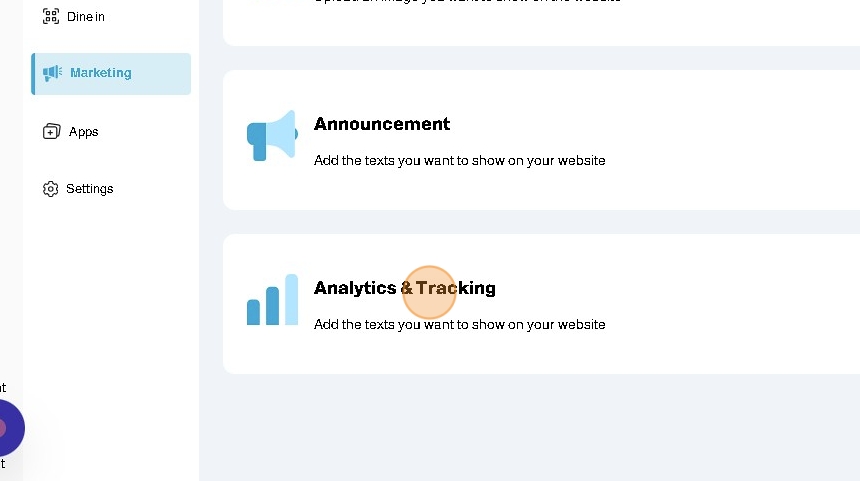
15. Click Marketing

16. Click Analytics & Tracking
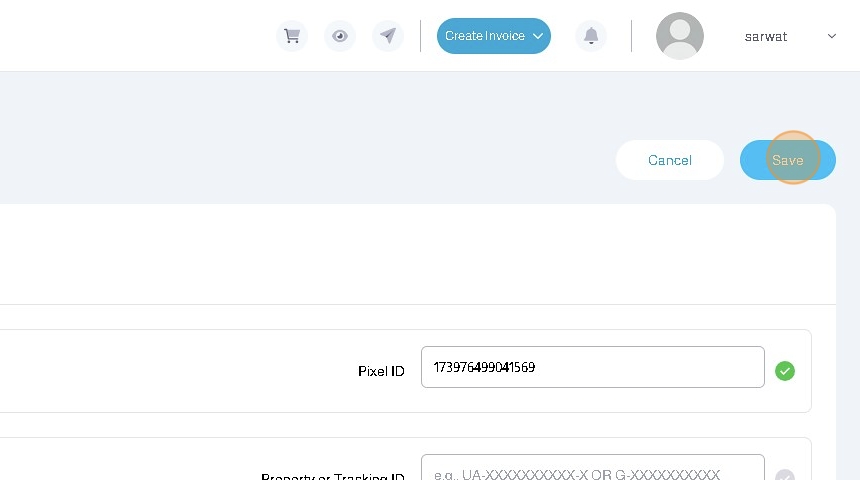
17. Enter the copied Pixel ID to the corresponding field
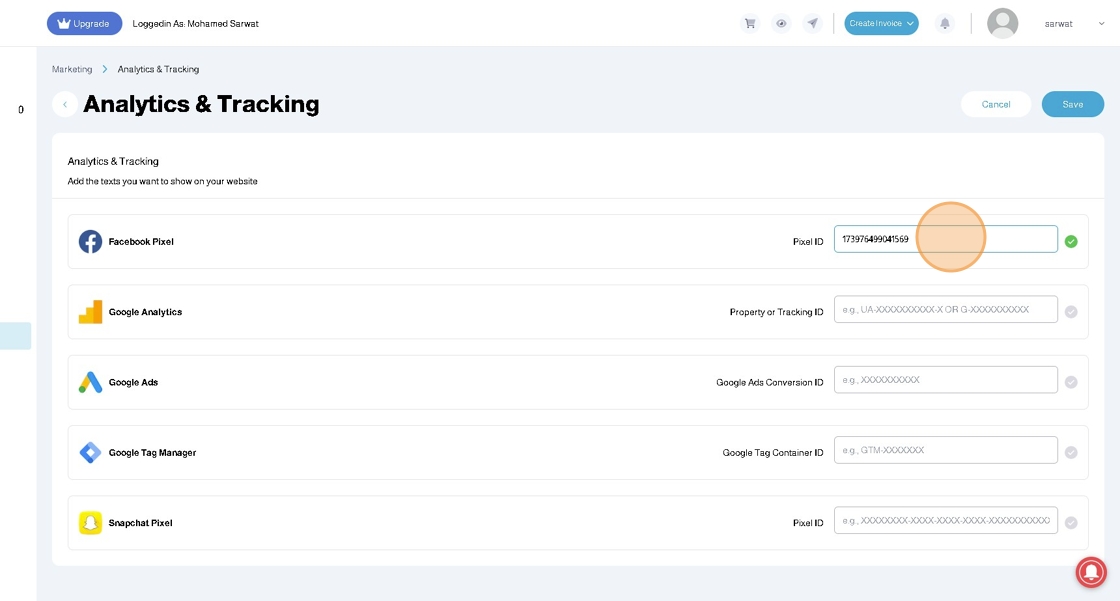
18. Click Save
19. After adding your Facebook Pixel and Saving, you can test to see if your pixel is connected successfully using Meta Pixel Helper Chrome Extension

20. Facebook - Meta Pixel detects the following events:
- Page View: With the Page URL
- View Content: When viewing products, includes: Product Category - Currency - Name - Price
- Quantity Increase and Decrease: Includes Product Name and Quantity
- Add to Cart: Includes Category - Currency - Name - Price
- Product Share: When sharing a product, includes Category - Currency - Name - Price
- View Cart: Includes Product Names - Currency - Value of Cart
- Initiate Checkout
- Add Payment Info: Includes Payment Method (KNET, Credit Card, etc..) - Cart Value
- Payment Failed: Includes Type like Canceled - Payment Method - Currency - Cart Value
- Purchase: Includes Products Purchased - Currency - Number of Items - Cart Value
Was this article helpful?
That’s Great!
Thank you for your feedback
Sorry! We couldn't be helpful
Thank you for your feedback
Feedback sent
We appreciate your effort and will try to fix the article