This guide provides step-by-step instructions on how to create a discount code in UStore. By following these steps, you can easily set up a discount for your customers, specify the discount amount, select which products it applies to, set usage limits, and choose the validity dates. This guide ensures that you don't miss any important details and helps you create an effective discount code for your online store.
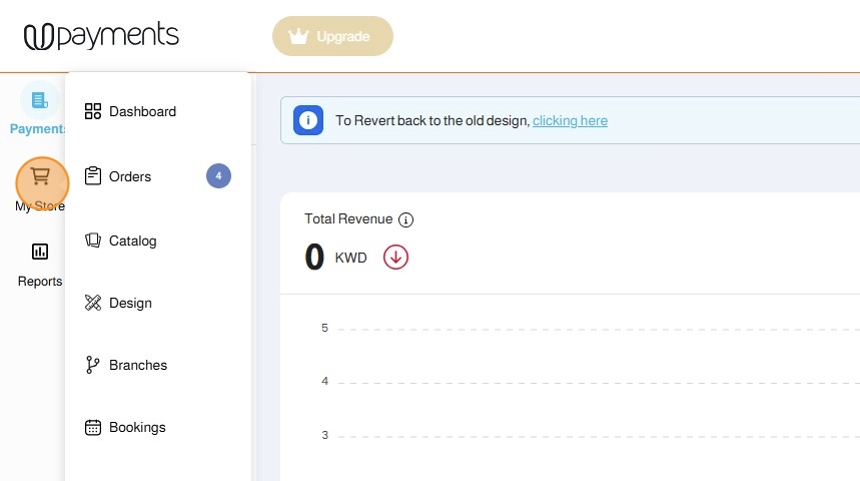
1. Click My Store
2. Click Marketing

3. Click Discounts

4. Click on Discount Coupon

5. Click + Create Discount

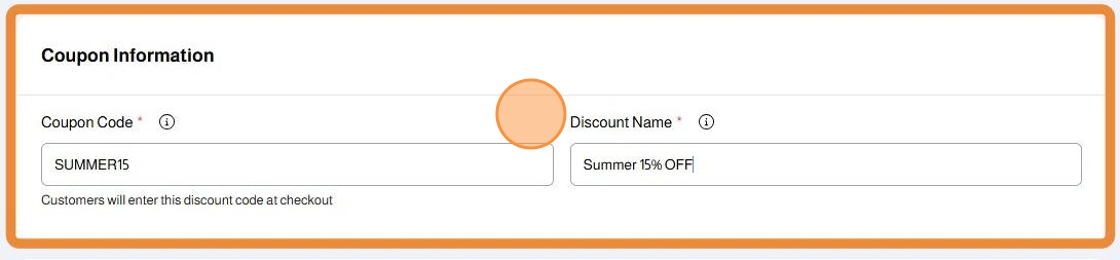
6. Enter the Coupon Code
This is the code that your customers will enter in order to get the discount

Tip: - Discount Code has to be continuous with no spaces
- Best Practice:
- Enter the discount code in capital letters
- Keep it simple and short
- Add the expected discount amount or percentage as a number in the code
7. Enter the Discount Name
This is a reference name to help you track these codes

8. This is an example
- Coupon Code: SUMMER15
- Discount Name: Summer 15% OFF
9. Choose the Discount Type
- Fixed amount: A fixed amount that will be applied to the checkout amount (Example: 5 KWD)
- Percentage(%): A percentage that will be applied to the checkout amount (Example: 10% applied on a 100 KWD cart = 10 KWD discount)

10. Enter the Discount Value as a number

11. Choose which products to apply your discount code using the Applicable To rules

12. All Products
The discount will be applicable and available to all your store's products

13. Specific Category
The discount will be applicable and available to products under a specific category(s)

14. Specific Category
Click on +Add More to choose the categories

15. From the side window, click on the checkboxes next to the categories you want to include to apply the discount coupon

16. Click Done

17. Your selected categories will appear under the Categories section.
You can always add more categories by clicking + Add More

18. If you want to exclude specific products from the chosen categories and prevent the Discount Coupon from being applicable on them, click Specific Product under the Exclude section

19. Exclude
Click on +Add More to choose the products

20. From the side window, click on the checkboxes next to the products you want to exclude

21. Click Done

22. Your selected products will appear under the Exclude section.
You can always add more products by clicking + Add More

23. Specific Product
The discount will be applicable and available to specific products that you will choose

24. Specific Product
Click on +Add More to choose the products

25. From the side window, click on the checkboxes next to the products you want to include

26. Click Done

27. Your selected products will appear under the Products section.
You can always add more products by clicking + Add More

28. Choose which customers to apply your discount code using the Applicable On rules

29. Applicable On
Everyone (Logged-in users and guests) will make the Discount Coupon available to be redeemed by any customer on your website

30. Applicable On
Logged-in Customers will make the Discount Coupon available to be redeemed by registered and logged-in customers

31. Applicable On
Specific Customers will make the Discount Coupon available to be redeemed by specific registered and logged-in customers

32. Applicable On - Specific Customers
Click + Add More to start selecting customers

33. From the side window, click on the checkboxes next to the customers you want to include

34. Click Done

35. Your selected customers will appear under the Specific Customers section.
You can always add more products by clicking + Add More

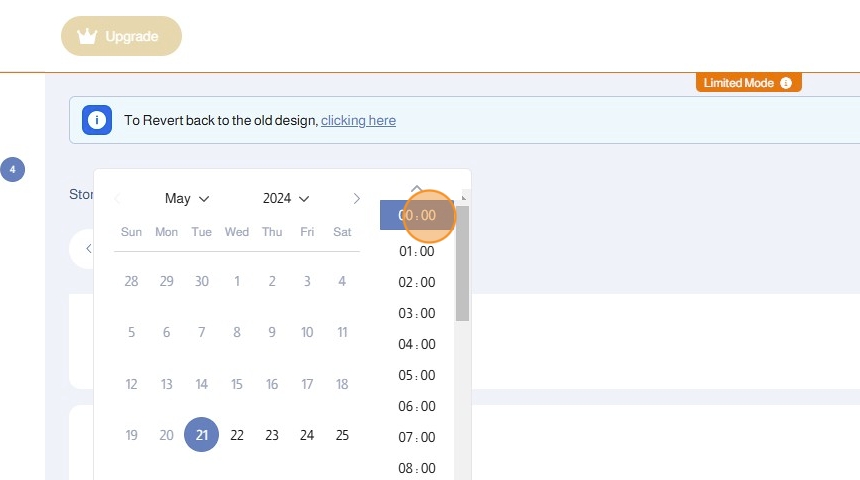
36. Choose the validity of your discount coupon

37. Choose the Start Date

38. Choose the Start Date

39. Choose the Start Date
40. Choose the End Date

41. Choose the End Date

42. Choose the End Date

43. Choose the Usage Limit
You can limit the number of uses for the discount coupon

44. Select the discount coupon Status between Active and Inactive

45. Preview your discount coupon Summary

46. Click Save

47. Preview all your discount coupons

48. Click the Status dropdown list and choose if the discount coupon Active or Inactive

49. Click the Actions dropdown list and choose to Edit or Delete

50. Click the Three-Dot dropdown option and click Export to export your discount coupons

51. Choose the export type:
- Excel
- CSV

52. Your customers will be able to open the Apply Coupon option on the checkout page

53. Your customers will be able to open the Apply Coupon option on the checkout page

54. Your customers will be able to open the Apply Coupon option on the checkout page

55. Your customers will be able to open the Apply Coupon option on the checkout page

Was this article helpful?
That’s Great!
Thank you for your feedback
Sorry! We couldn't be helpful
Thank you for your feedback
Feedback sent
We appreciate your effort and will try to fix the article