UStore's Booking Module makes it simple for your customers to schedule and manage their bookings seamlessly. With this module, you have full control over each booking's settings, including operating days, time slots, pricing, availability, and more. Follow this comprehensive guide to learn how to set up and customize bookings effectively.
1. Click Store

2. Click Bookings
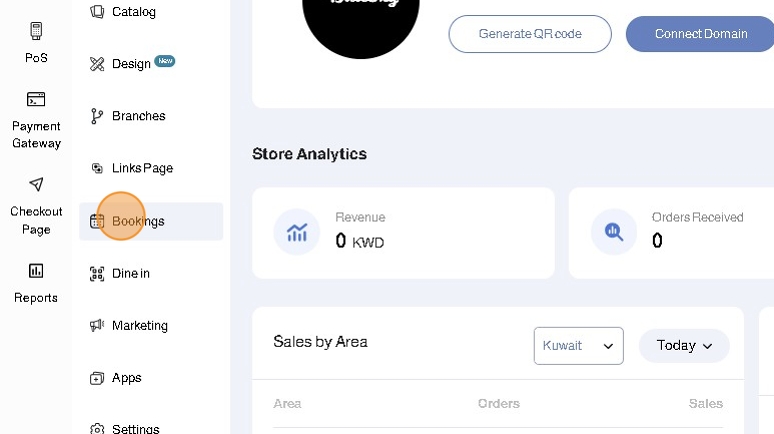
3. Click Bookings List

4. Click Add Bookings

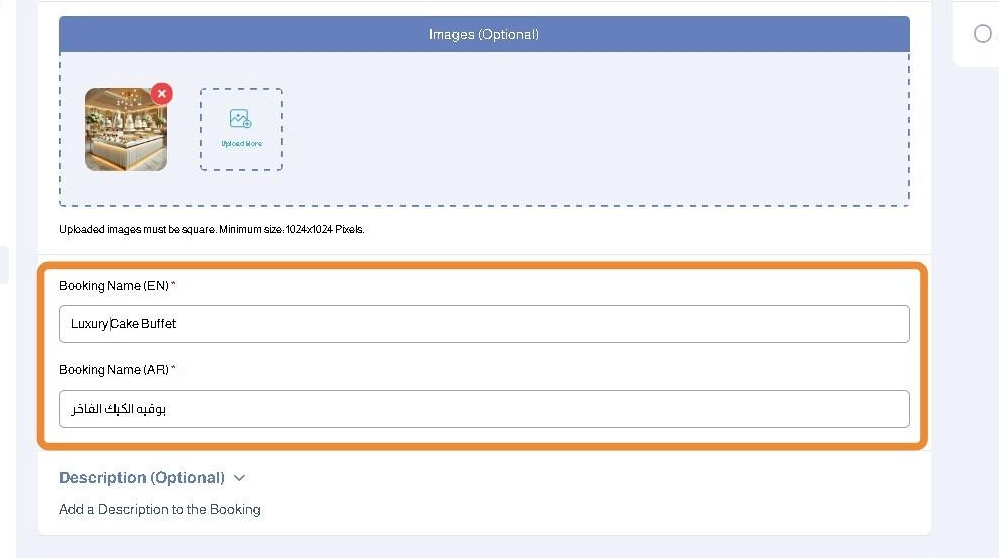
5. Click Browse to upload the booking item's image

6. Enter the Booking Name in English and Arabic
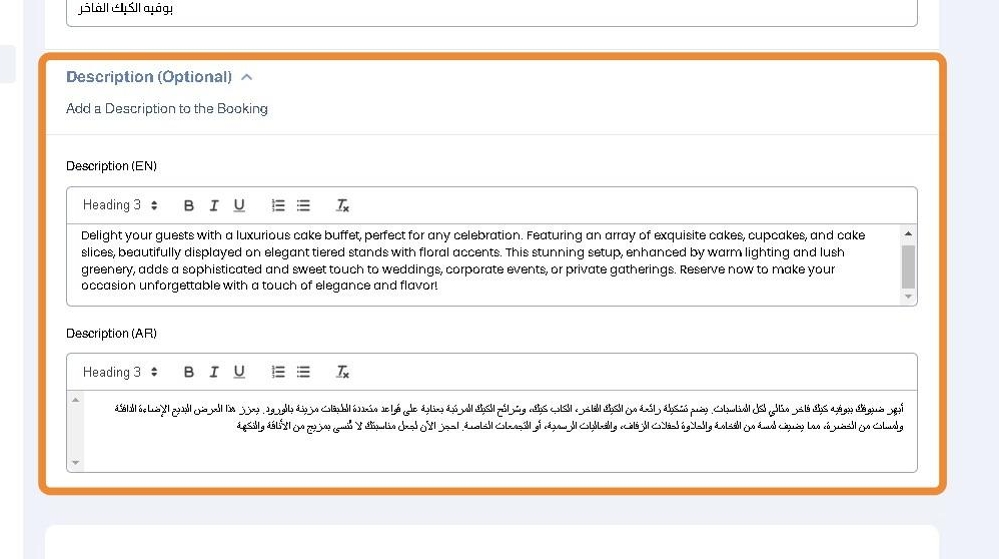
7. Enter the Booking Description in English and Arabic
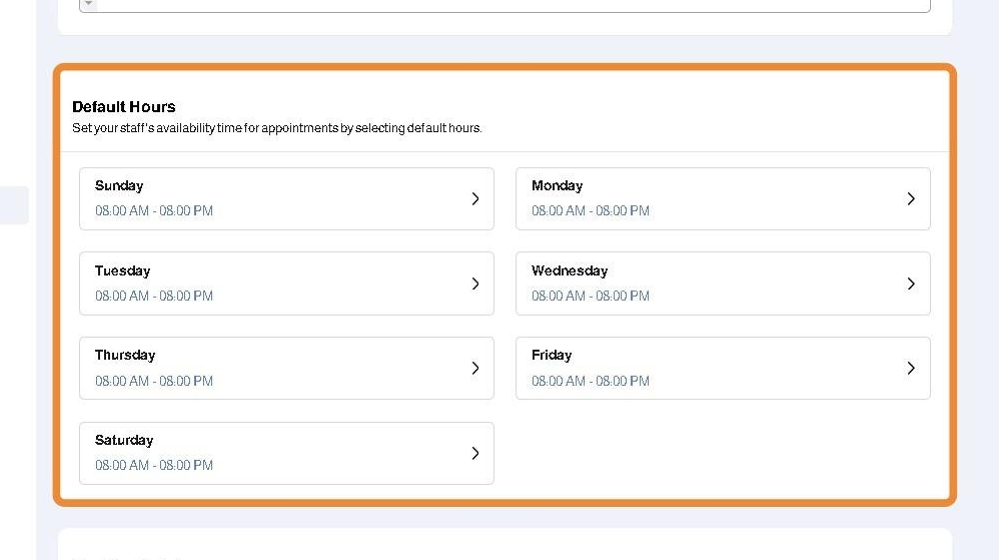
8. Enter the Booking Default Hours by clicking each day to setup its working hours
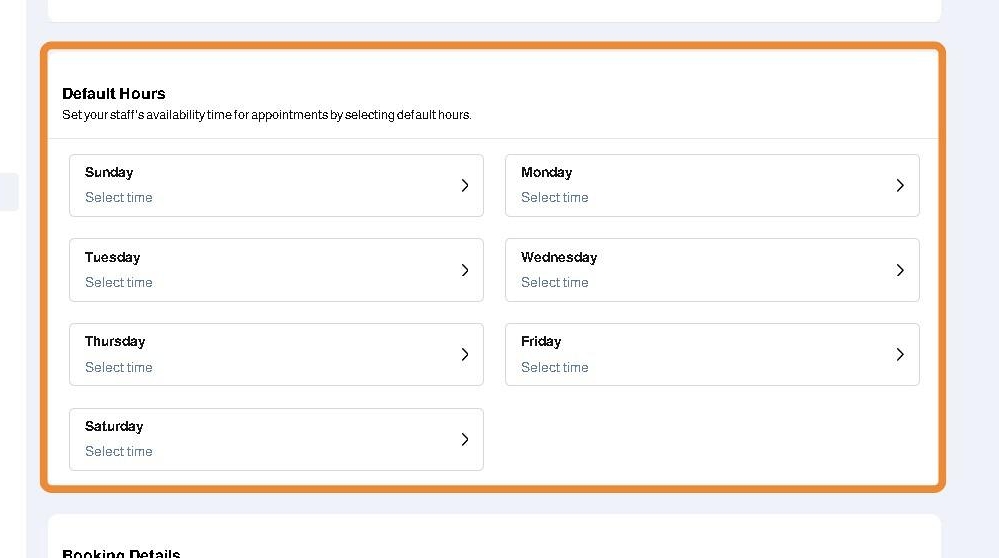
9. For each day, you can select the starting and ending time and add time slots or choose 24 Hours
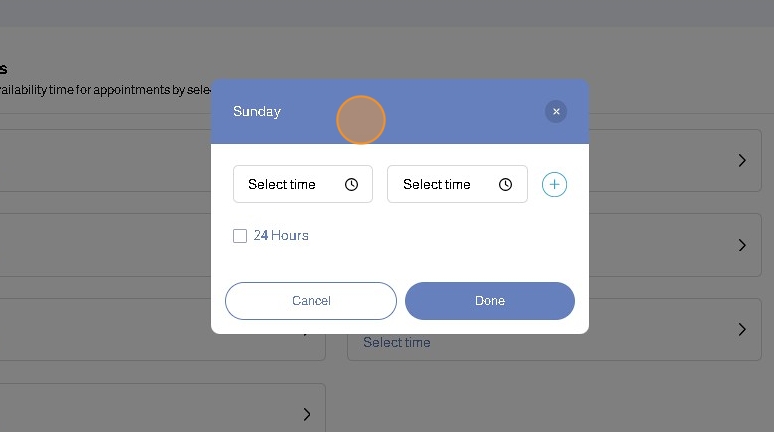
10. Finish setting up the working days and hours for the booking item
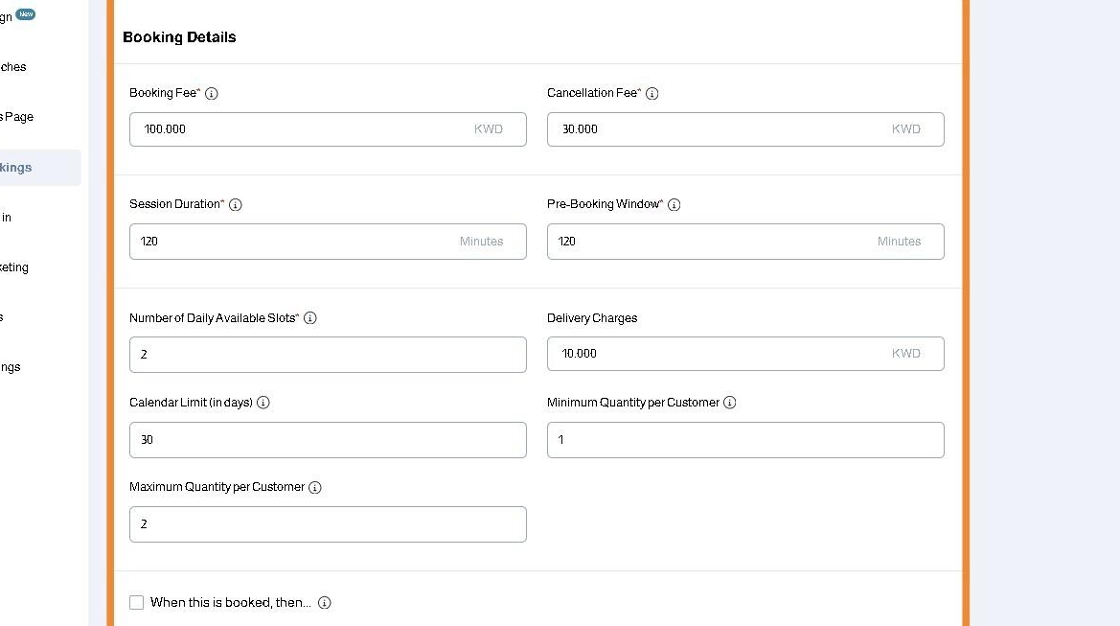
11. Enter the Booking Details:
- Booking Fee (KWD): The main fee that will be paid for this booking. All other associated fees will be added to this fee.
- Cancellation Fee (KWD): The fees that will be withheld by the merchant in case the customer cancelled the booking
- Session Duration (Minutes): The total time this booking will be booked for
- Pre-Booking Window (Minutes): Determines the nearest available time slot that can be booked from the current time. Next available time slot = Current Time + Pre-Booking Window
- Number of Daily Available Slots: The maximum number of times that this booking can be booked per time slot
- Delivery Charges (KWD)
- Calendar Limit (in days): The number of days available in the future to book this booking
- Minimum Quantity per Customer: The minimum quantity that is required to book this booking. This can help you with services that require a minimum number of a resource to be viable
- Maximum Quantity per Customer: The maximum quantity of this booking that one customer can book. This corresponds to the "Available Slots"
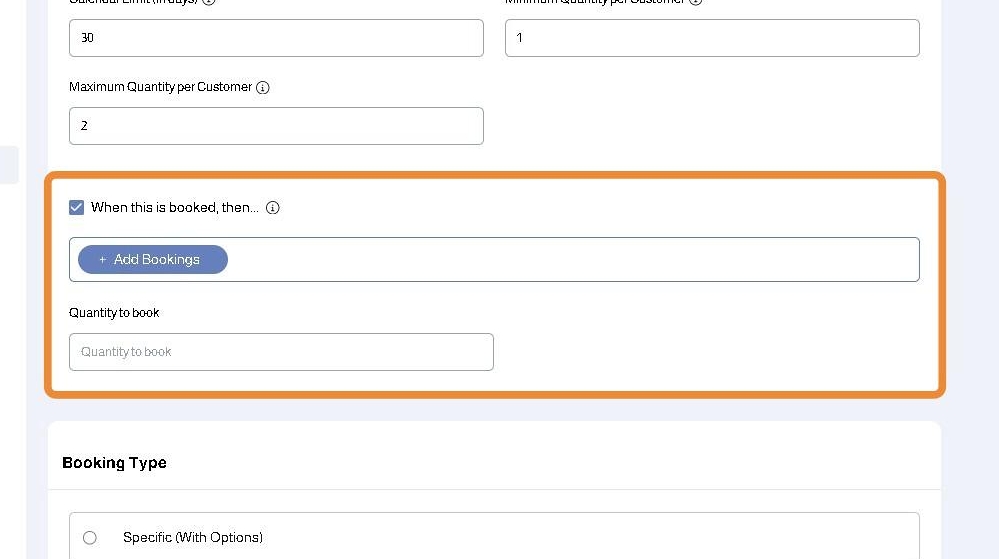
12. If you want to book another booking when the current one is booked to block a certain resource or if they are part of a bundle, enable the When this is booked, then... checkbox

13. Add the booking items by clicking + Add Bookings and enter the Quantity to book
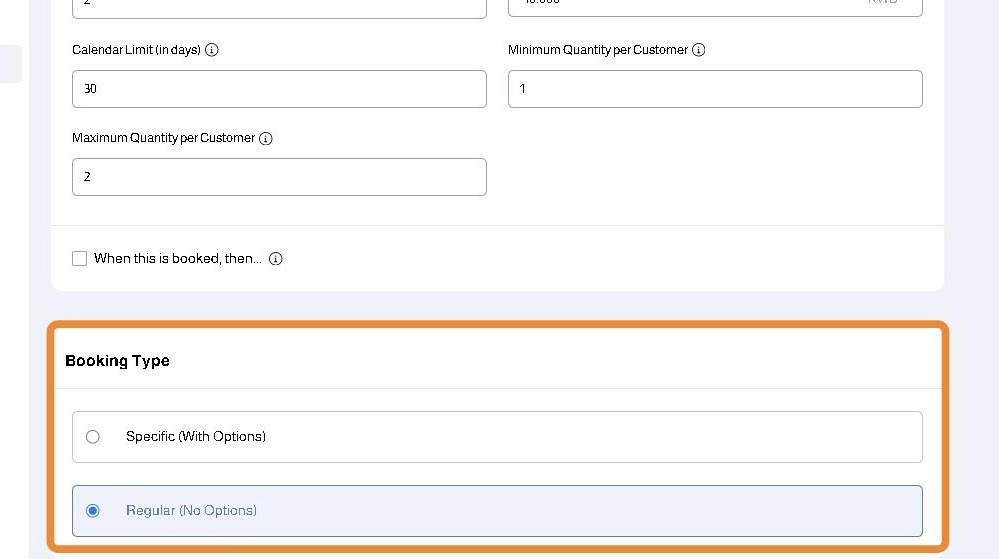
14. Choose the Booking Type
- Regular (No Options)
- Specific (With Options)
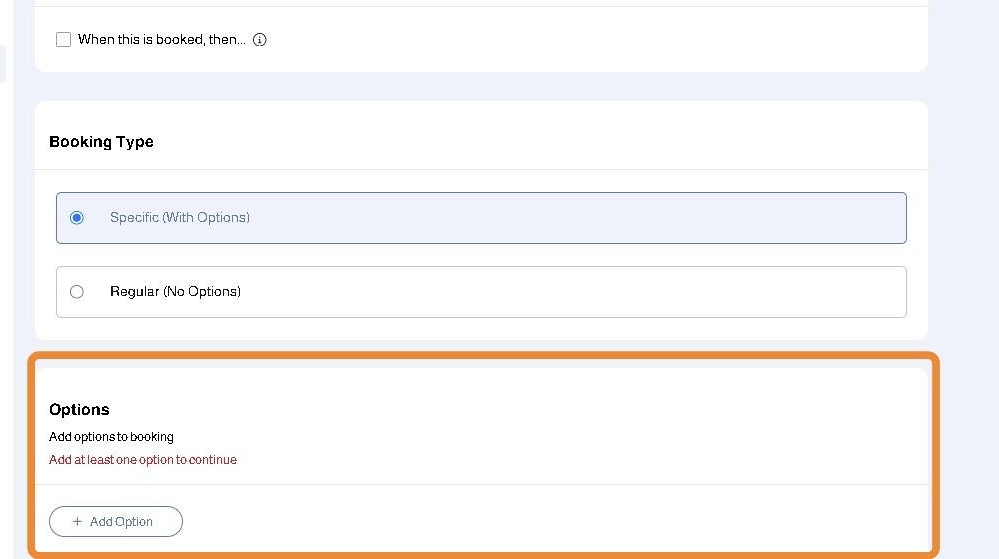
15. If you choose Specific Booking Type, you will be able to add the options for the booking by clicking + Add Option
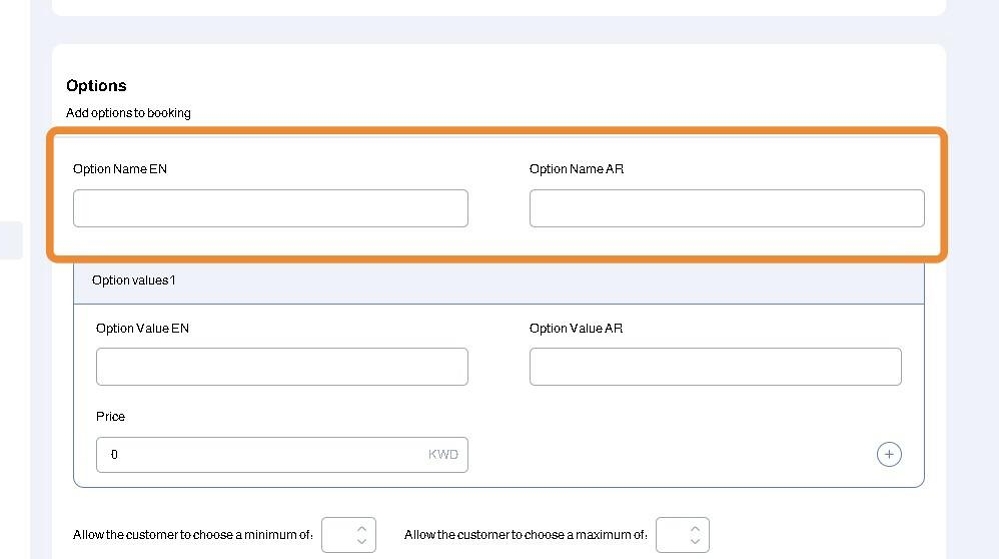
16. Enter the English and Arabic Option Name
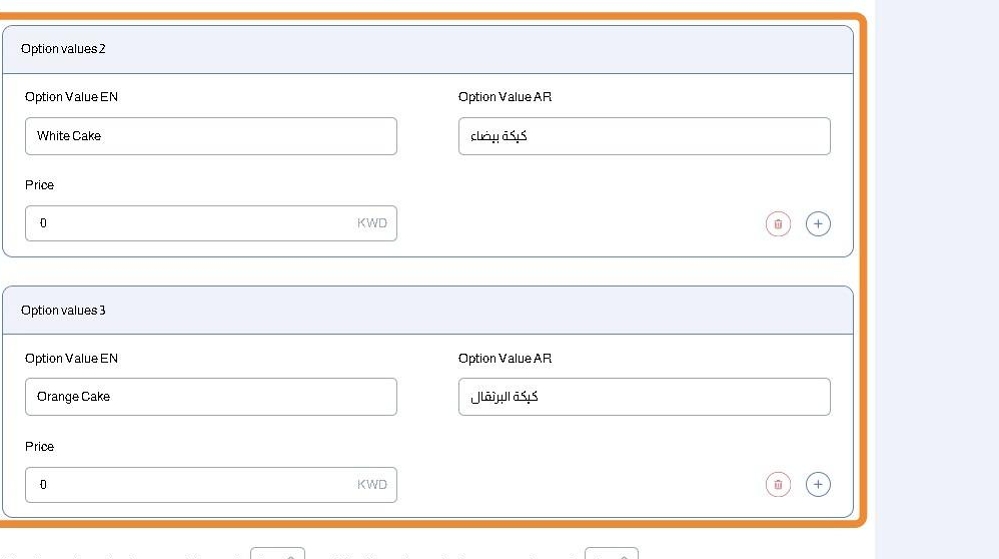
17. Enter the English and Arabic Option Values and Option Price
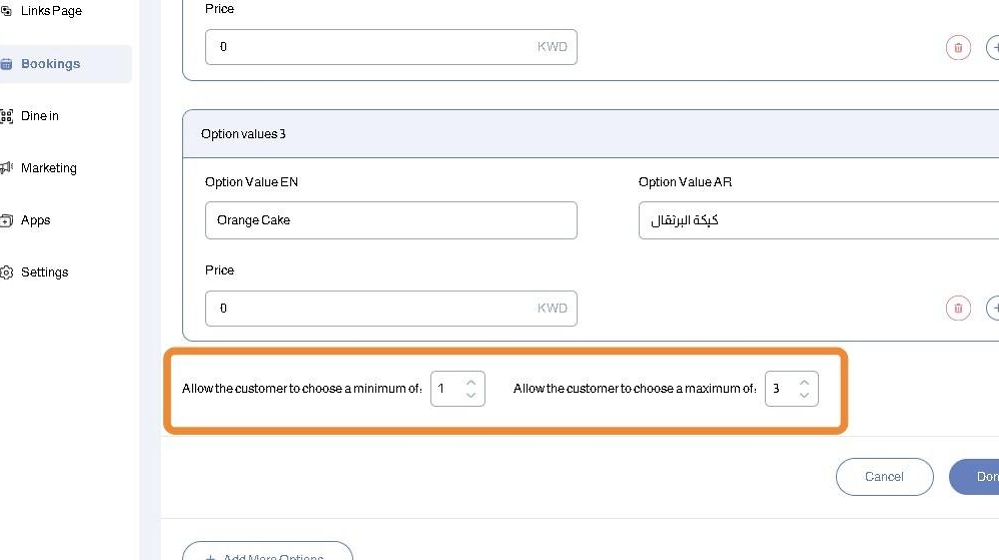
18. Enter the Minimum and Maximum number of options the customer can choose
19. Click Done

20. You can continue to add more options by clicking + Add More Options

21. Set the Status to Active

22. Click Save

Was this article helpful?
That’s Great!
Thank you for your feedback
Sorry! We couldn't be helpful
Thank you for your feedback
Feedback sent
We appreciate your effort and will try to fix the article