Setting up your store’s delivery settings is essential to ensure smooth operations and a seamless shopping experience for your customers. Whether you're running a single store or managing multiple branches, configuring delivery properly helps you define when, where, and how your orders are delivered.
In this article, you’ll learn how to set your business hours, configure delivery areas, control delivery options like "Deliver Now" and "Choose Delivery Time", and manage settings for both General and Branch-based delivery.
We’ll guide you step-by-step to match your store’s setup with the right delivery model—ensuring clarity for you and convenience for your customers.
Before setting up your delivery options, it's important to choose the delivery model that best fits your store’s operational setup: General Delivery or Branch Delivery.
- Use General Delivery if your store operates as a single location, or if your delivery service is uniform across all locations. This setup is perfect when you have one central delivery area, one set of delivery charges and rules, or when all branches follow the same delivery logic.
Example: An online bakery with one main kitchen delivering across the city using a single fleet. - Use Branch Delivery if your business has multiple branches, each with different working hours, delivery areas, or product availability. This setup allows you to customize delivery rules for each branch independently.
Example: A retail chain with separate locations in different governorates, each managing its own delivery team and schedule.
Ask yourself:
- Do I need separate settings for each location? → Go with Branch Delivery
- Is my delivery handled from a single place with the same conditions? → General Delivery works best
TABLE OF CONTENTS
- Setup Business Hours
- General Delivery
- Branch Delivery
- Special: Product Preparation TIme Impact on Deliver Now Settings
Setup Business Hours
Business Hours Settings
The very first step to setup your store's delivery settings is to add your store's business hours. These are the universal hours of your store that will determine when delivery will be available and when delivery will be unavailable outside your store's business hours, regardless of any other settings.
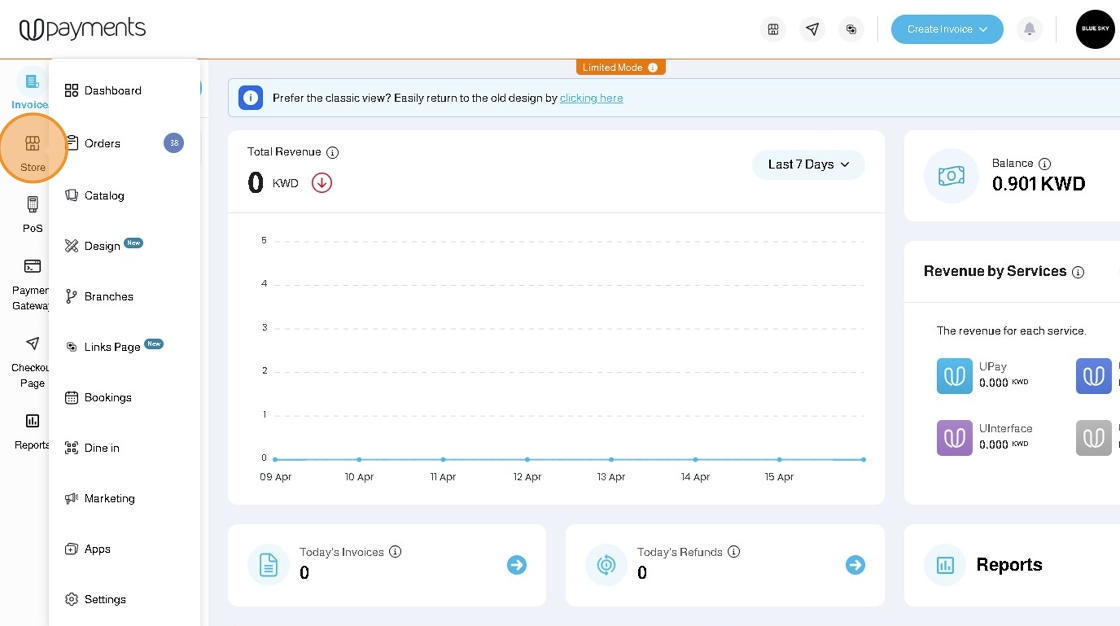
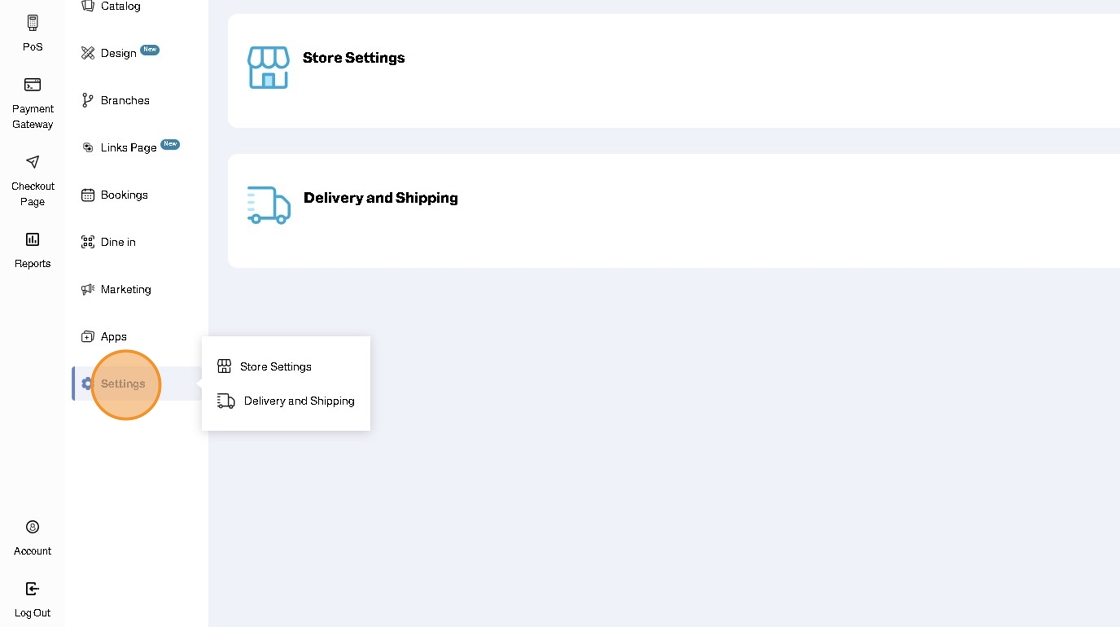
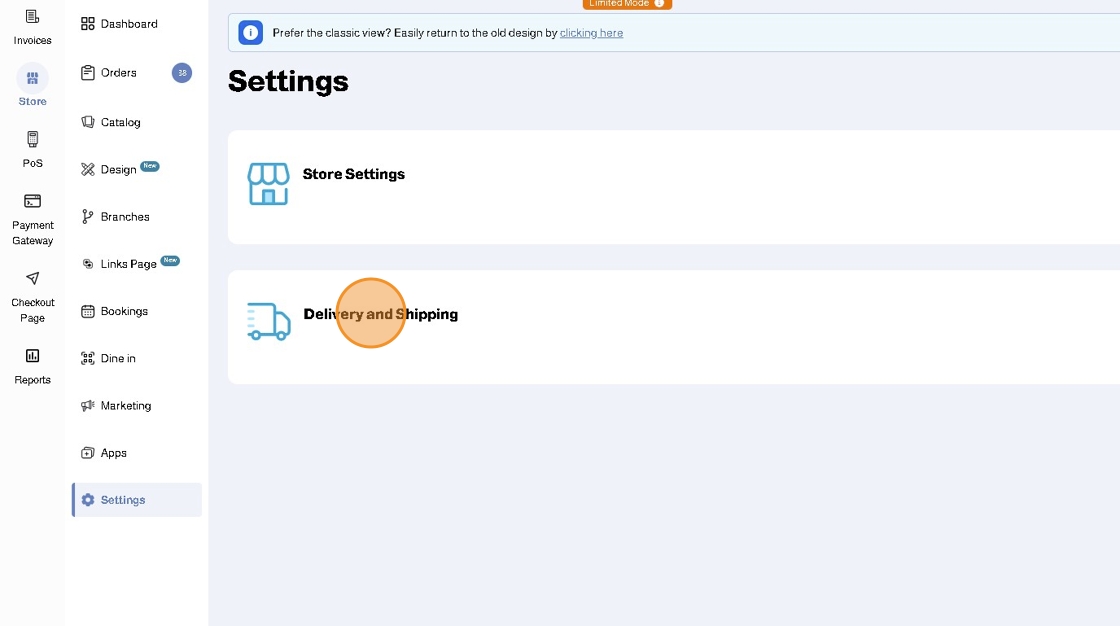
1. Click on Store
2. Click Settings
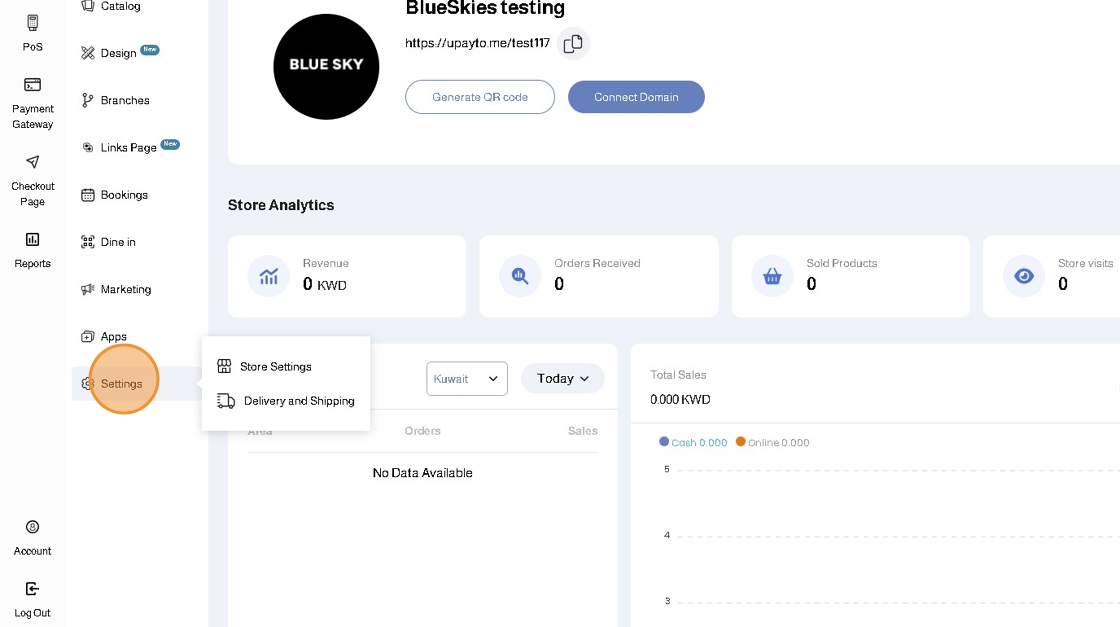
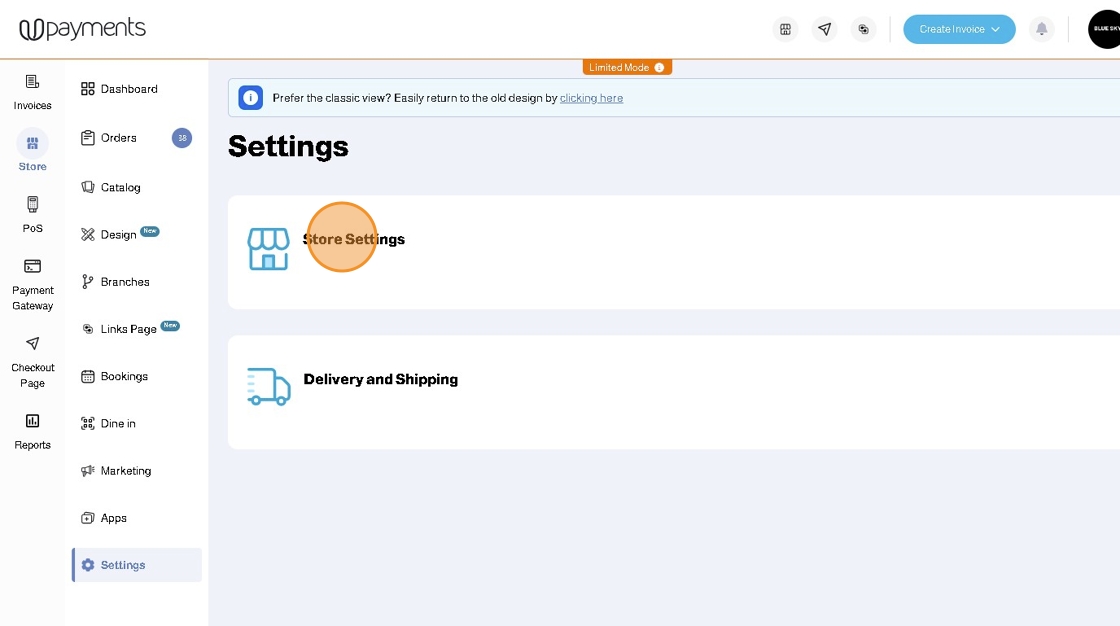
3. Click Store Settings
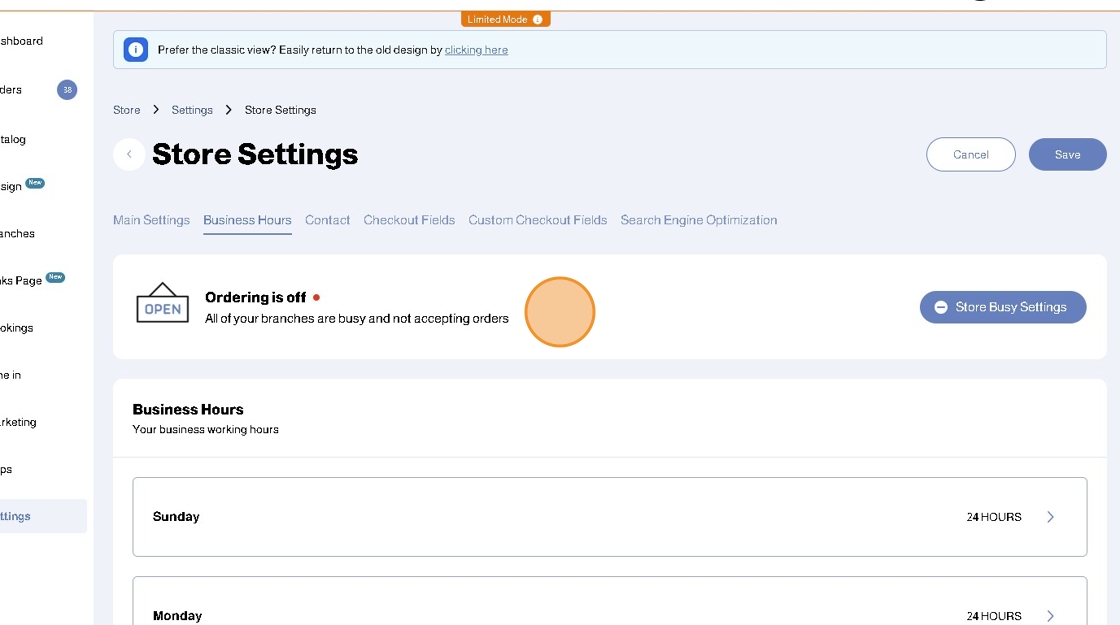
4. Click Business Hours
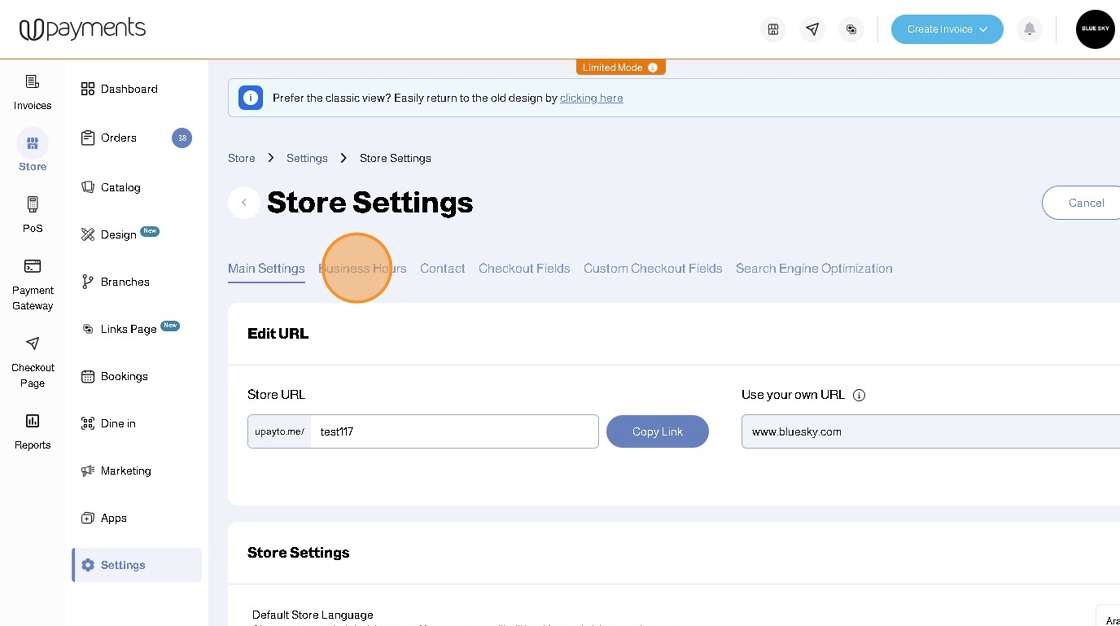
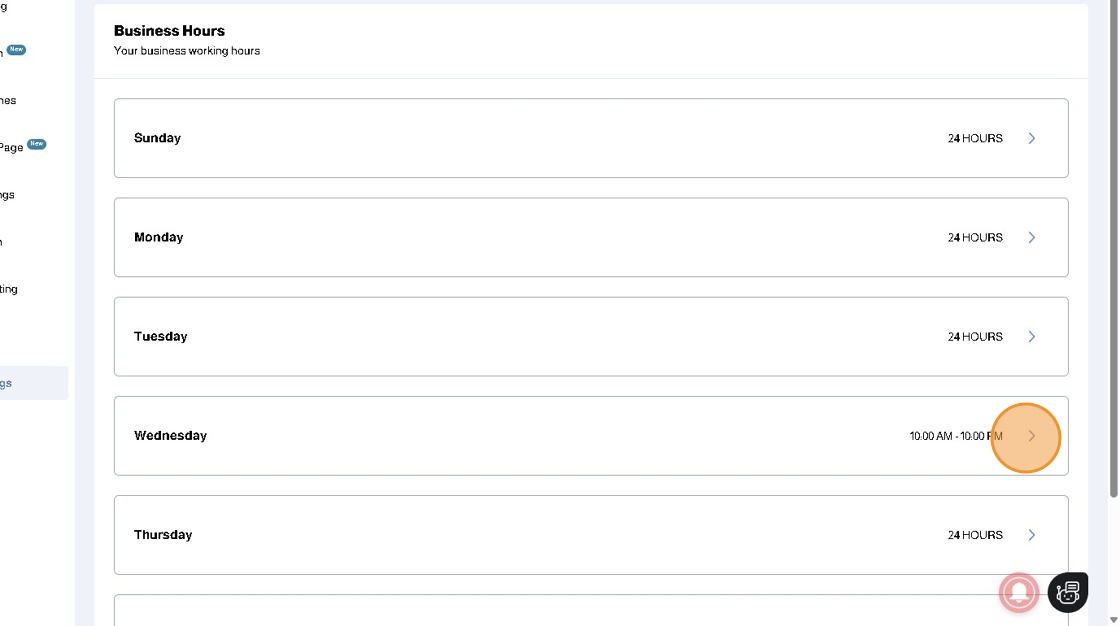
5. In this section, you can adjust the business hours for each day in the week
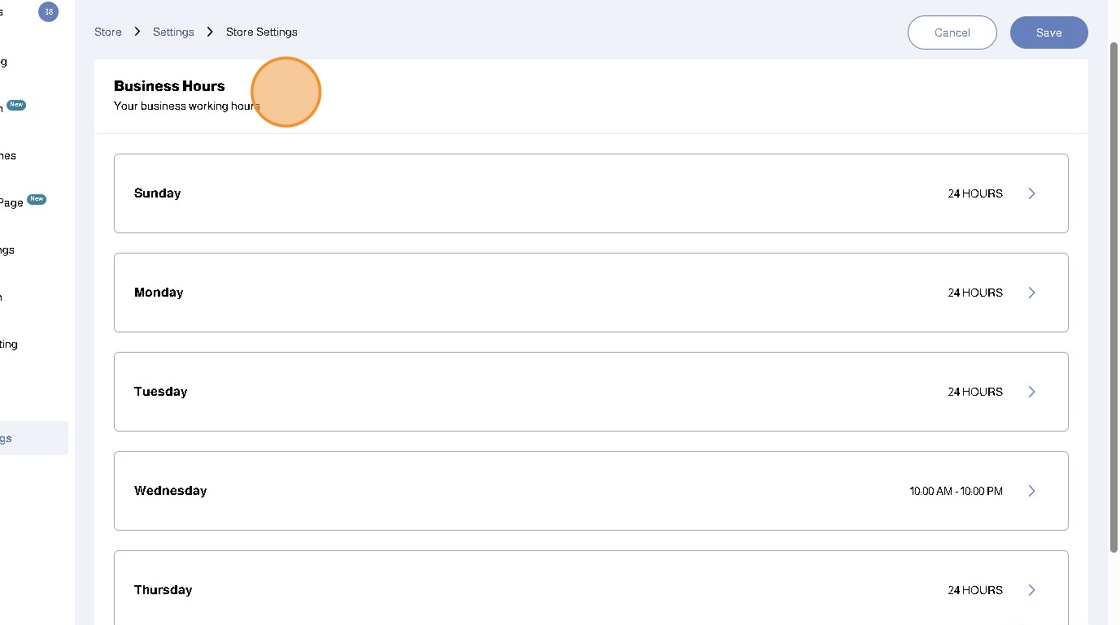
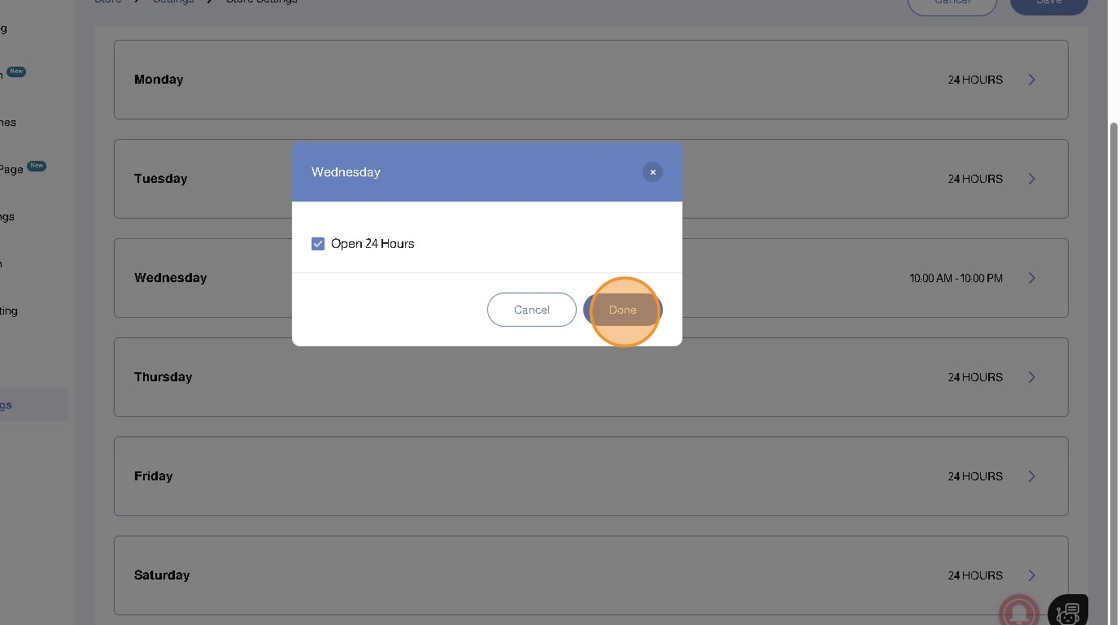
6. Click the day you want to adjust
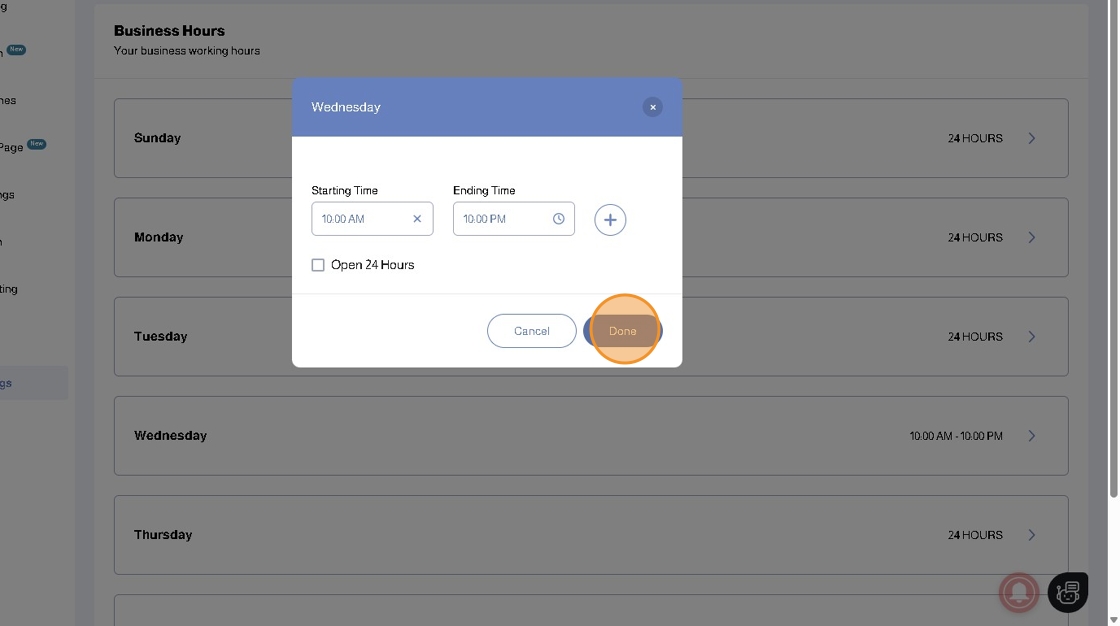
7. You can add Starting Time and Ending Time, add multiple times by clicking the + Plus Button or set your store to be open 24 hours for that day
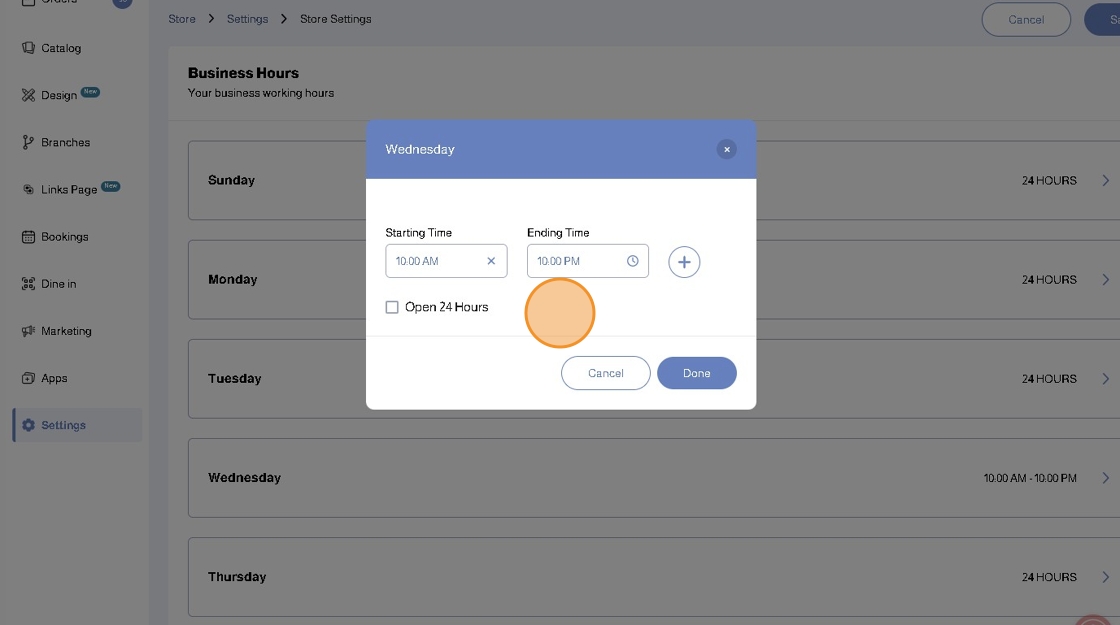
8. Click Done
9. Click Save

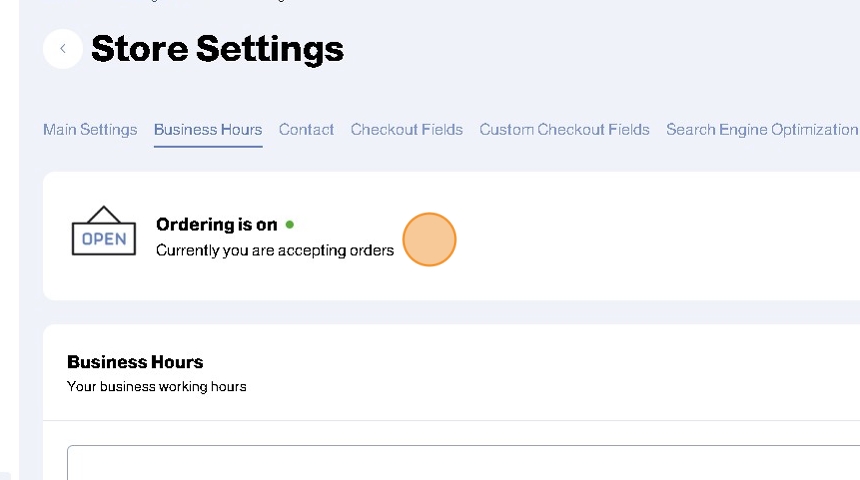
10. At the top of the Business Hours page, you can see if your store ordering is On or Off based on your current settings
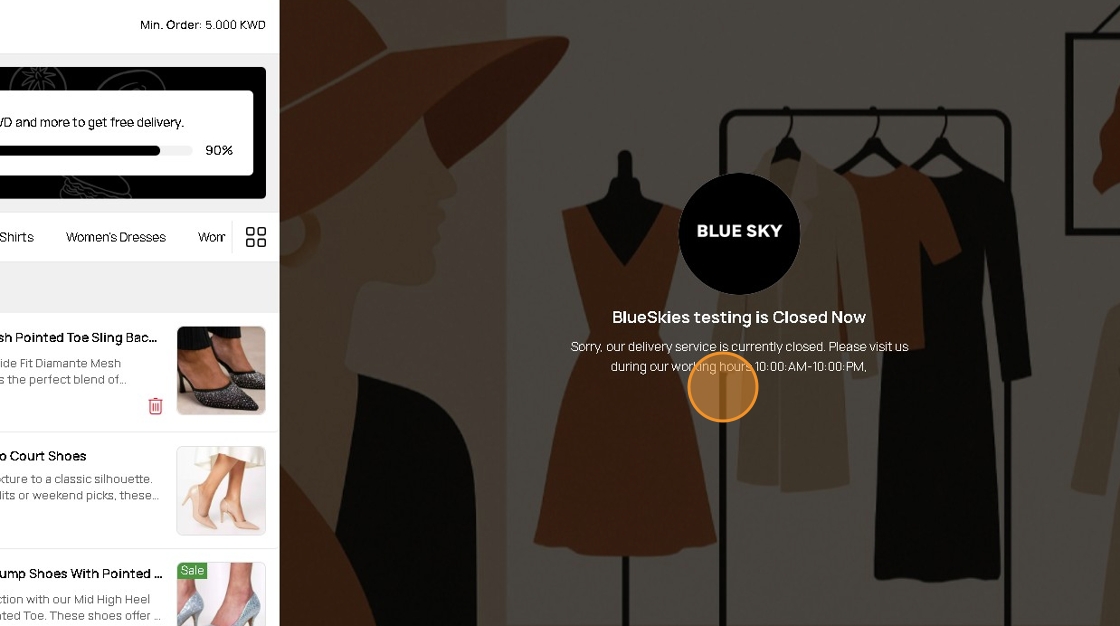
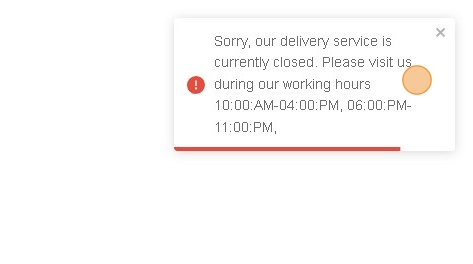
11. If customers access your store outside the business hours you have set in the settings for a specific day, they will be shown this message:
[Store Name] is Closed Now
Sorry, our delivery service is currently closed. Please visit us during our working hours [Next Available Business Hours]
12. If your customers try to proceed to checkout outside the business hours you have set in the settings for a specific day, they will be shown an error message
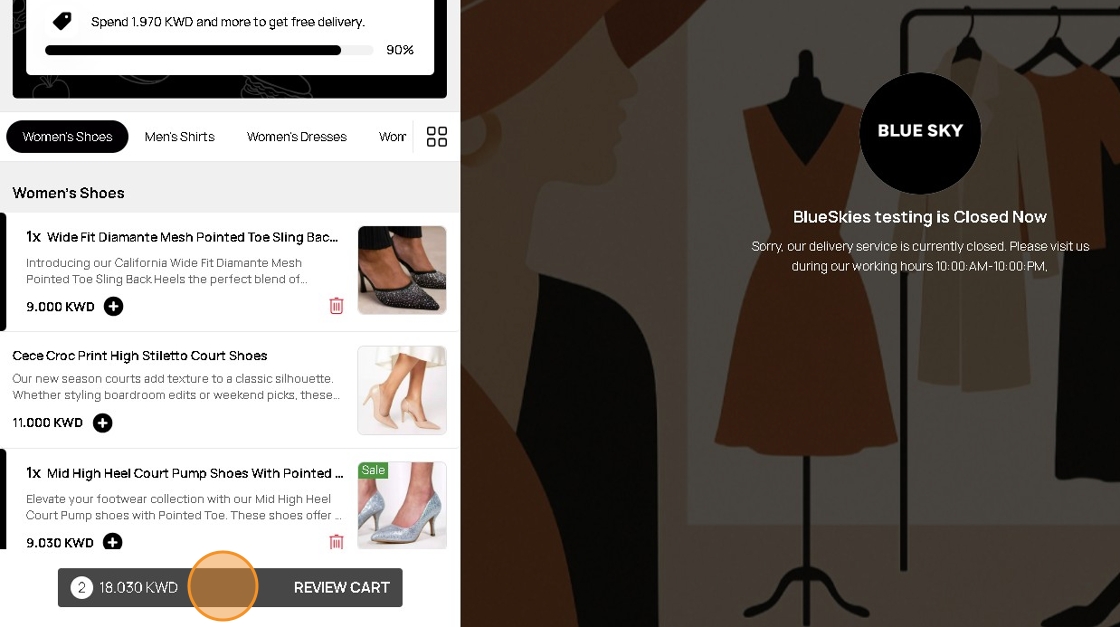
13. The error message will inform them of the store's next available business hours
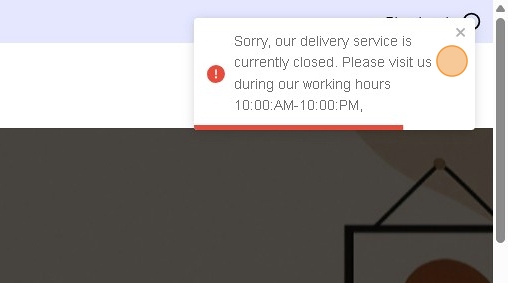
14. If you change your settings to make your store available, your customers will be able to order from your store
15. At the top of the Business Hours page, you can see if your store ordering is On or Off based on your current settings
16. Your store will no longer display the "Store Closed" message and your customers can order from your store normally
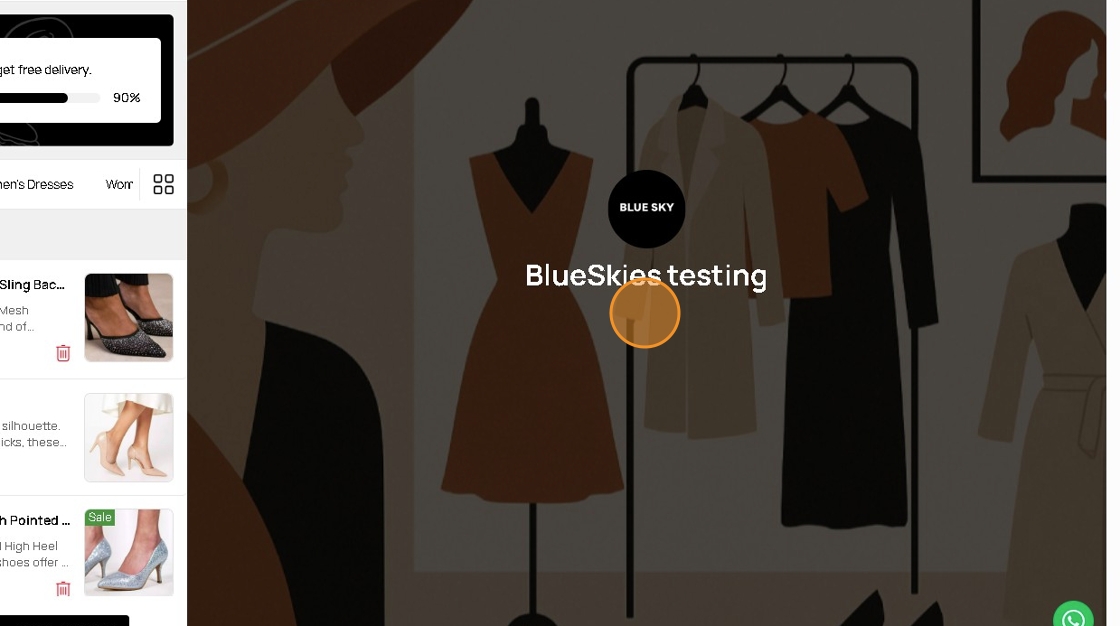
17. Important: Keep in mind that Business Hours control the customer's ability to place orders on your store in general. To adjust delivery settings and times for orders that will be placed by your customers, continue with this article to learn more.
General Delivery
General Delivery Settings
General Delivery allows merchants to set their delivery times, rates, settings, areas and rules in general without accounting for branches. This is useful for merchants that have no branches, or have branches but their delivery is generalized and extends across all their branches equally.
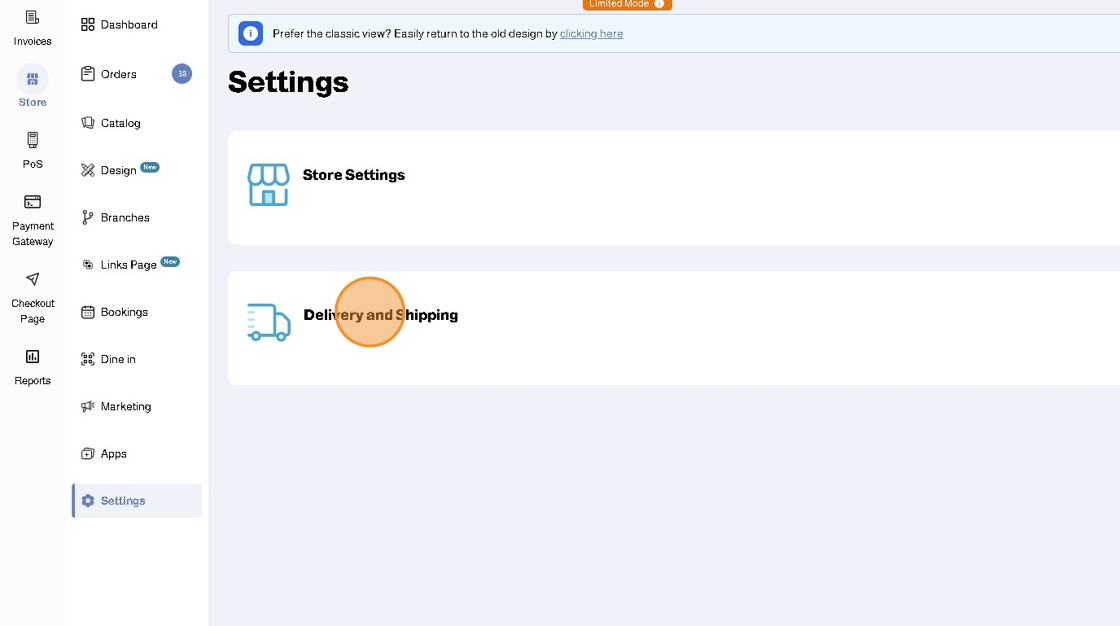
1. Click Settings
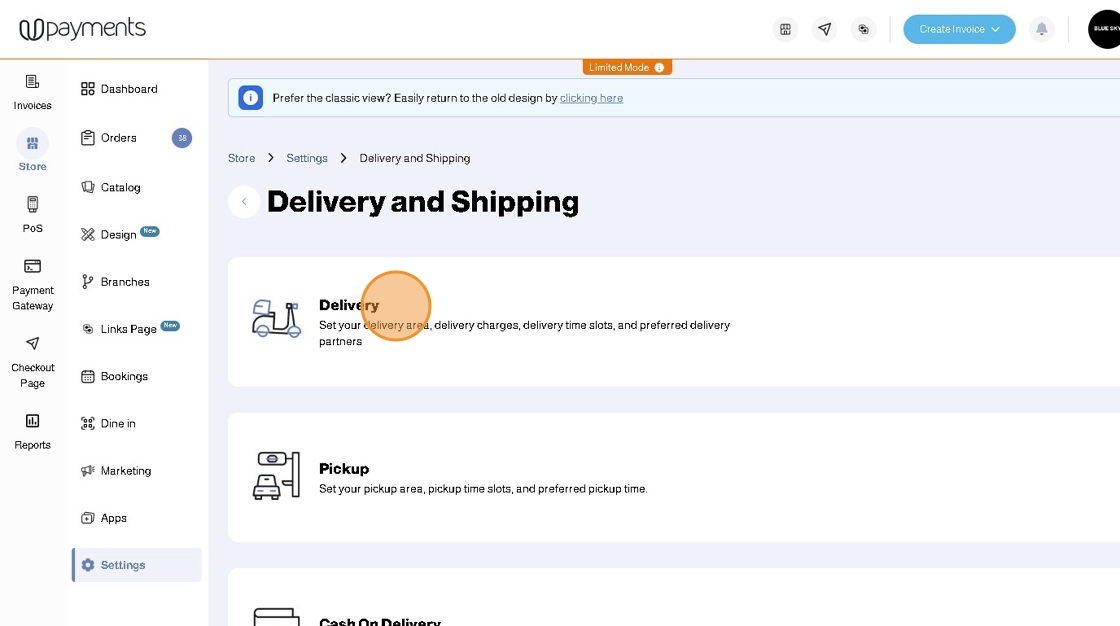
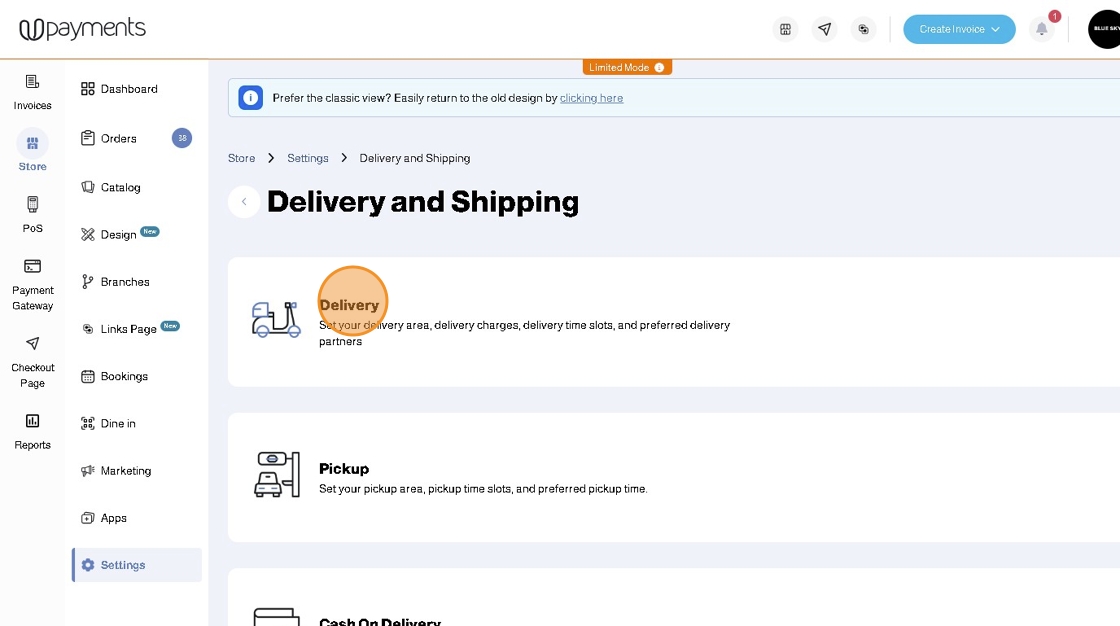
2. Click Delivery and Shipping
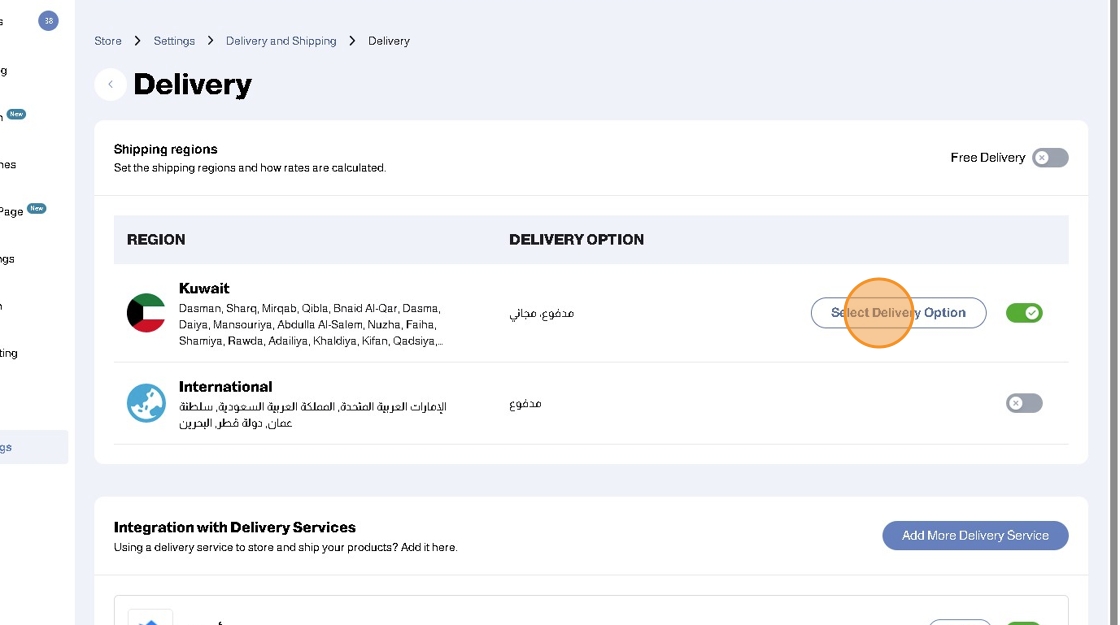
3. Click Delivery
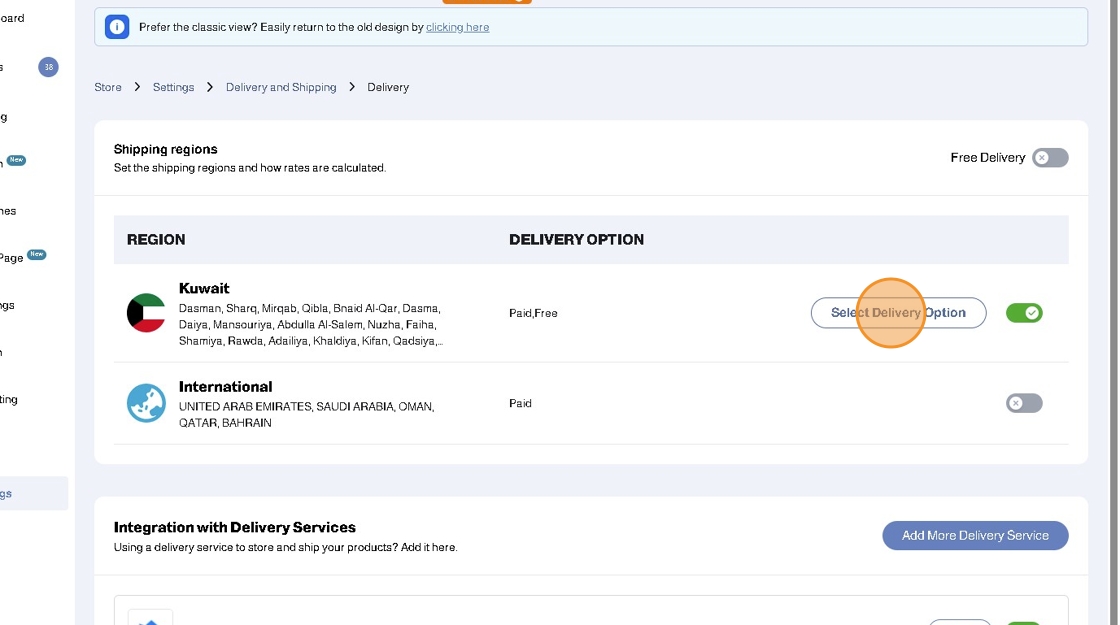
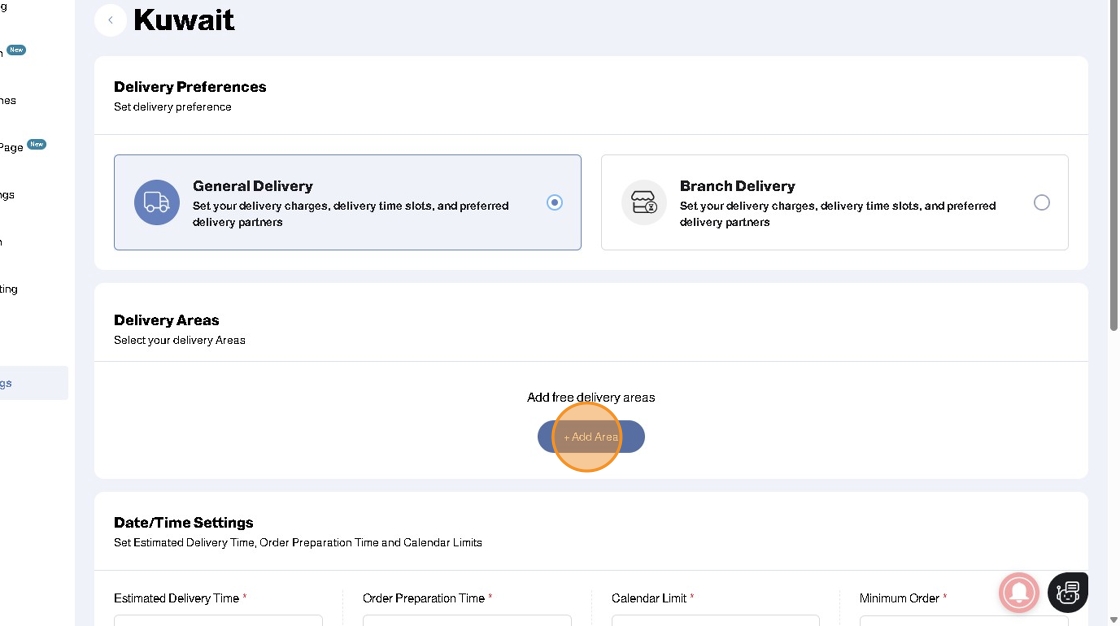
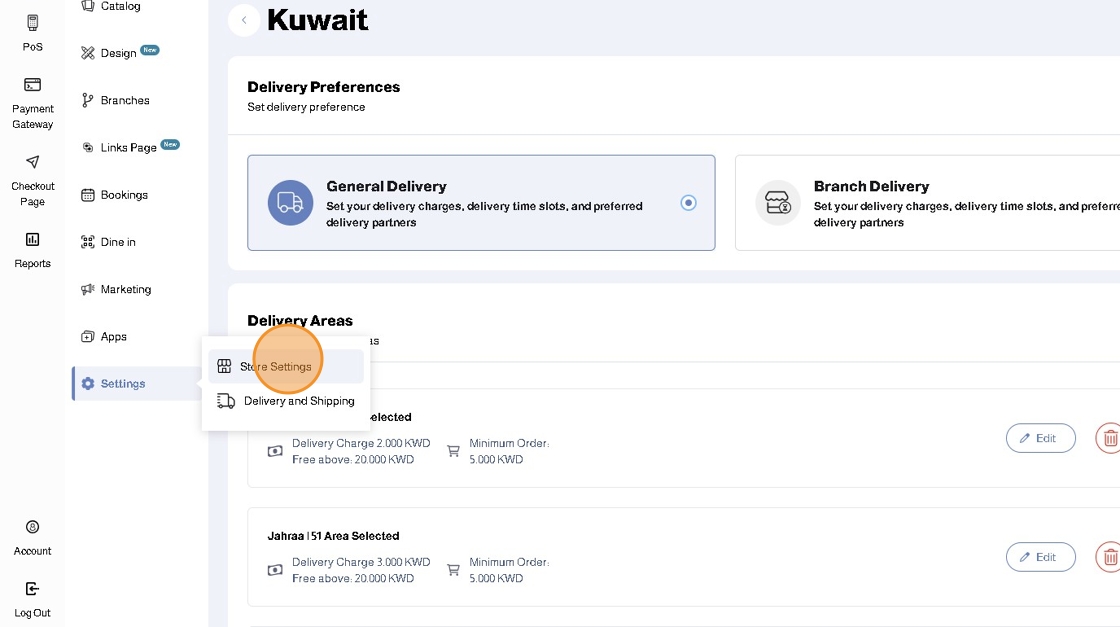
4. Next to Kuwait Click Select Delivery Option
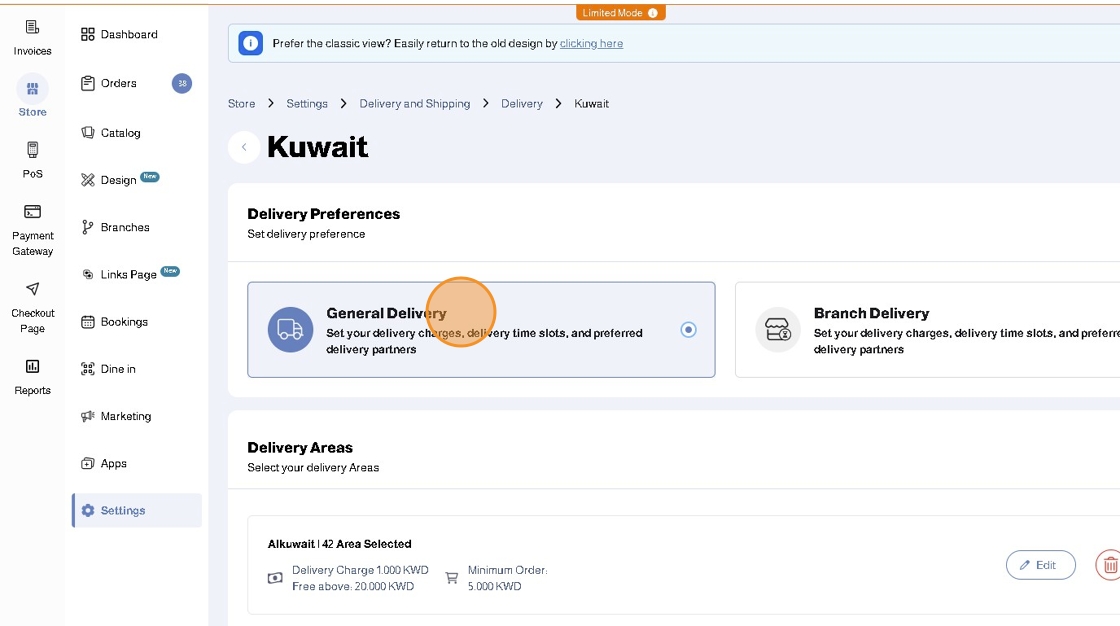
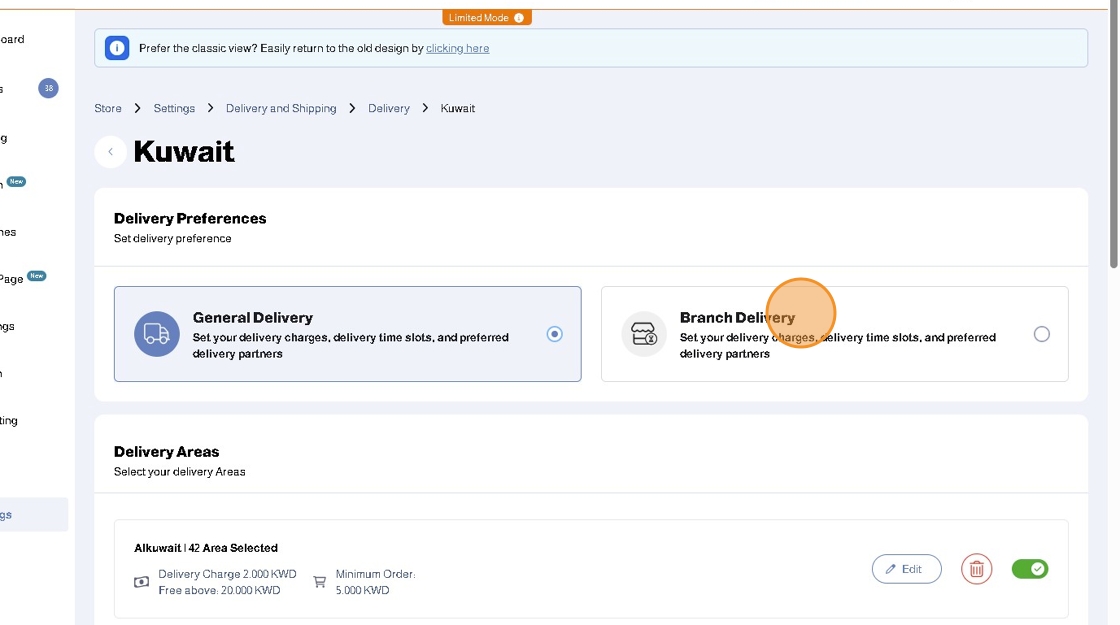
5. Click General Delivery
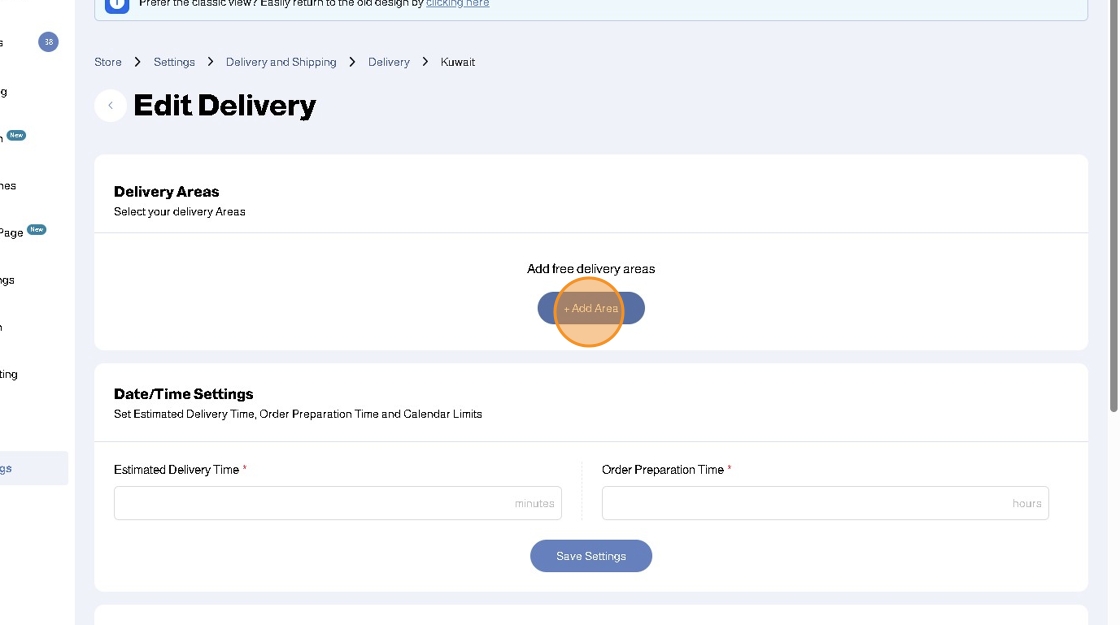
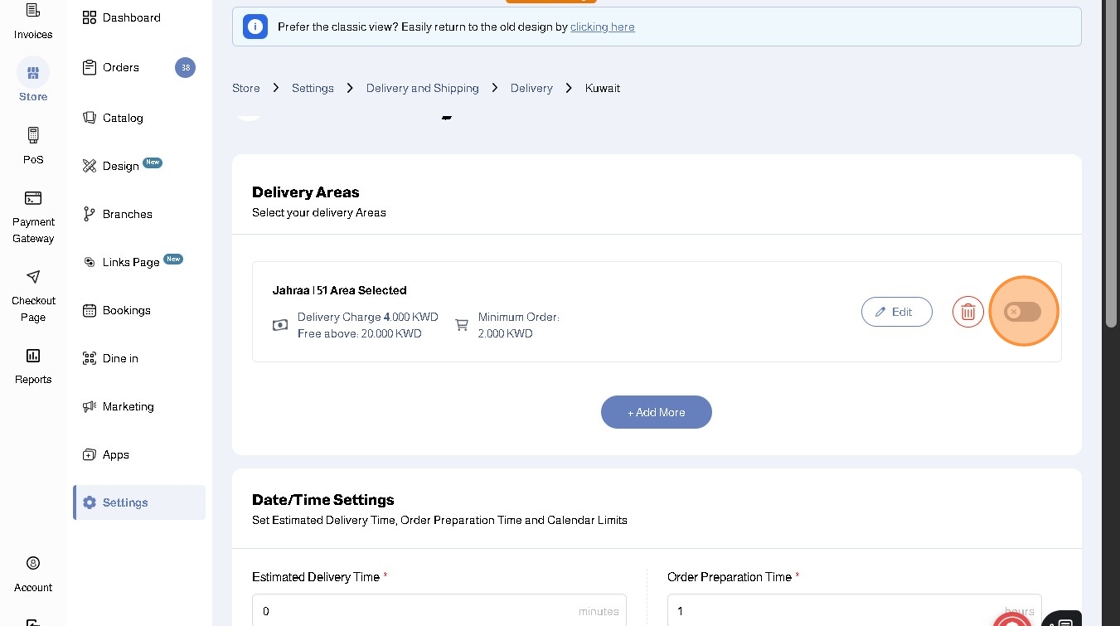
6. The first step is to add your Delivery Areas
Click + Add Area
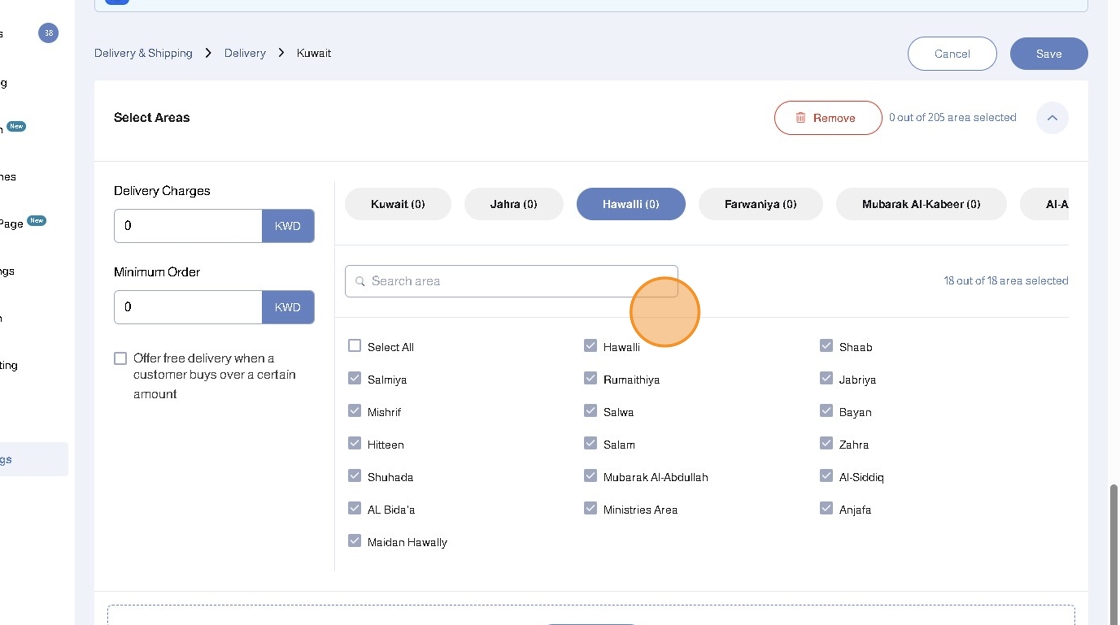
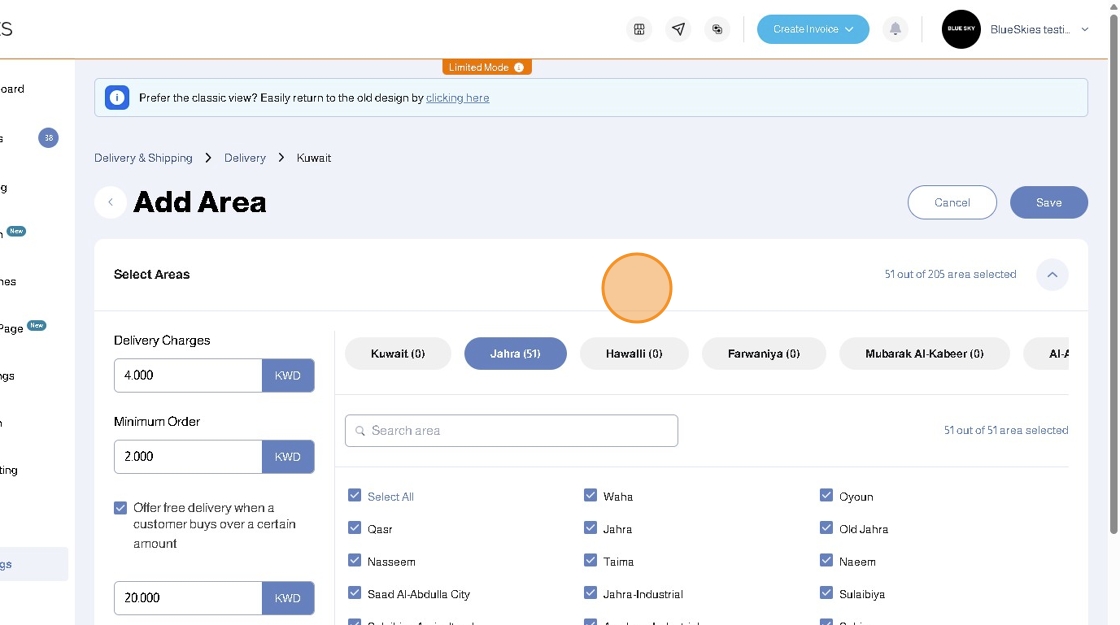
7. When you configure Delivery Areas and Add Area, you can set the following settings for an area or a group of multiple areas:
- Delivery charges
- Minimum order amount (Optional)
- Offering Free Delivery if the Cart exceeds a specific amount (Optional)
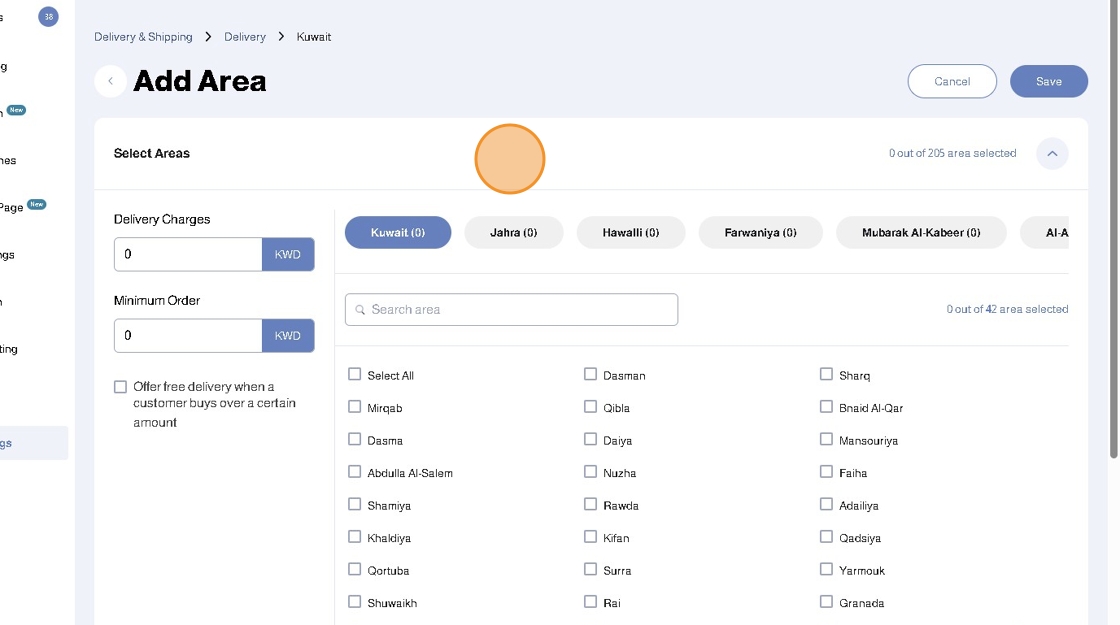
8. You will find Governorates at the top section. When you choose a governorate, its respective areas will be displayed with checkboxes next to each area. Choose your desired areas for your delivery rules and add the Delivery Charges, Minimum Order Amount (Optional) and Free Delivery Rule (Optional)
You can choose areas from different governorates.
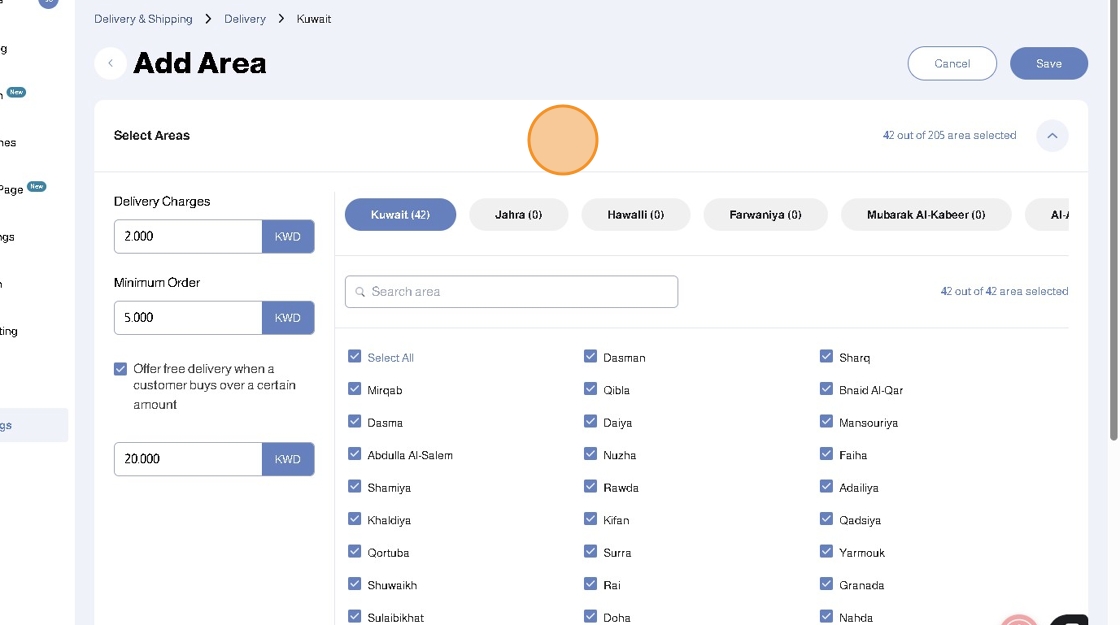
9. Now that you have added the delivery settings for the first group of areas, you can add more groups of areas by clicking +Add More
Repeat the previous steps for each group of areas
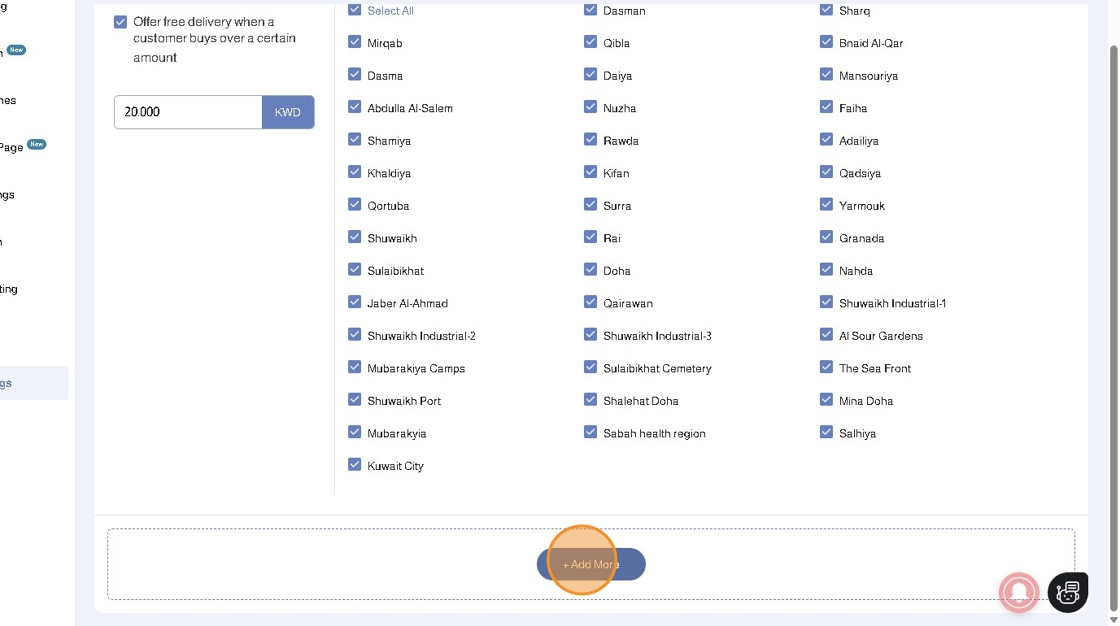
10. While choosing the areas, if the checkboxes are greyed out, that means that they are already chosen to be within another group of areas and cannot be chosen again
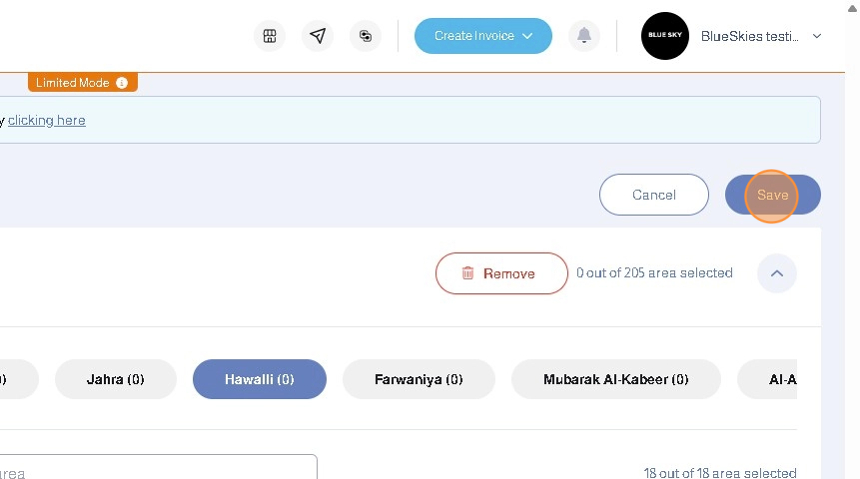
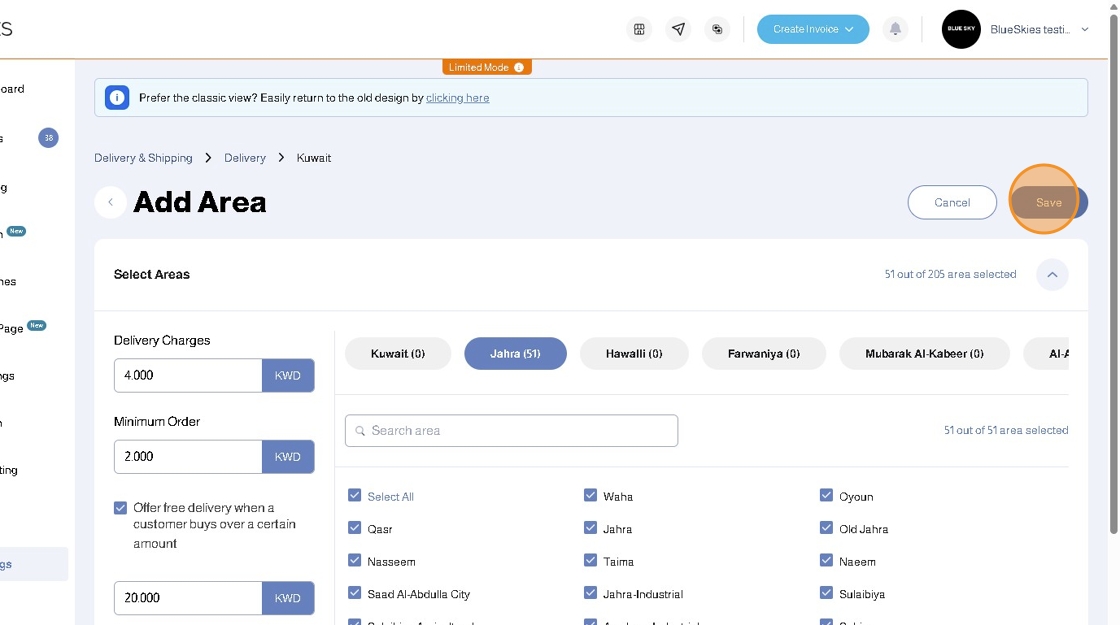
11. Click Save to save your settings
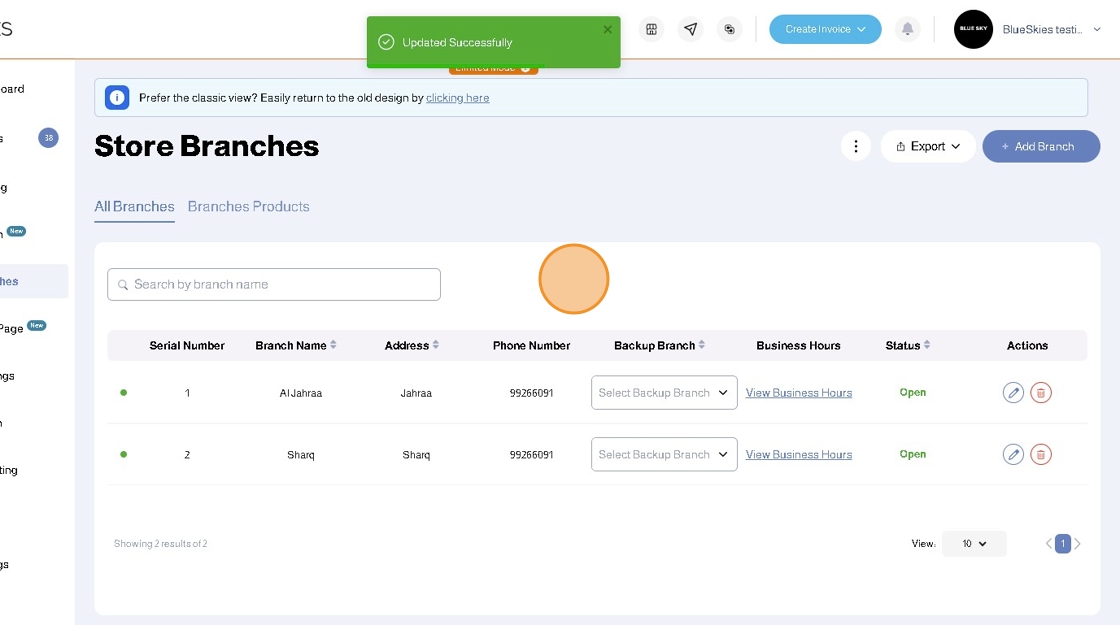
12. Your configured groups of areas will be added to the Delivery Areas list
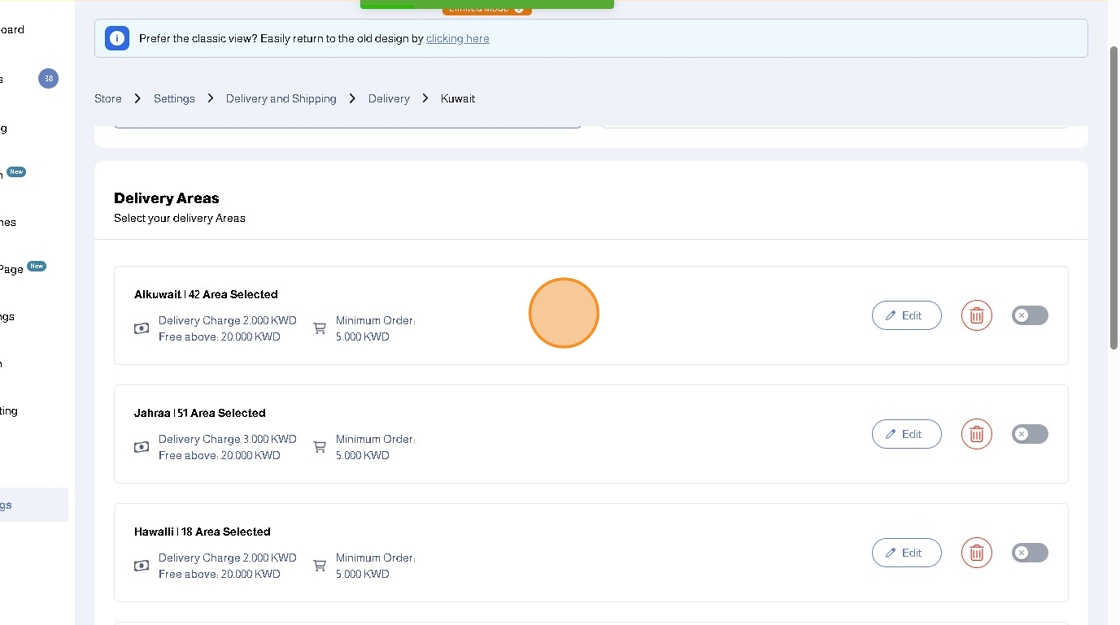
13. Make sure to enable the Delivery Areas by clicking on the Toggle

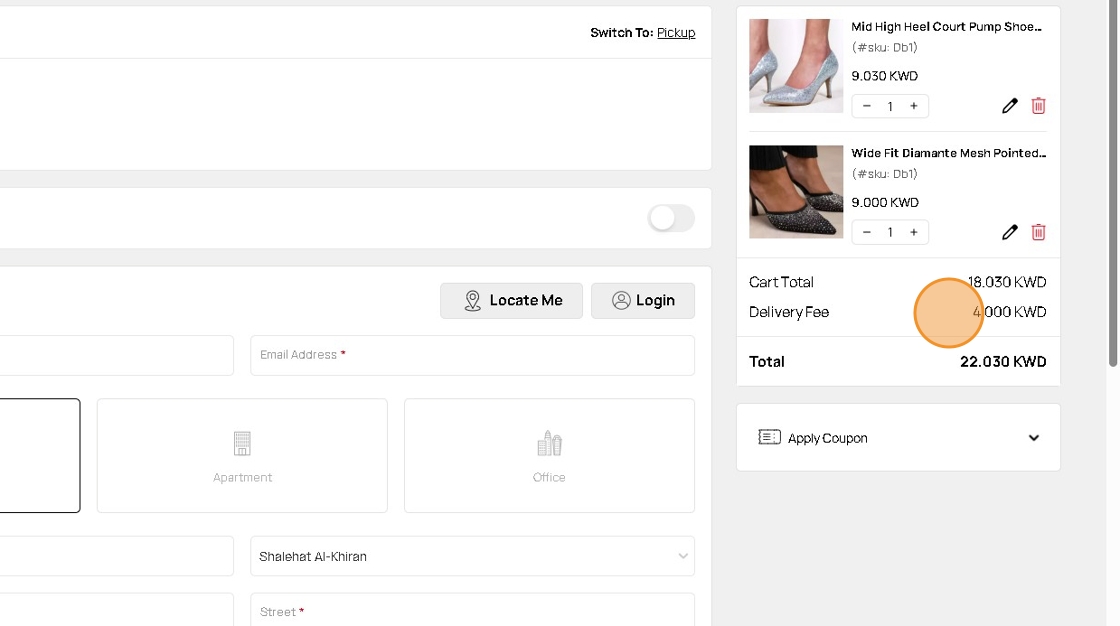
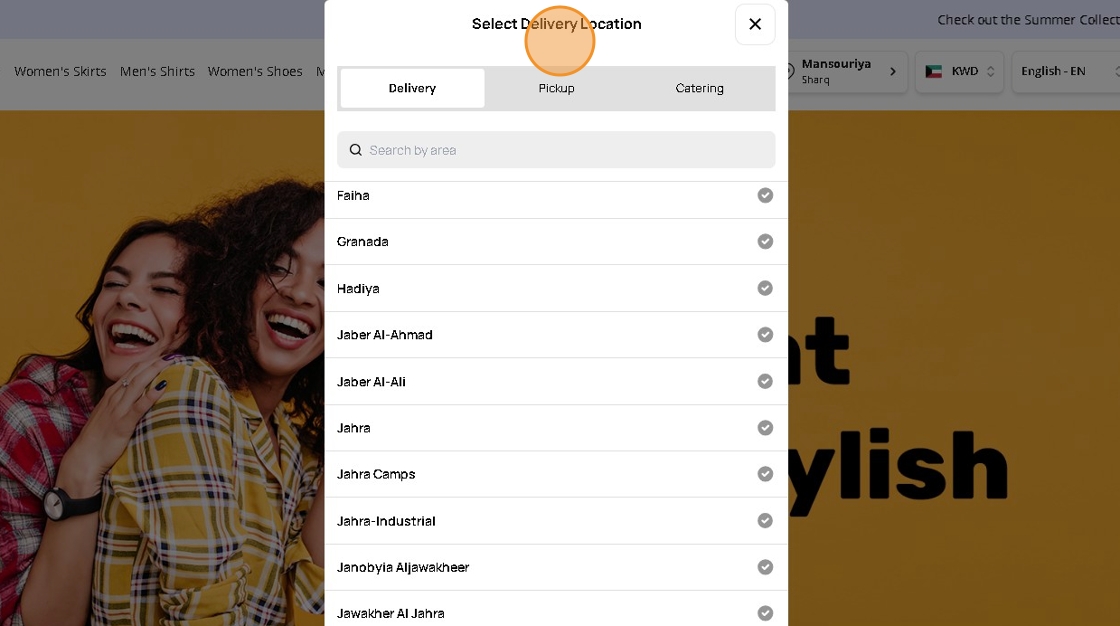
14. With these settings, in your store front, customers orders will reflect the delivery fee and other settings accordingly based on their chosen delivery area
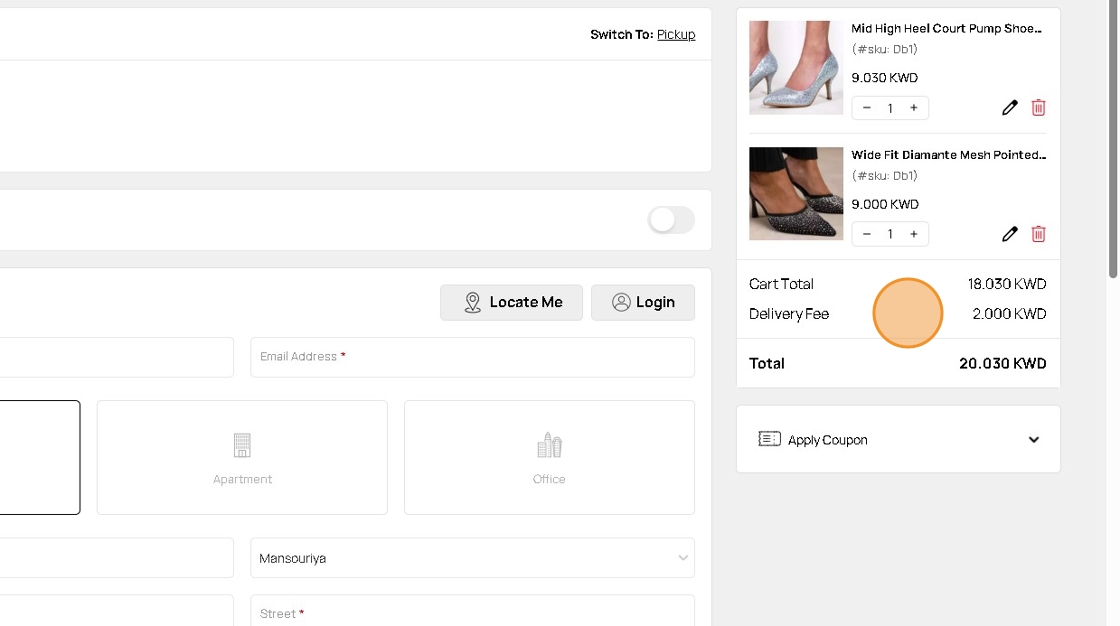
15. Customers can switch their delivery area in checkout
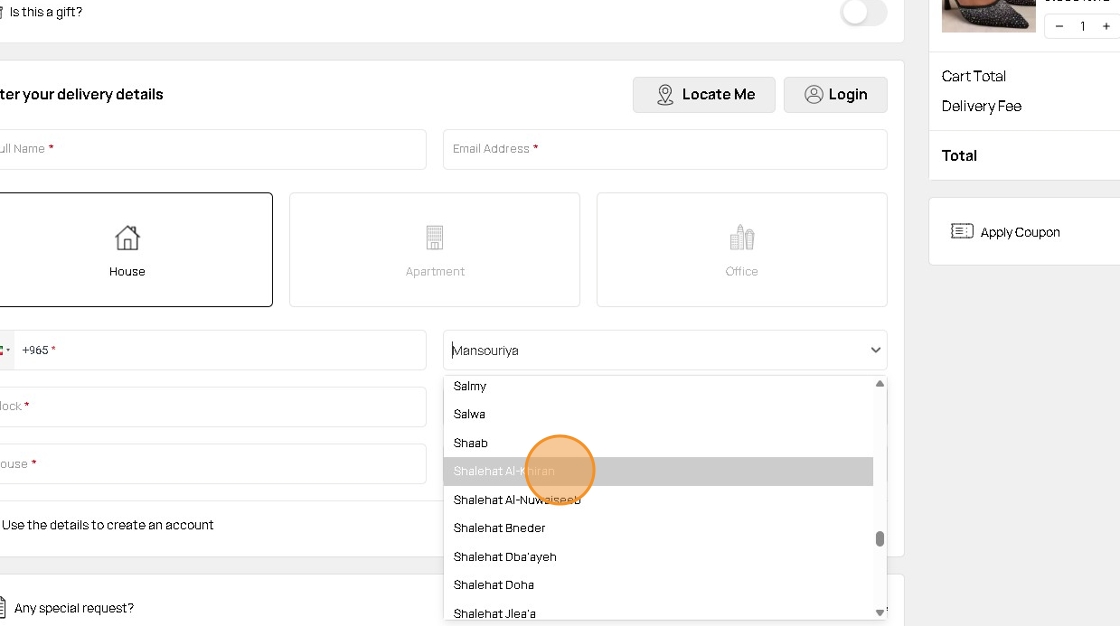
16. and this will reflect on the delivery fee and other settings according to the delivery areas settings you have setup
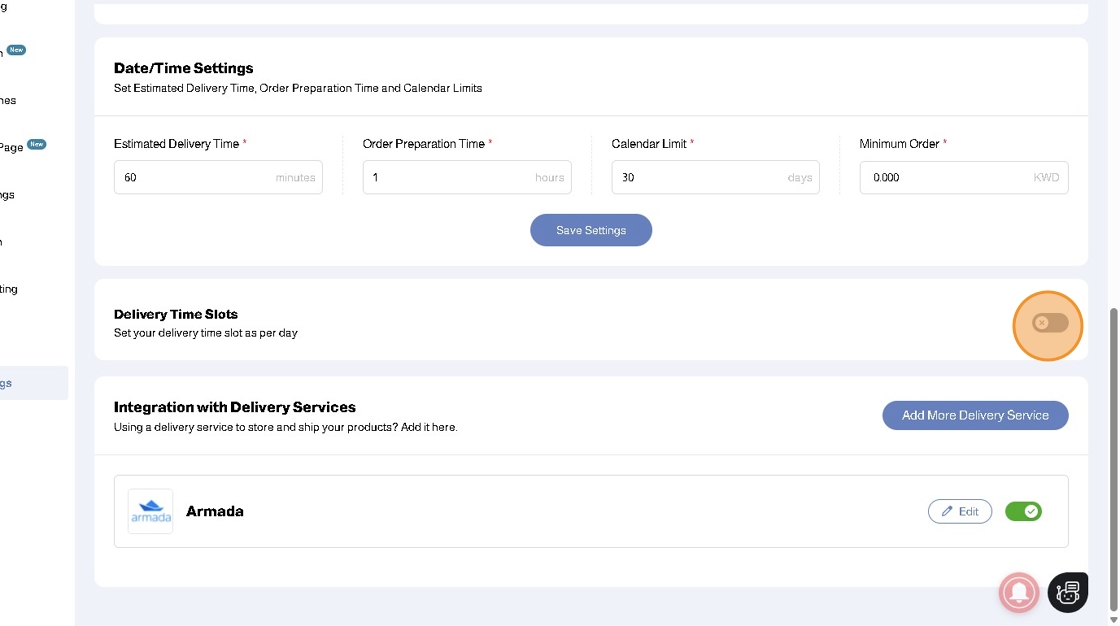
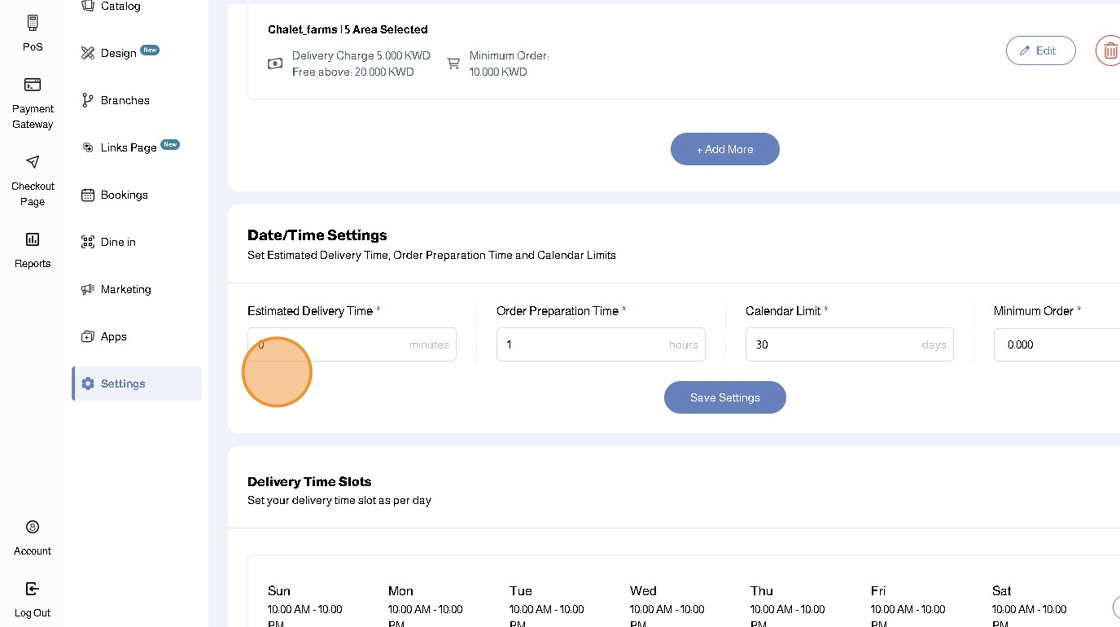
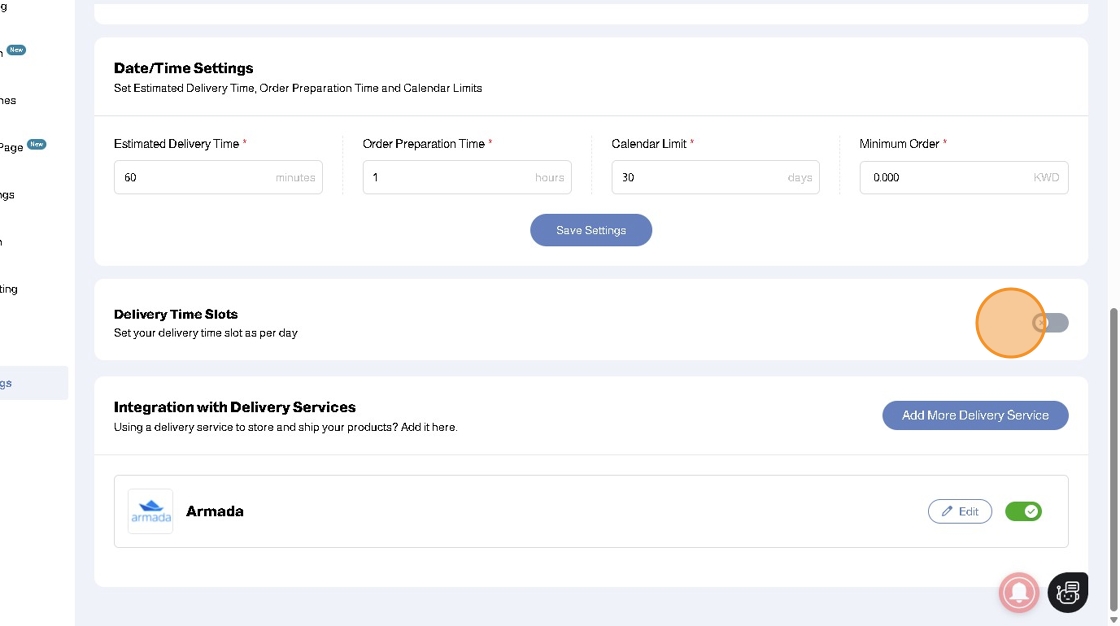
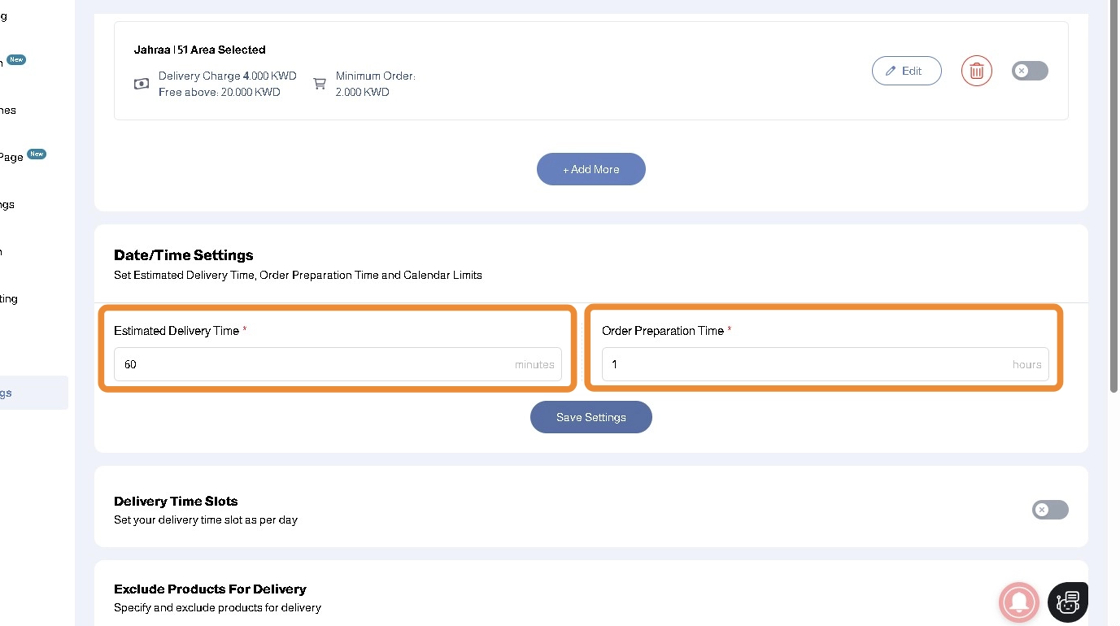
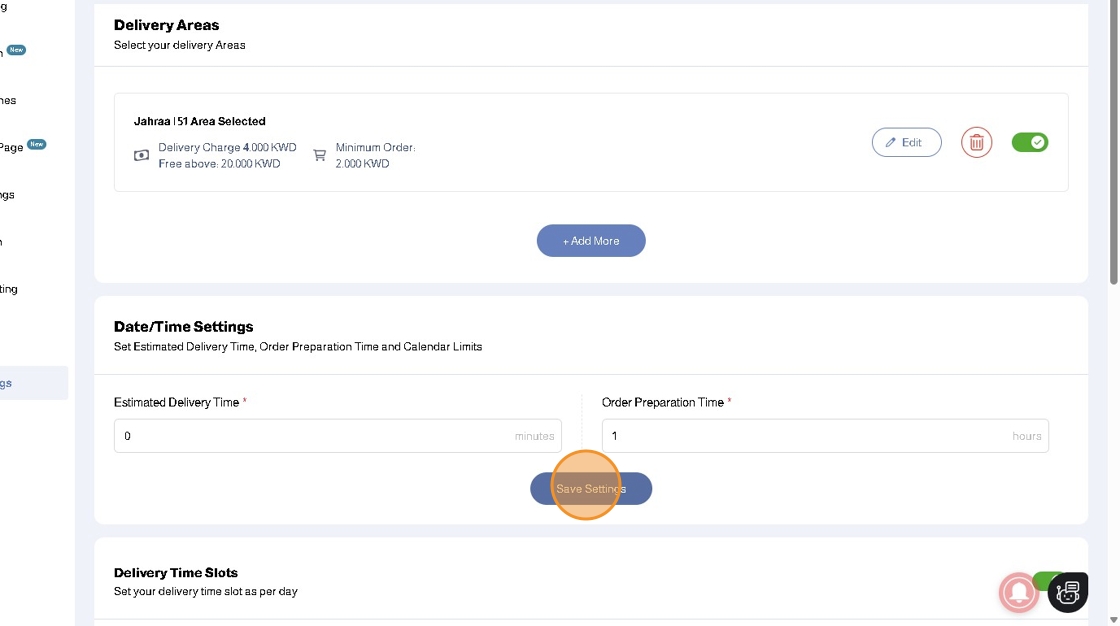
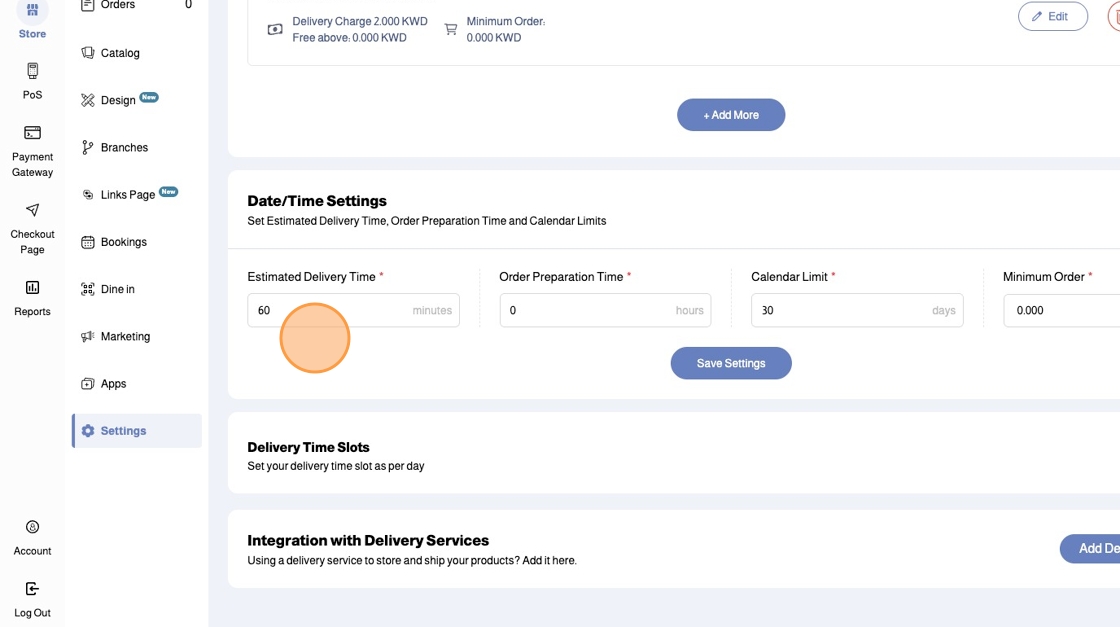
17. Next, you will configure the Date/Time Settings by entering the following:
- Estimated Delivery Time (In Minutes): The estimated time for delivery. This will be displayed for the Order Now option
- Order Preparation Time (In Hours): The time required to prepare the order items.
- Calendar Limit (In Days): The number of days customers are allowed to access in the future to schedule an order
- Minimum Order (In KWD): The minimum cart amount required to allow customers to place orders
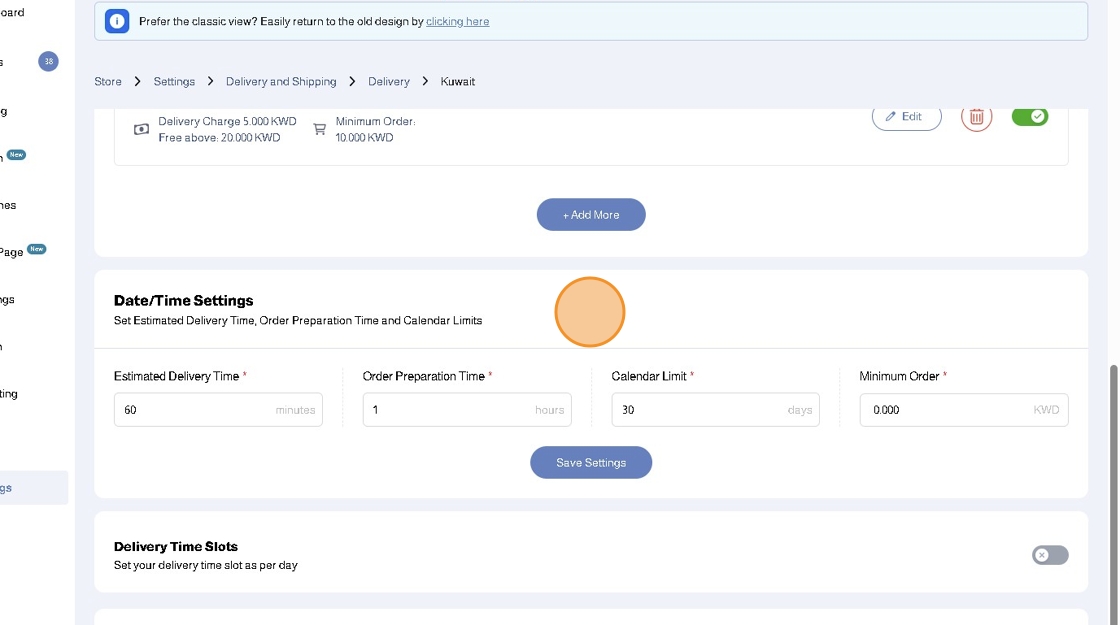
18. In our example, we will set the following values:
- Estimated Delivery Time: 60 Minutes
- Order Preparation Time: 1 Hour
- Calendar Limit: 30 Days
- Minimum Order: 0.000 KWD
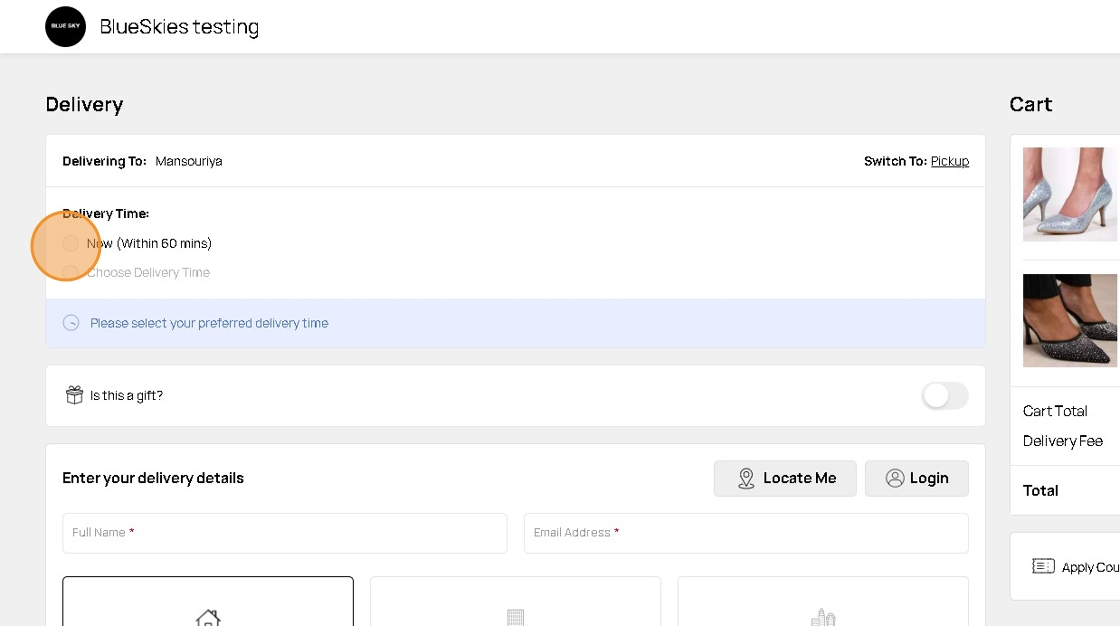
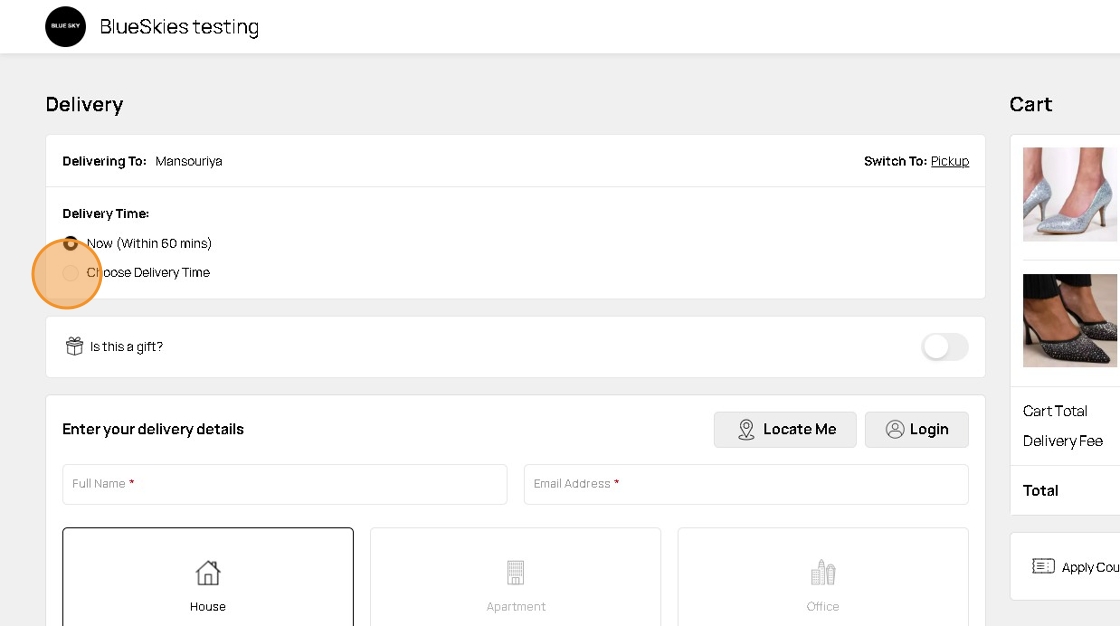
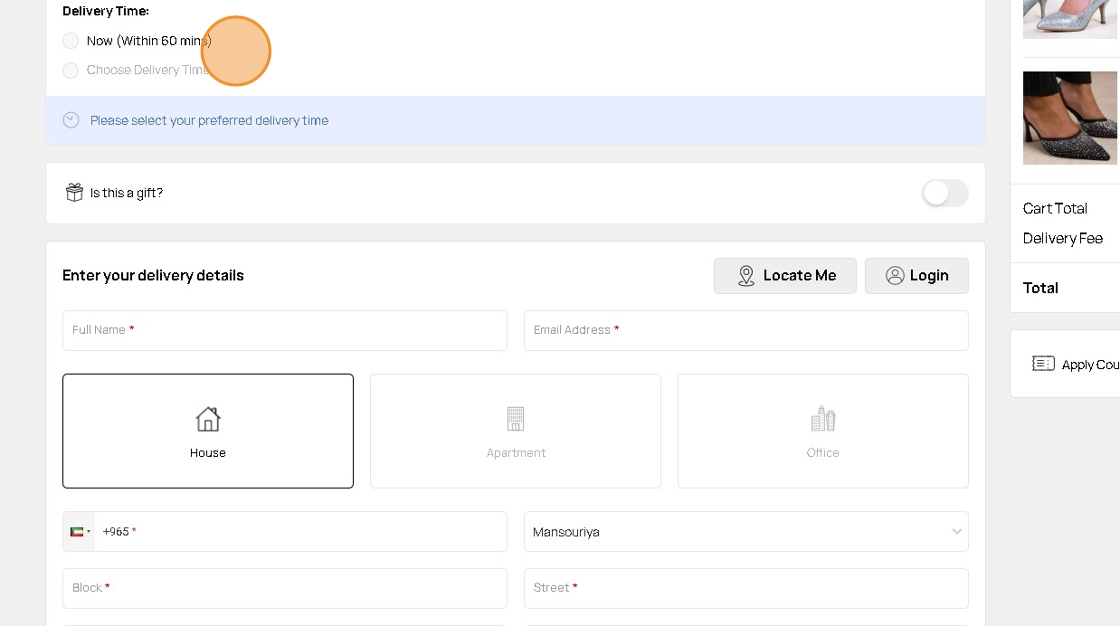
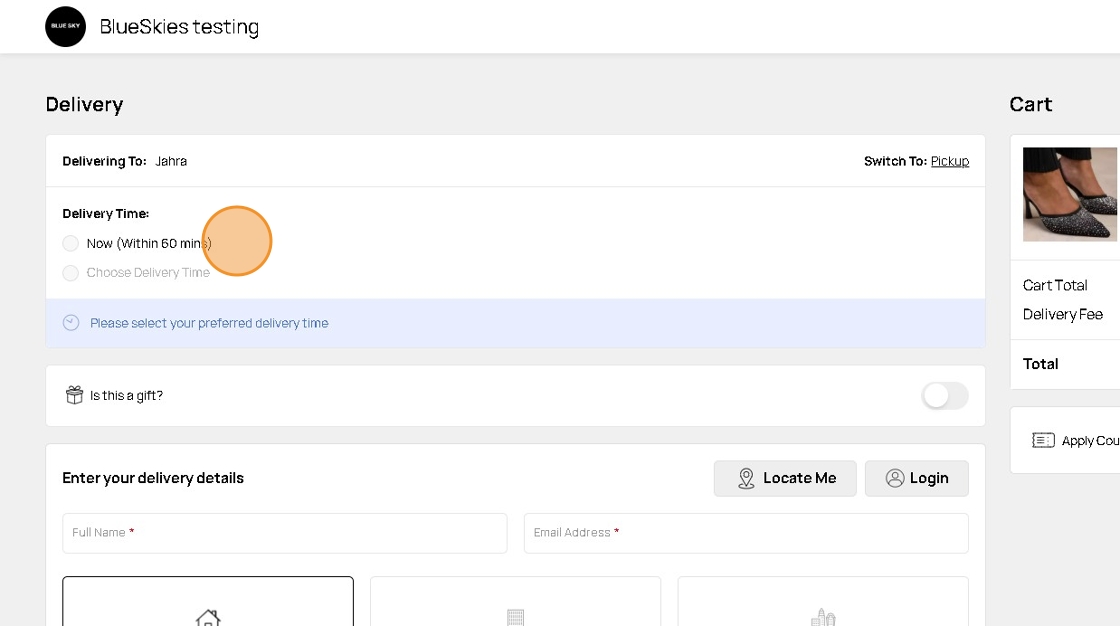
19. With these settings, in your store front, your customers will be able to place orders with the delivery time: Now (Within 60 Minutes)
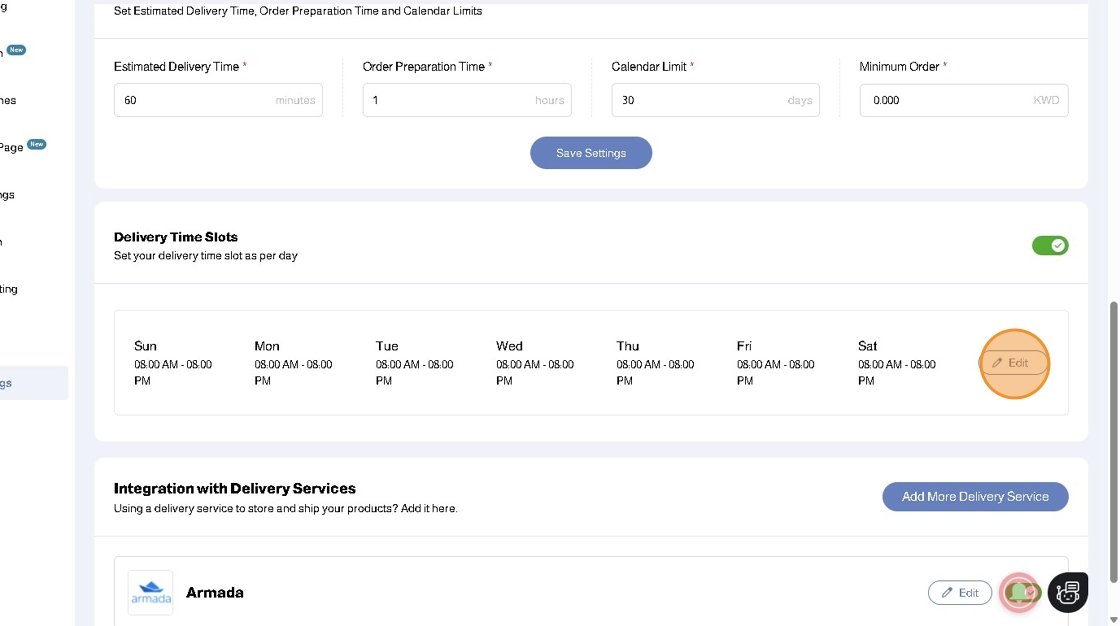
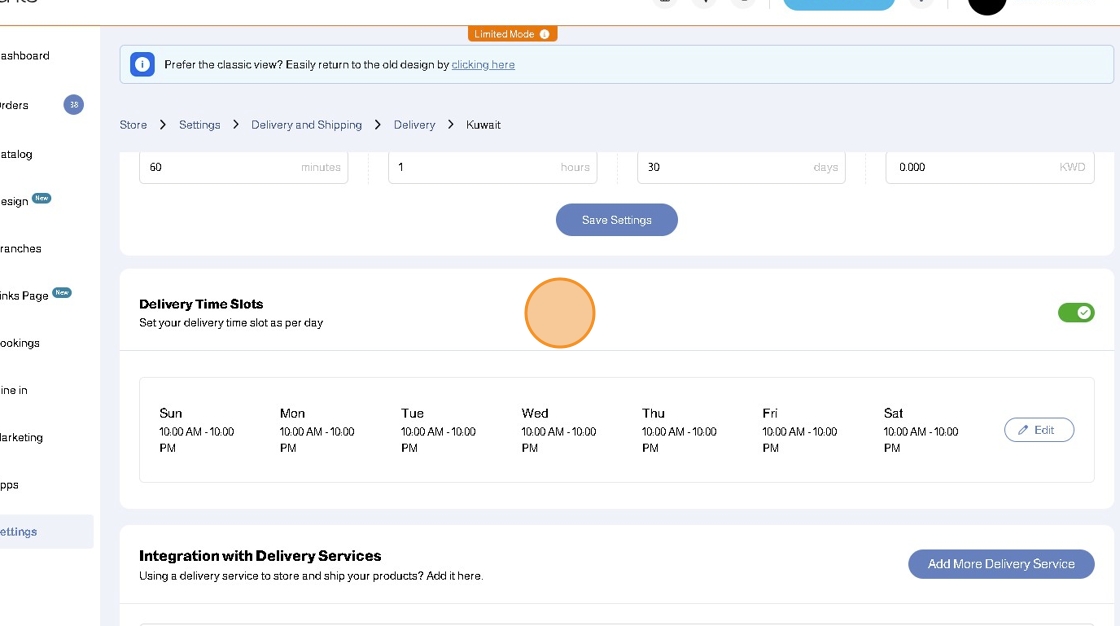
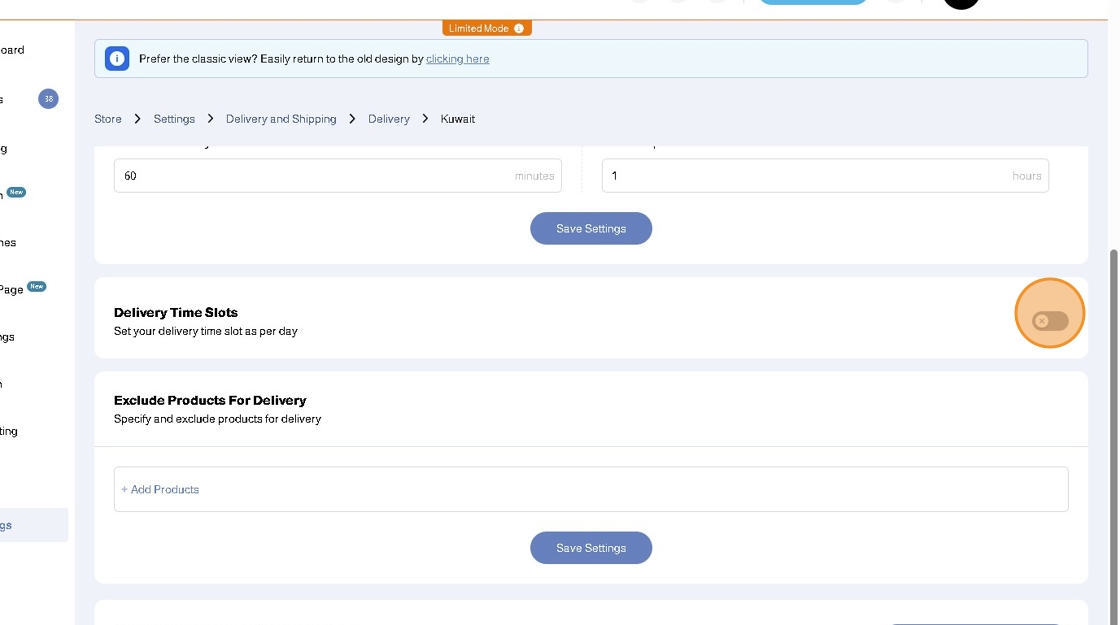
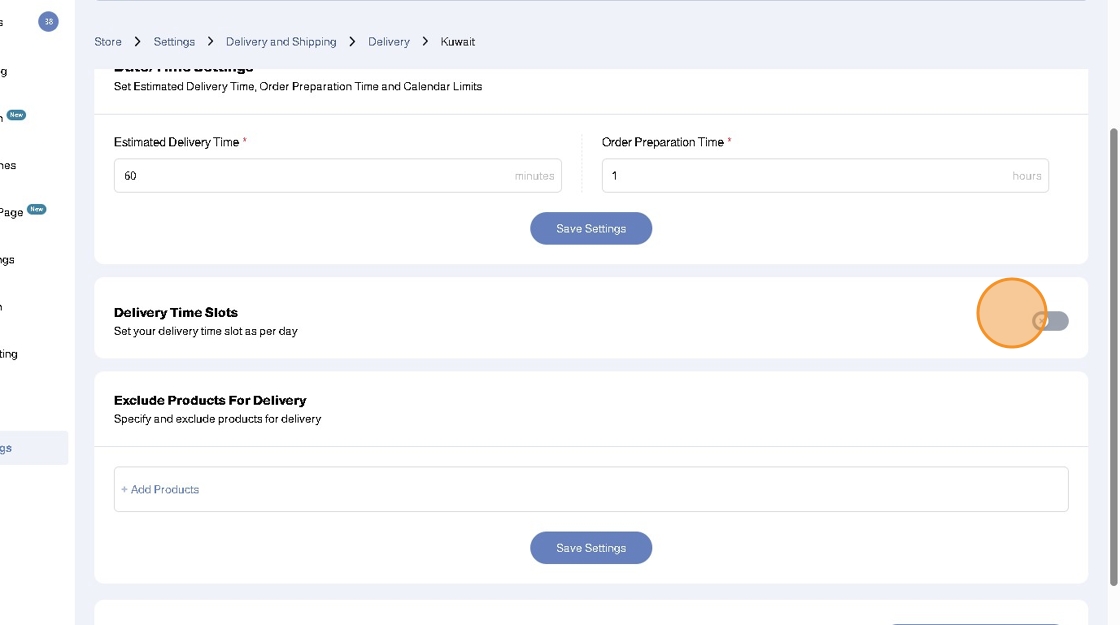
20. If you want to allow your customers to schedule their order delivery at a future time, you have to enable Delivery Time Slots
21. Click Edit to configure your Delivery Time Slots
22. Click Add Time Slots
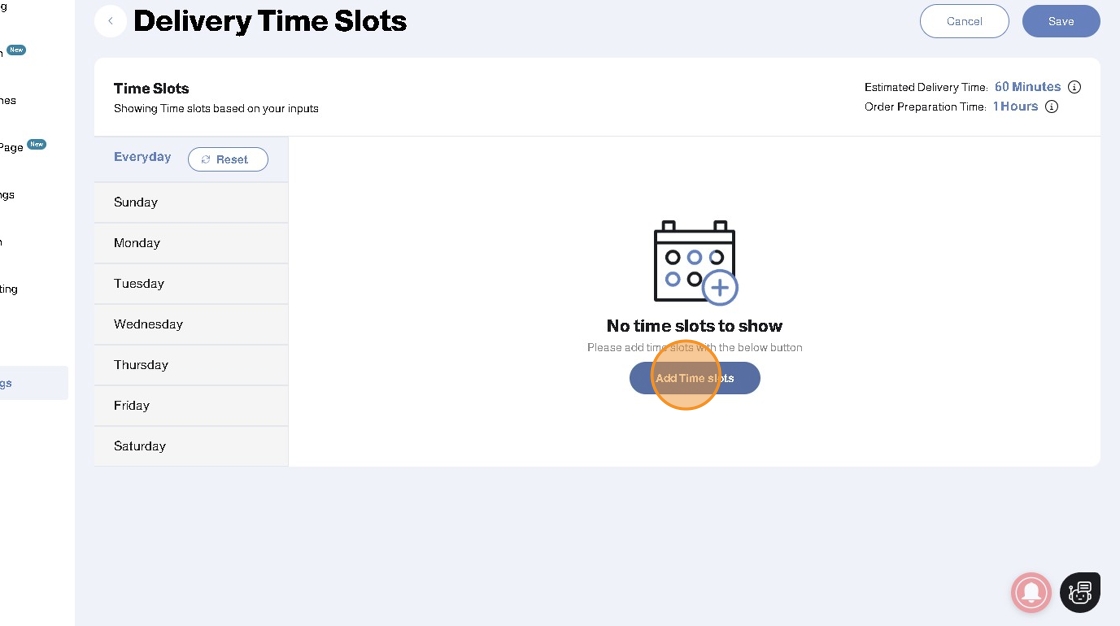
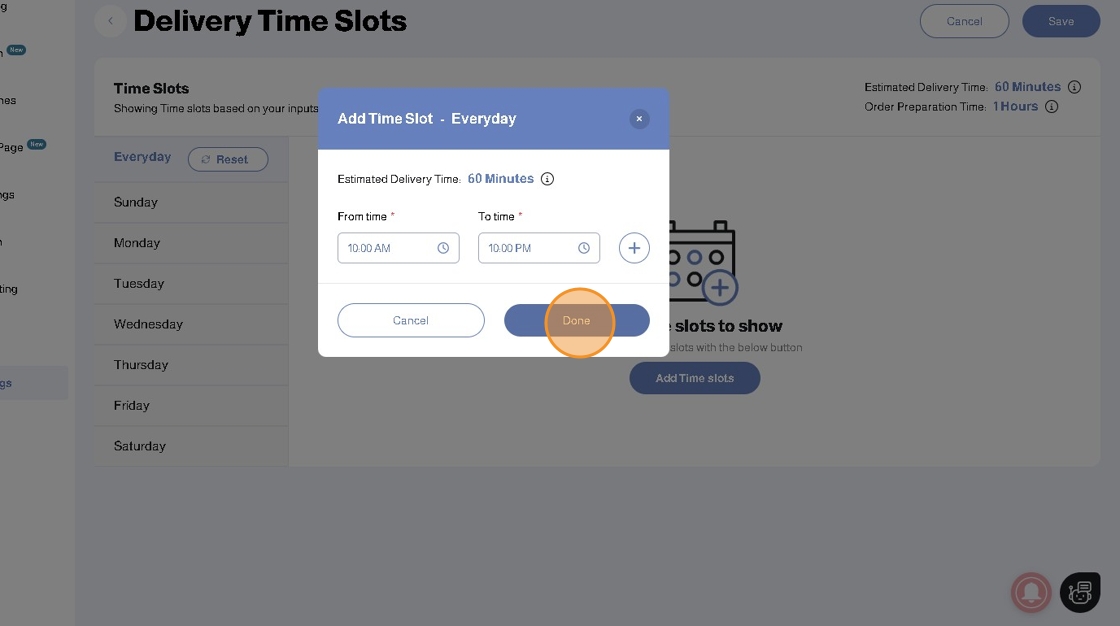
23. Enter your Starting Time and Ending Time or times based on your delivery and operational conditions. The Estimated Delivery Time you have entered will show up and determine the time intervals for the time slots within the Starting and Ending Times you enter
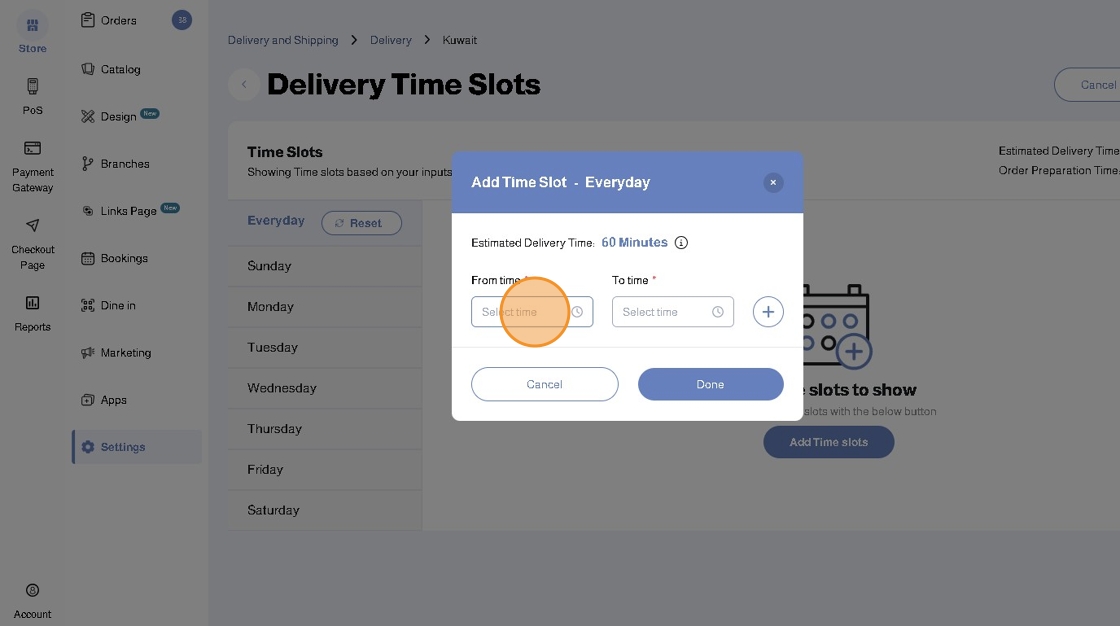
24. The system will add the Time Slots accordingly. In our example, starting 10:00 AM, a 60 minute (1 hour) interval) timeslot will be added: 10:00 AM - 11:00 AM, 11:00 AM - 12:00 PM and so on.
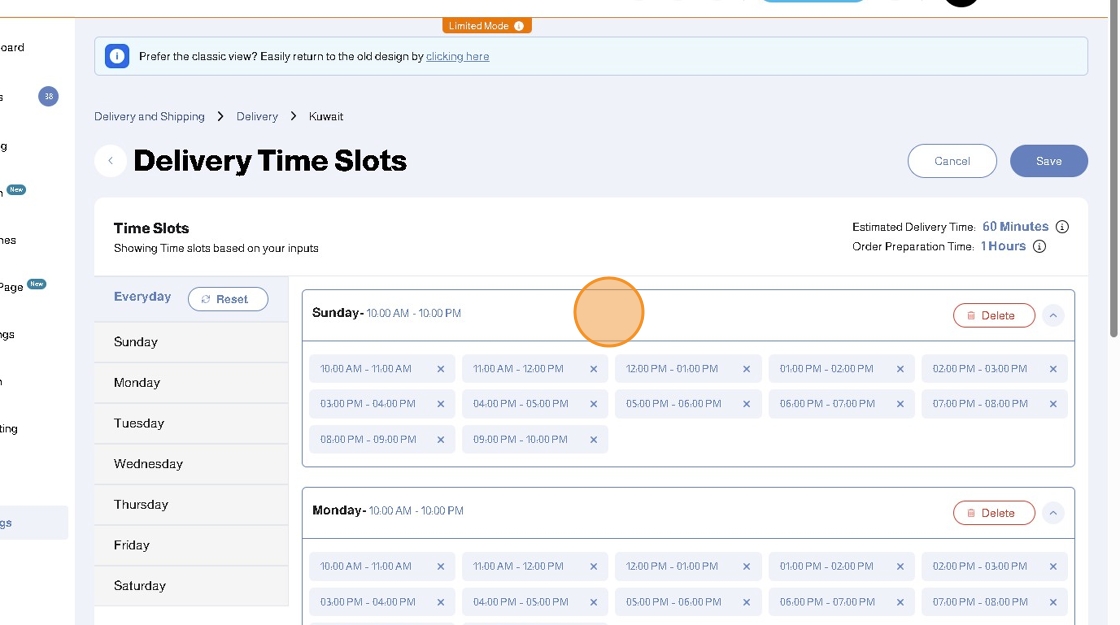
25. Click Save
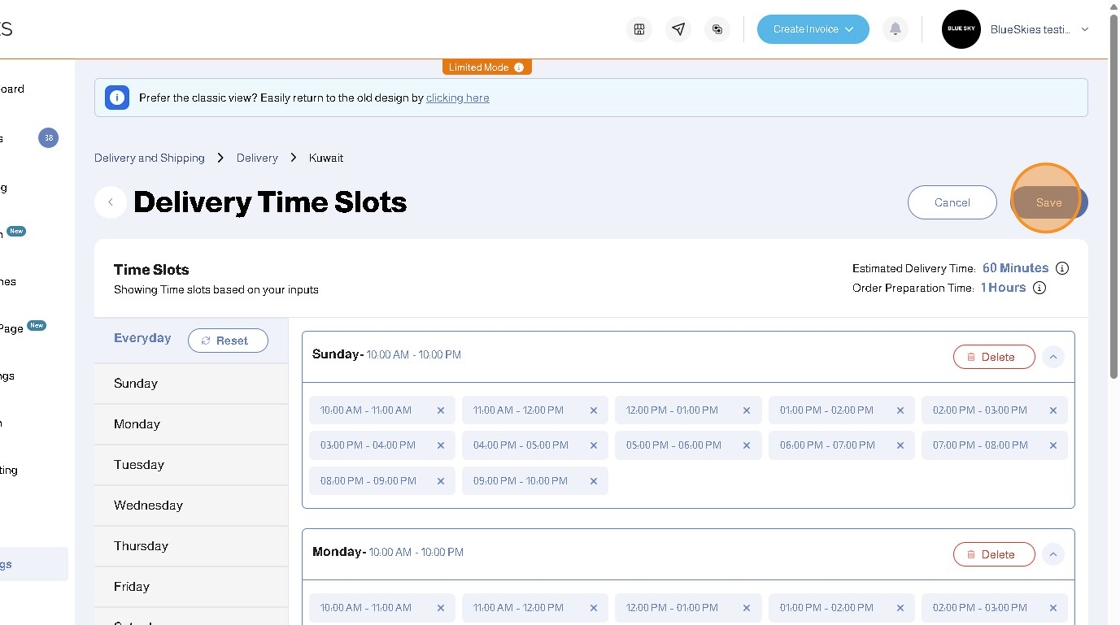
26. Your Time Slots summary will be shown in the Delivery Time Slots
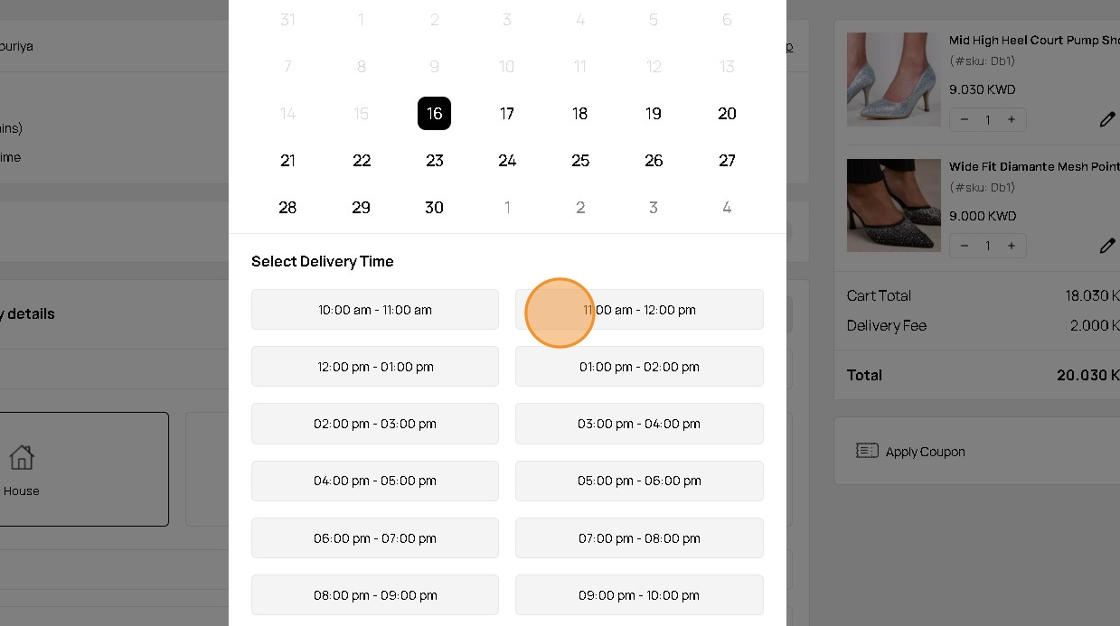
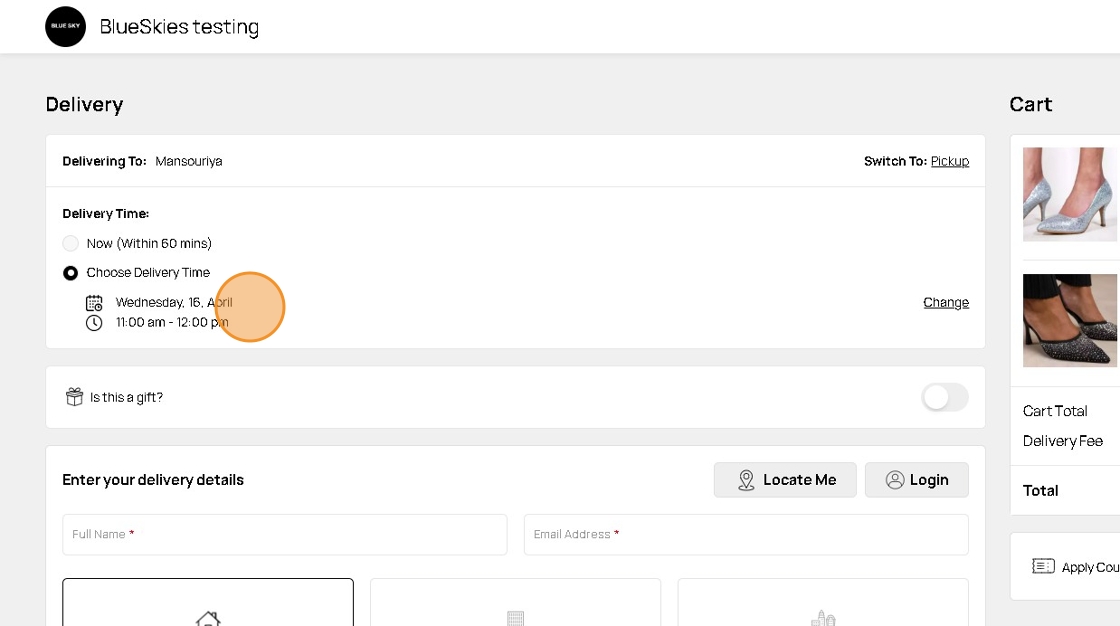
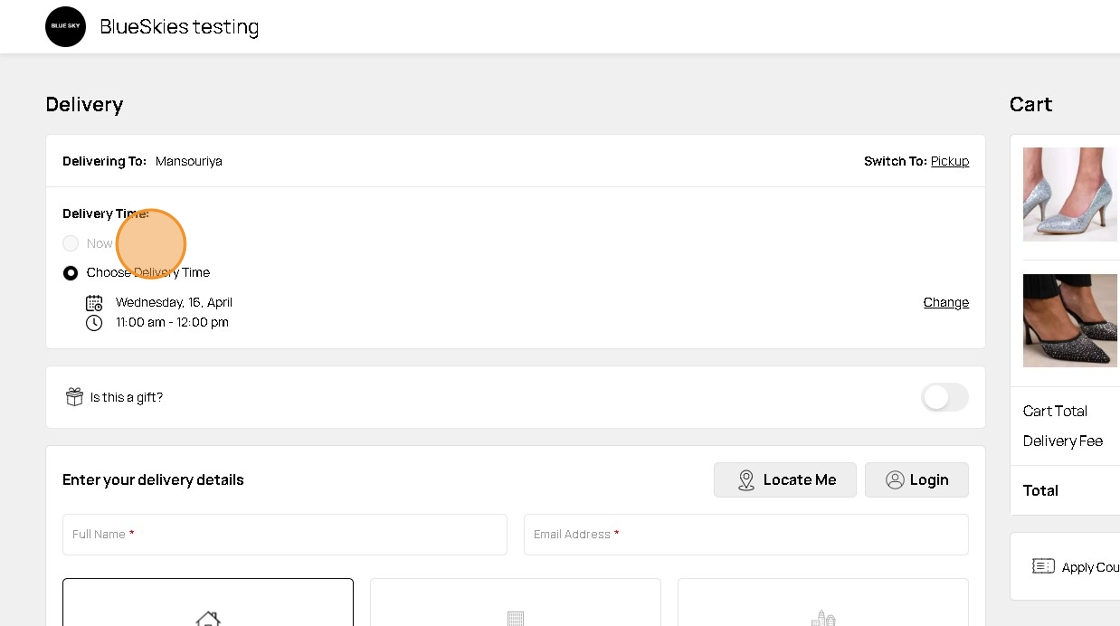
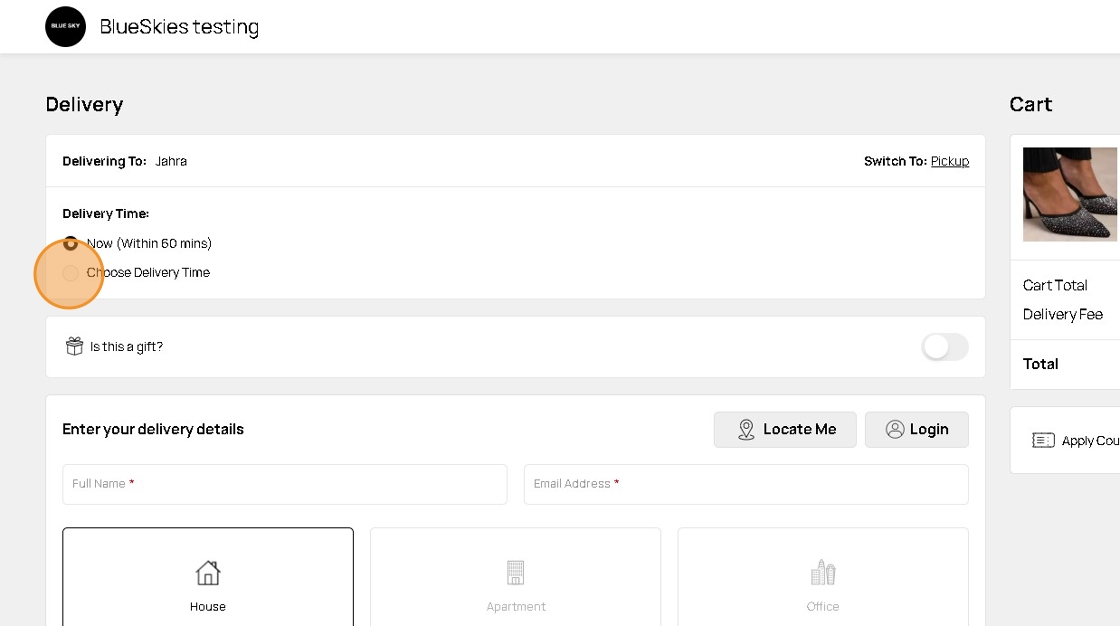
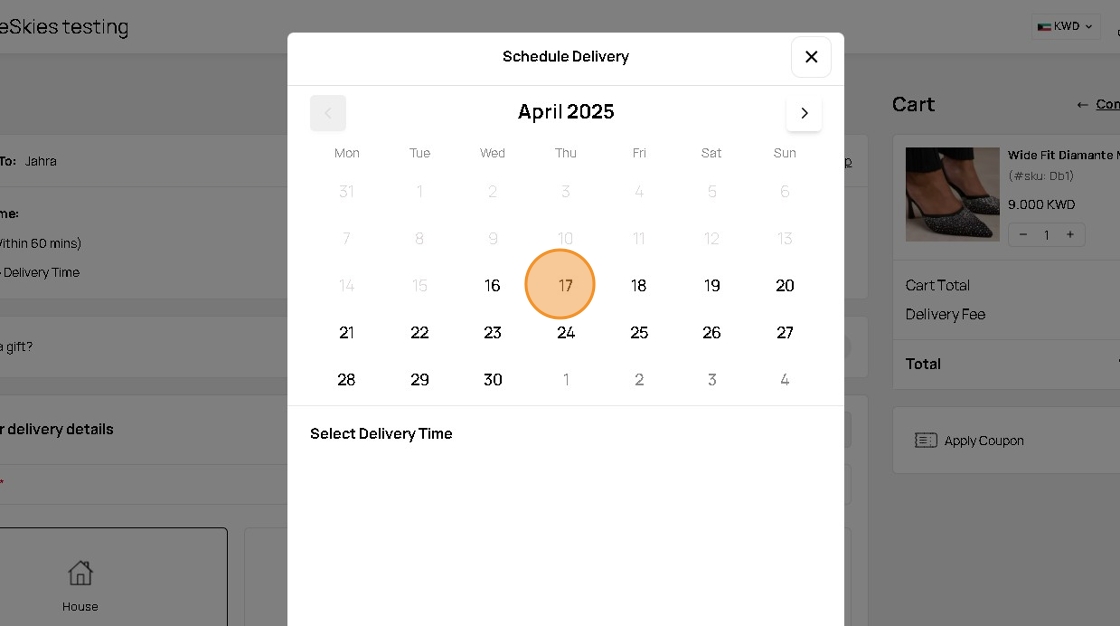
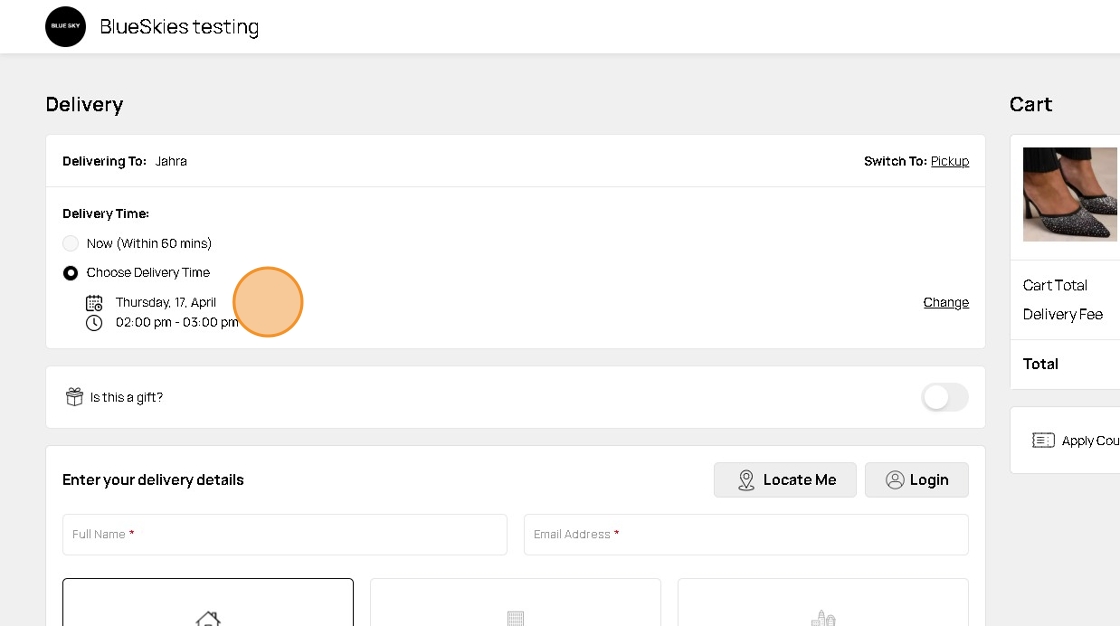
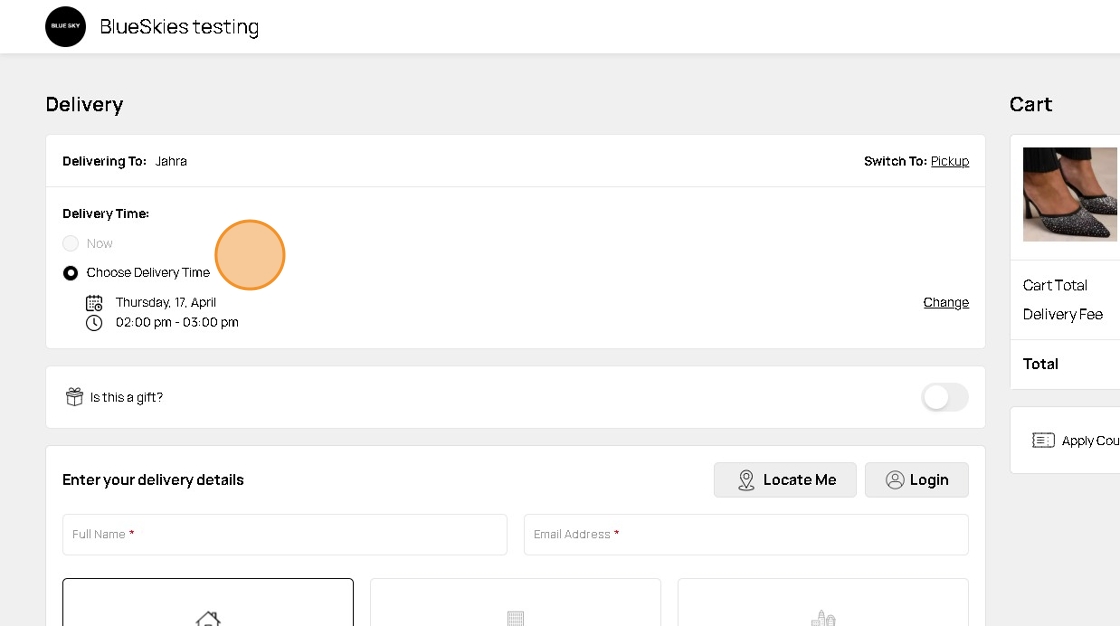
27. With these settings, in your store front, your customers will be able Choose Delivery Time and schedule their delivery in the future
28. Your Calendar Limit will determine the number of days available for order scheduling in the future
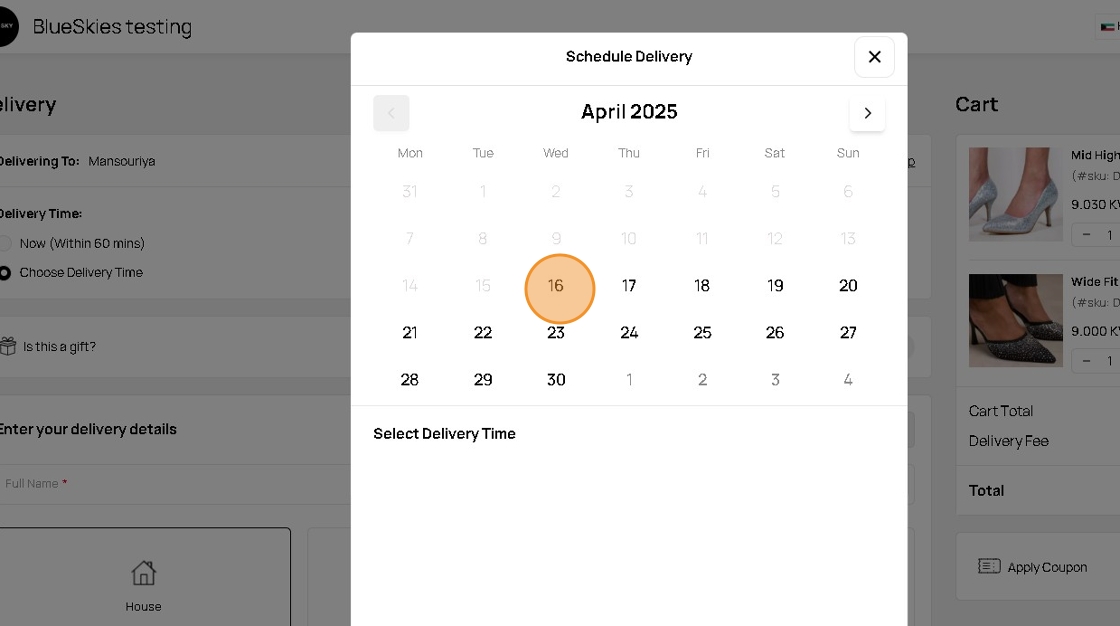
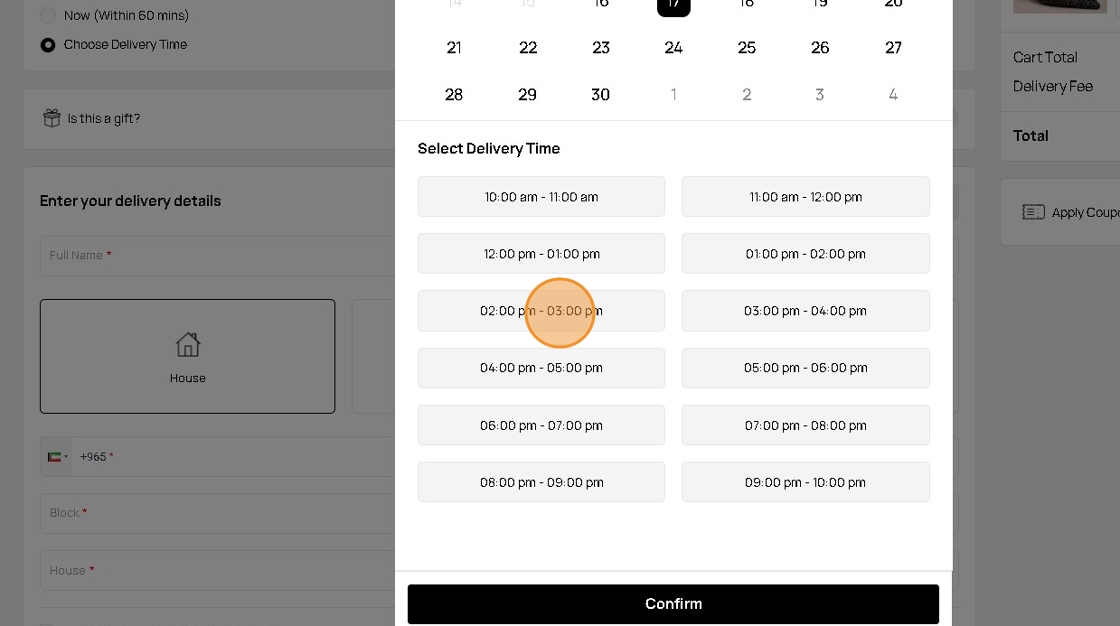
29. Your Time Slots will determine the available delivery times within the chosen day
Controlling General Delivery's Deliver Now and Choose Delivery Time Visibility
If you want to show or hide the Deliver Now Option or Choose Delivery Time Option or Both, follow the steps below
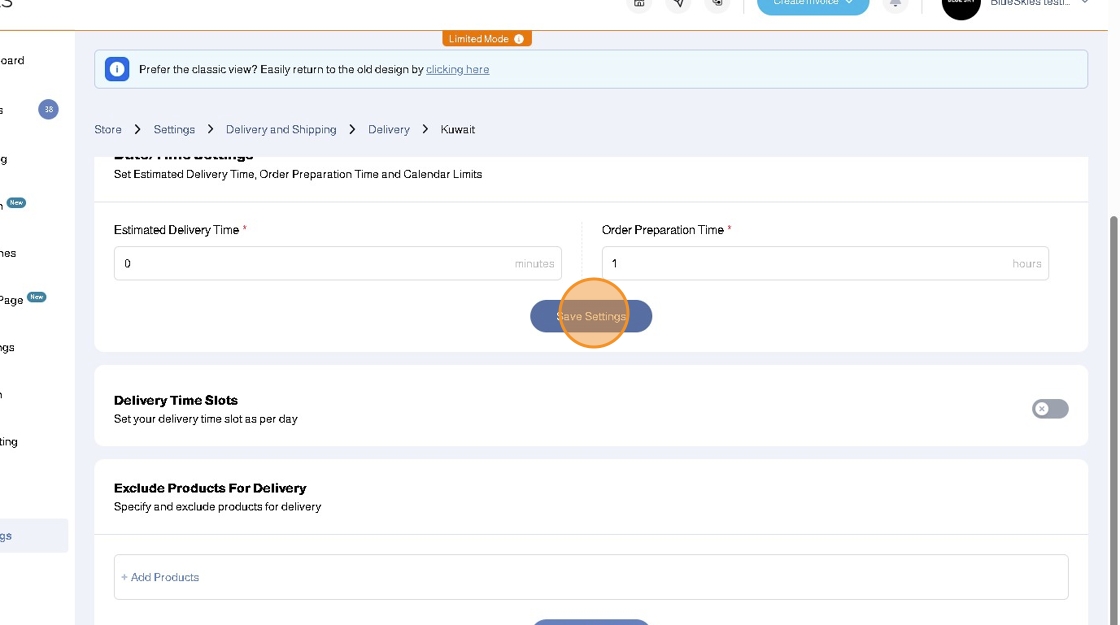
1. To Hide/Disable the Deliver Now Option:
Set your Estimated Delivery time to be ZERO (0)
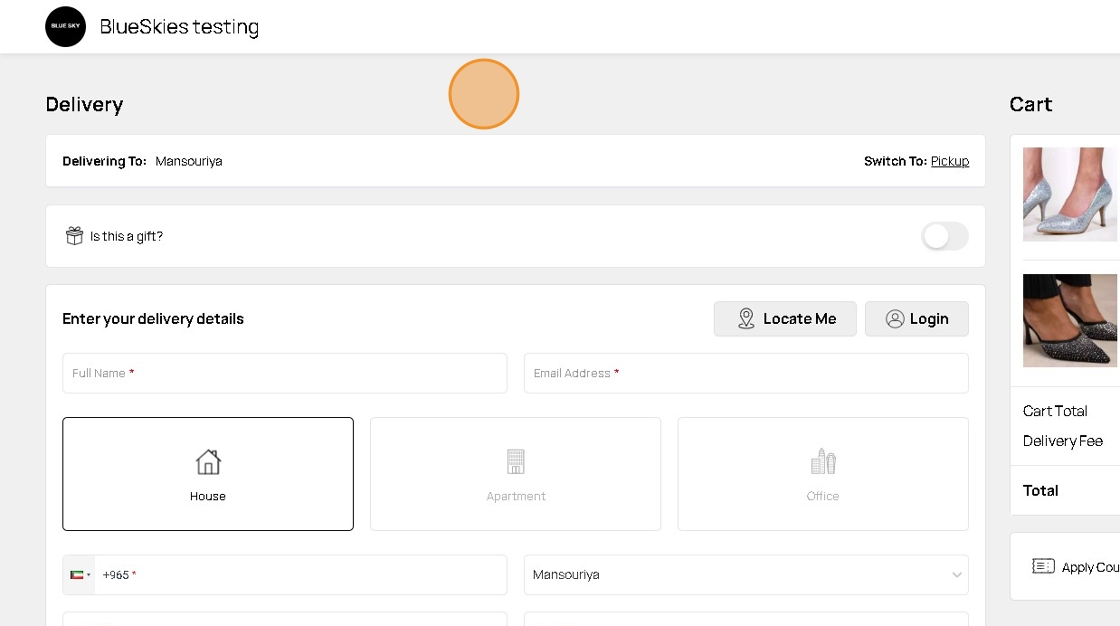
2. With these settings, in your store front, the option for Deliver Now will be disabled
3. To Hide/Disable the Choose Delivery Time:
Disable the Delivery Time Slots toggle
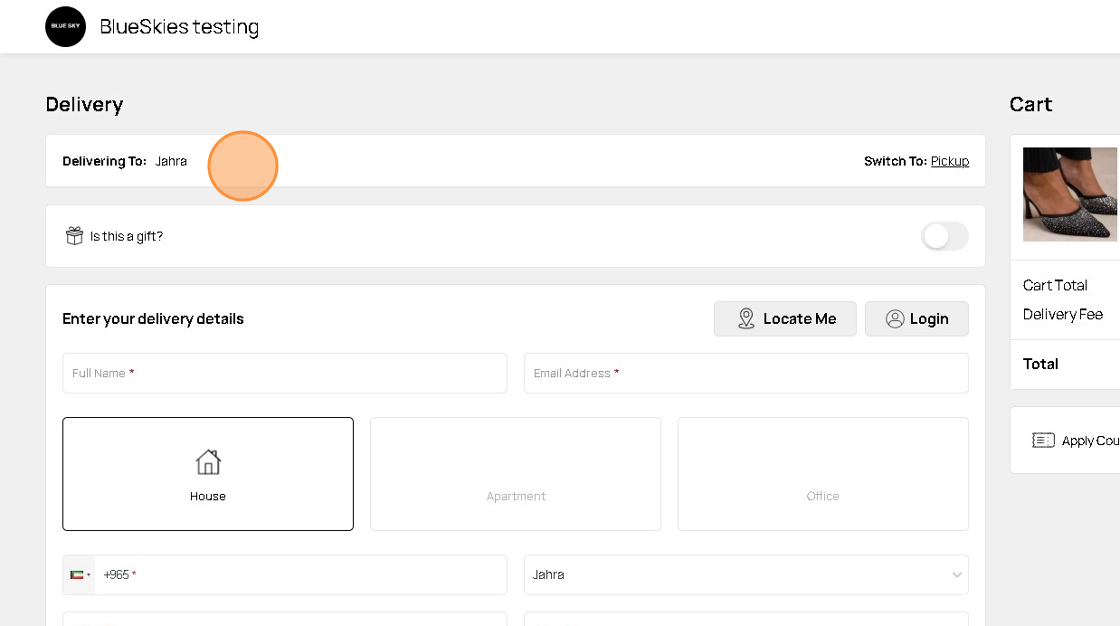
4. With these settings, in your store front, the option for Choose Delivery Time will be disabled
5. To Hide/Disable the both the Deliver Now Option and Choose Delivery Time:
Set your Estimated Delivery time to be ZERO (0)
and
Disable the Delivery Time Slots toggle

6. With these settings, in your store front, the options for Deliver Now Option and Choose Delivery Time will be disabled
Branch Delivery
To setup your delivery settings to be based on your branch times and availability, you can setup the Branch Delivery option as follows:
Follow our comprehensive article on adding branches to your store
Branch Business Hours
1. After following our article and adding your Branch Information
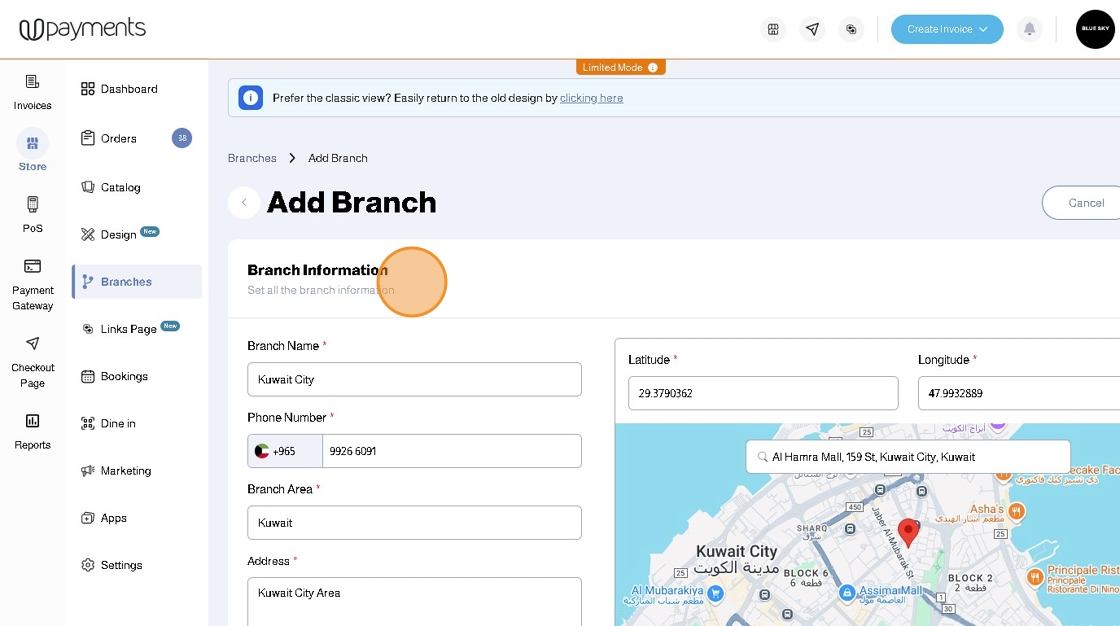
2. Add your Branch Business Hours
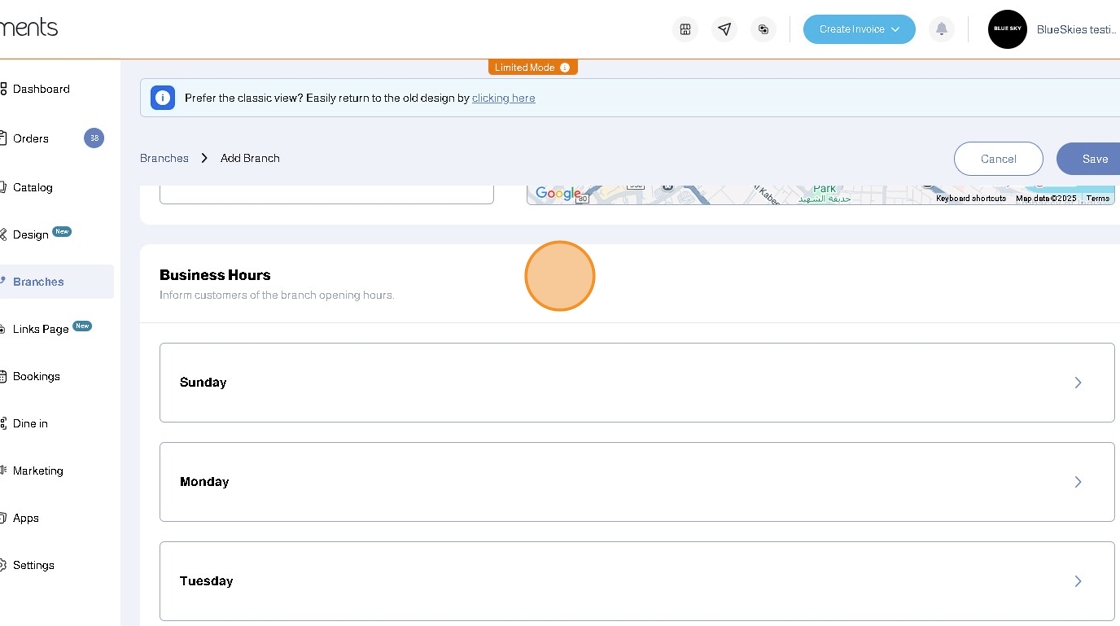
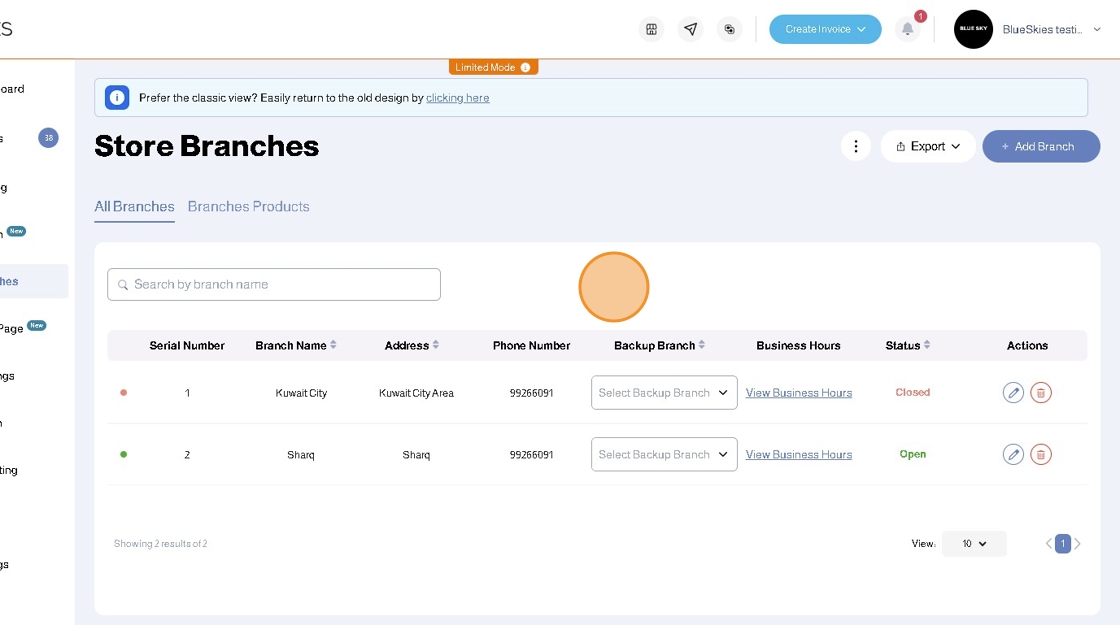
3. Branch Business Hours that will determine when delivery will be available and when delivery will be unavailable outside your store's business hours, regardless of any other settings for that branch. You can see which branches are open or closed in the Branches page
4. If a customer tries to proceed to checkout after choosing an area that a Closed branch serves, they will be informed that they cannot place orders outside the Branch Business Hours
Branch Delivery Settings
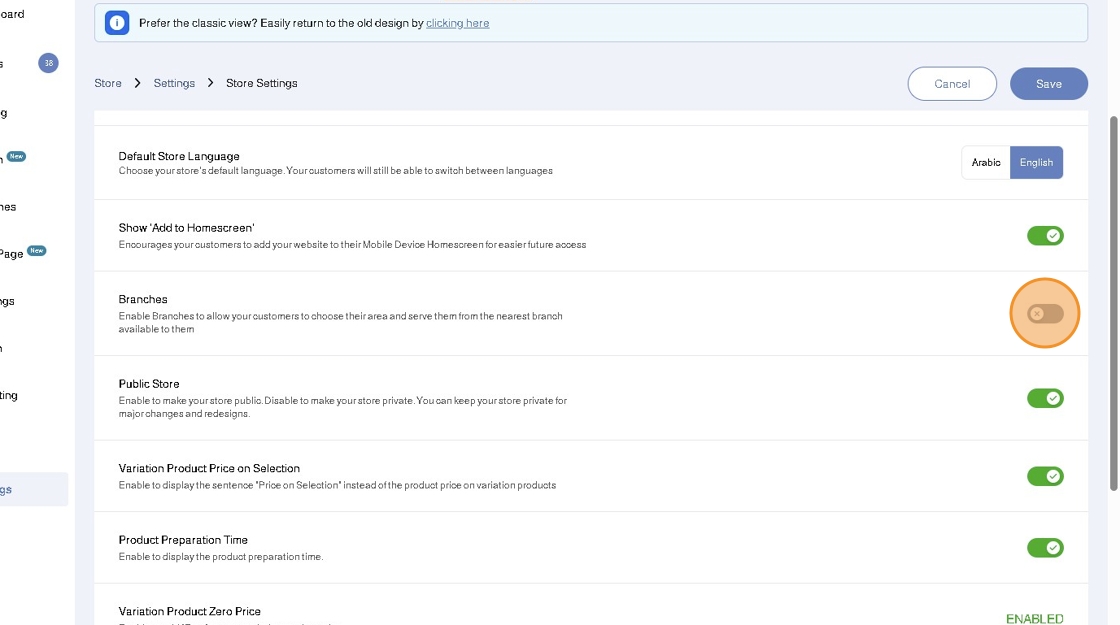
1. Click Store Settings
2. Enable Branches to be able to configure and have your store delivery follow the settings and rules you set in Branch Delivery
3. Click Settings

4. Click Delivery and Shipping
5. Click Delivery
6. Next to Kuwait Click Select Delivery Option
7. Click Branch Delivery
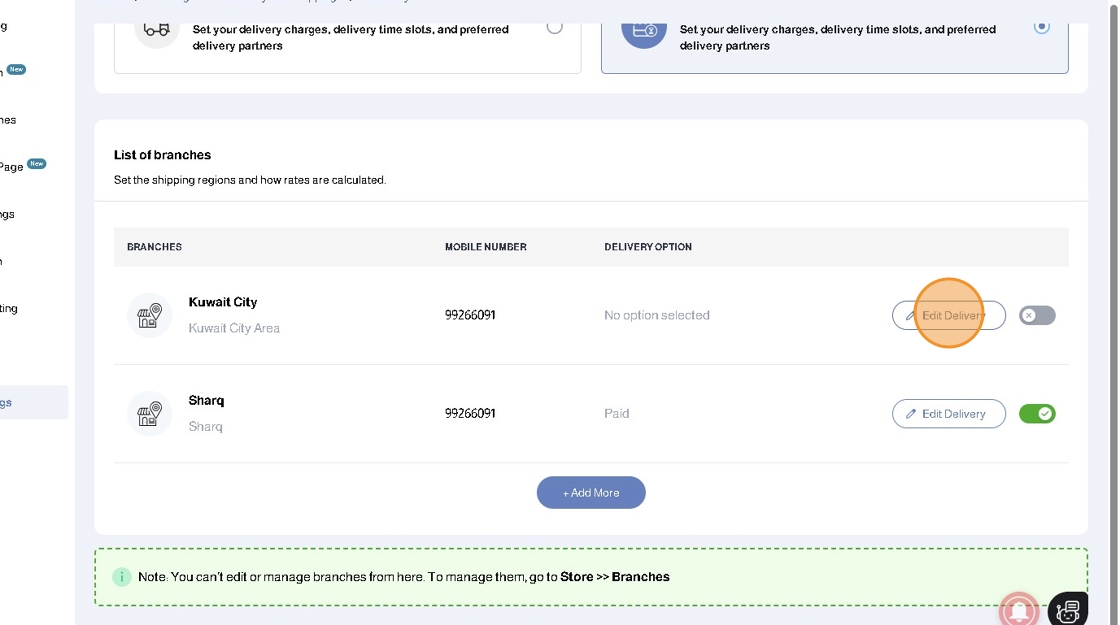
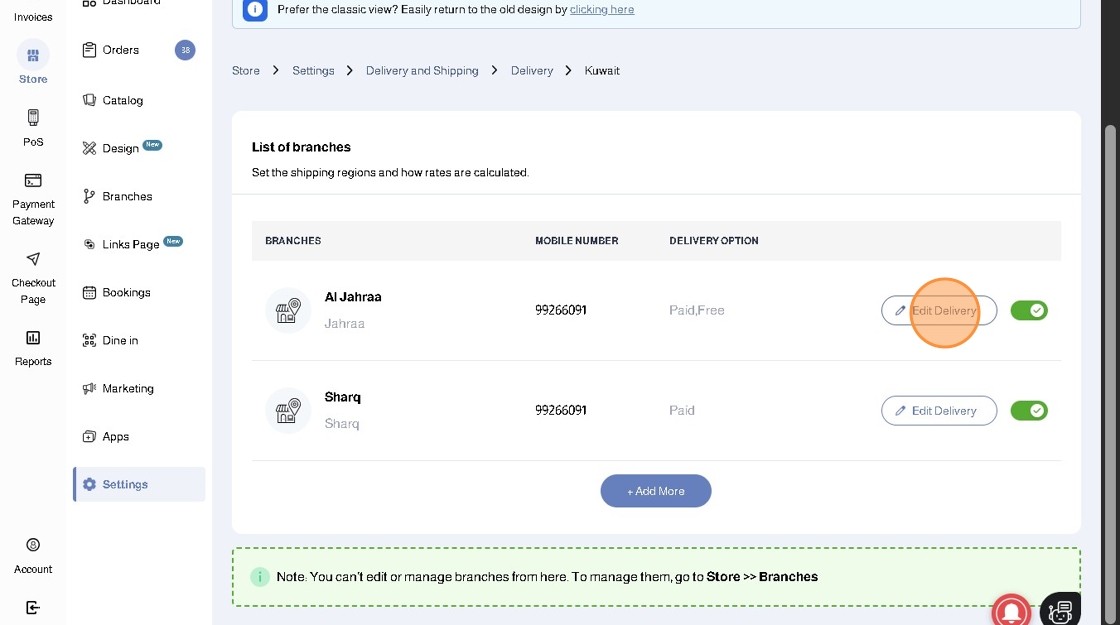
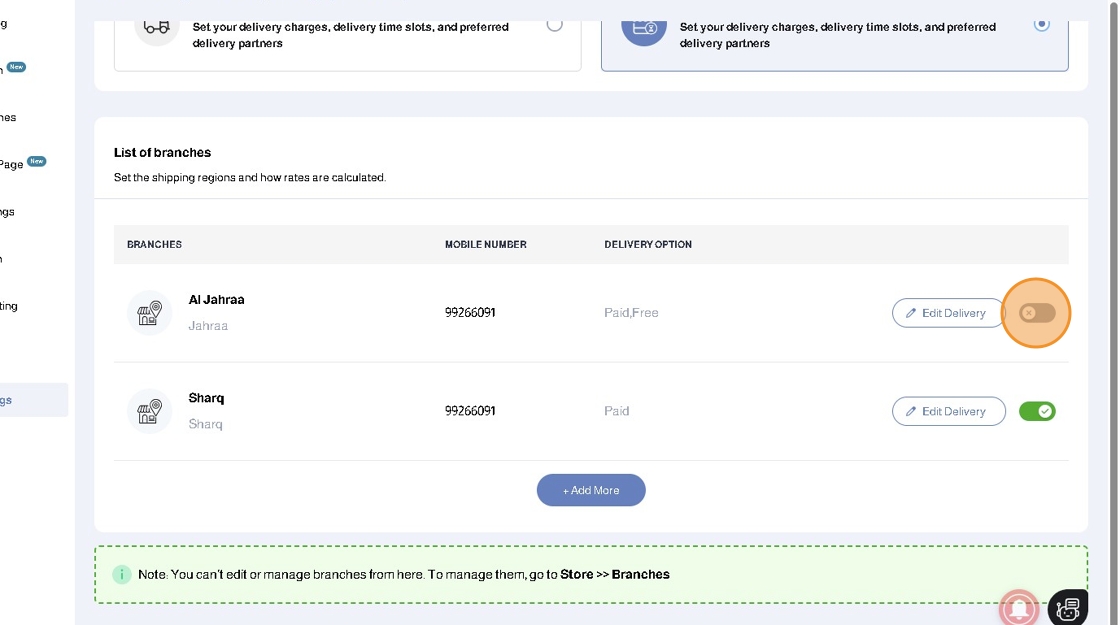
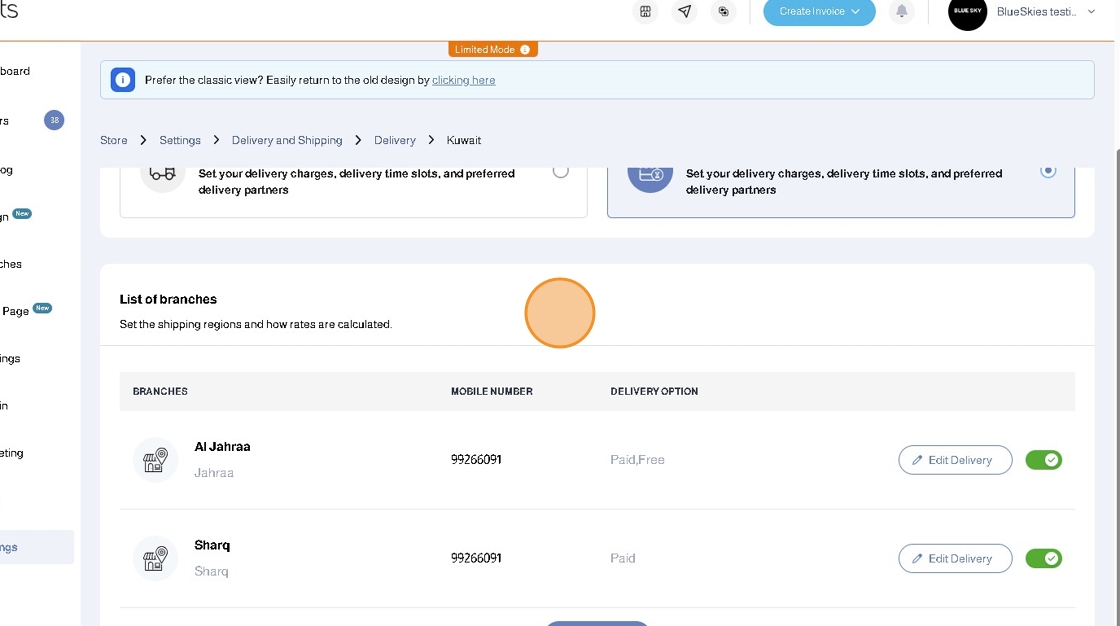
8. A list of your Branches will be displayed for you to configure the delivery settings for each one of them separately
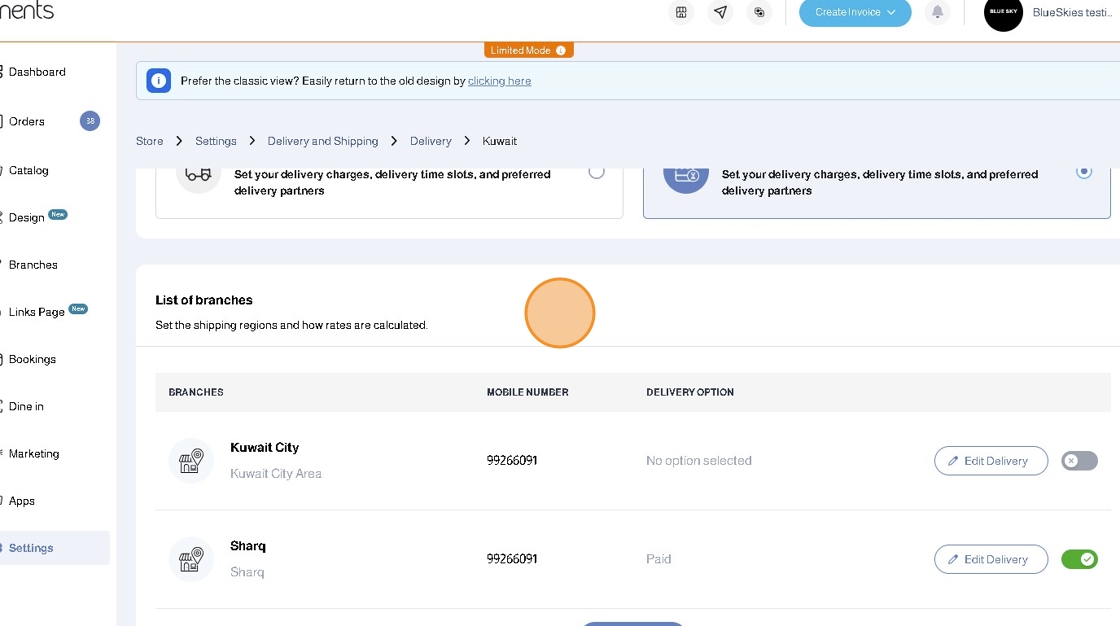
9. Click Edit Delivery for your desired Branch
10. Click + Add Area
11. When you configure Delivery Areas and Add Area, you can set the following settings for an area or a group of multiple areas:
- Delivery charges
- Minimum order amount (Optional)
- Offering Free Delivery if the Cart exceeds a specific amount (Optional)
12. Click Save
13. Click Edit Delivery for the branch which you just configured the delivery areas for
14. Toggle the delivery areas you have just configured to be ON
15. Toggle the Branch to be ON
16. Click Edit Delivery for the branch which you just configured the delivery areas for

17. Enter the Estimated Delivery Time and Order Preparation Time
The Estimated Delivery Time will enable and determine the Deliver Now Option Time
18. Given that you have enabled Branch Delivery, your customers will be prompted to choose their delivery location if they add any product to cart without choosing the delivery location first. This will determine which branch delivery settings will apply to the customer's respective location
19. If your Branch is Closed (Outside Working Hours), customers will not be able to proceed to Checkout and will instead be notified of the branch's working hours

20. If your branch is Open, your customers will be able to proceed to checkout
21. With the Estimated Delivery Time configured, the option for Deliver Now will be available
22. To enable the Choose Delivery Time option for a branch, you must enable the Delivery Time Slots for that specific branch
23. Click Add Time Slots

24. Add the Start and End time or several times and click Done
25. The Delivery Time Slots will be filled accordingly. Click Save

26. The Choose Delivery Time will be available for your customers
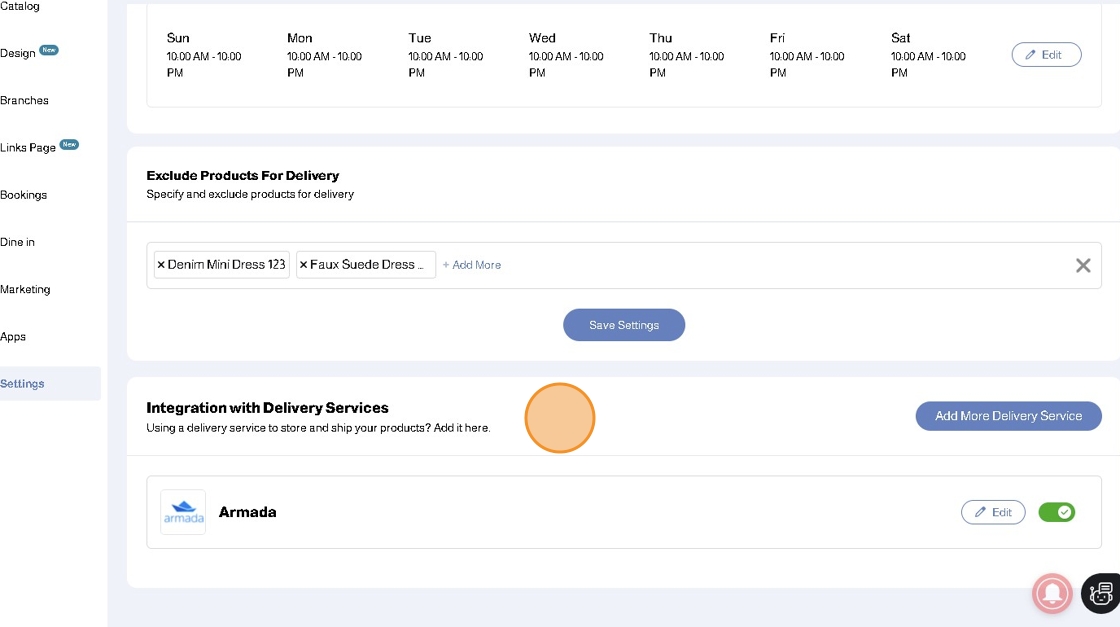
27. You can Exclude Products For Delivery for that specific branch
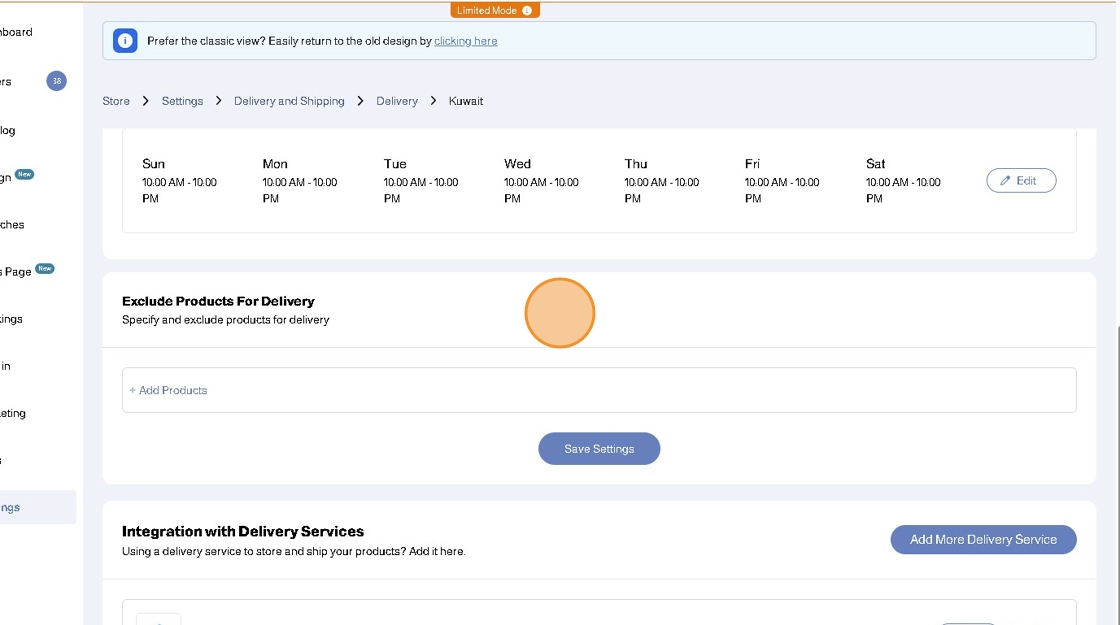
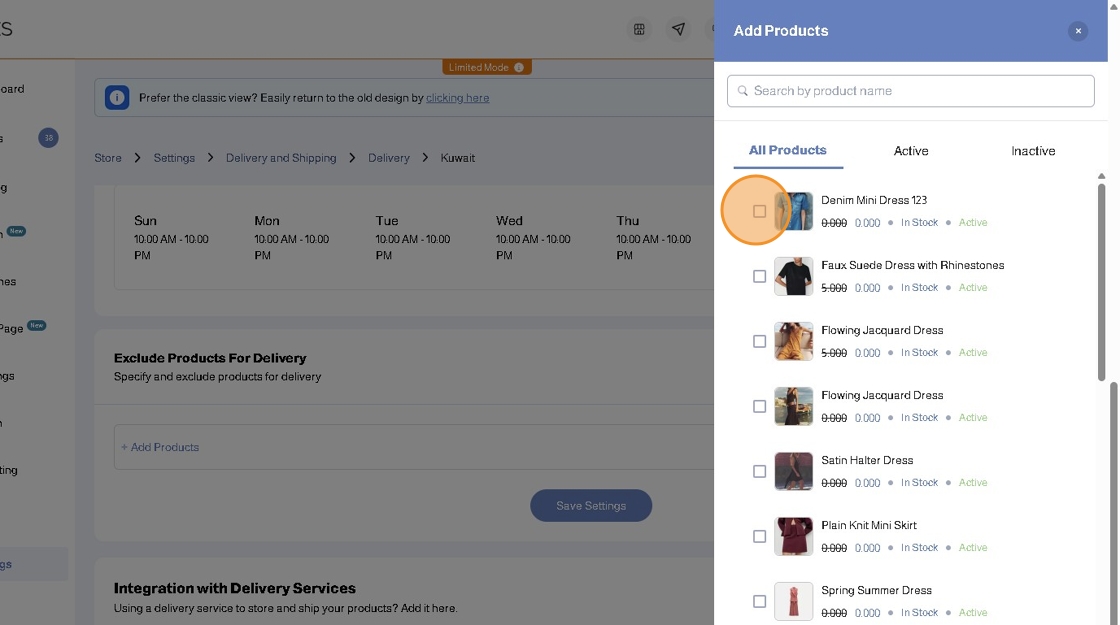
28. Click Add Products
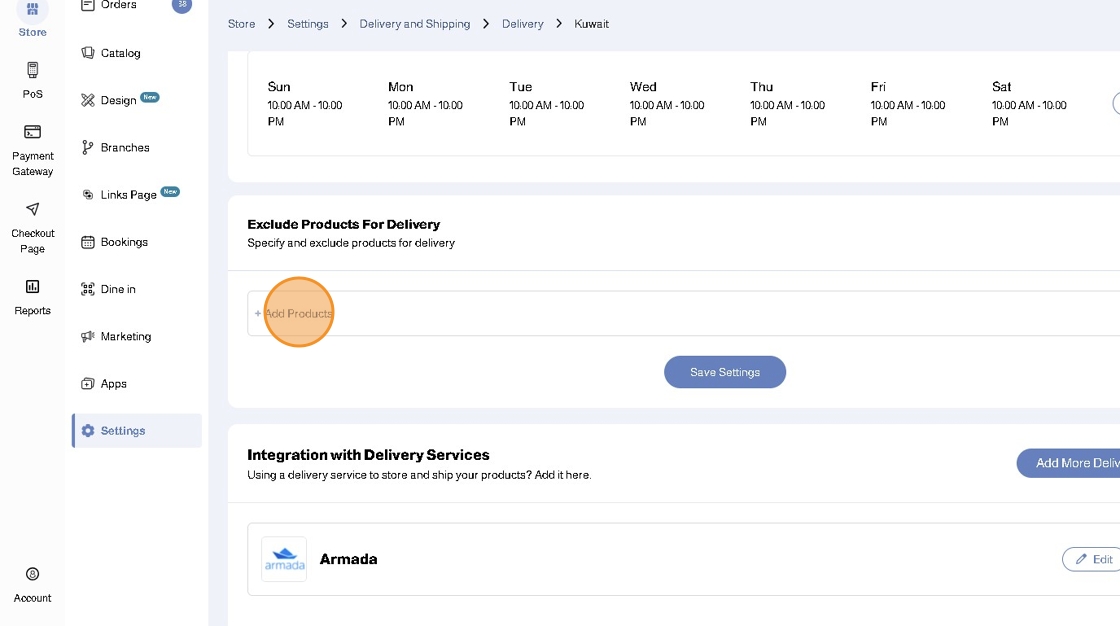
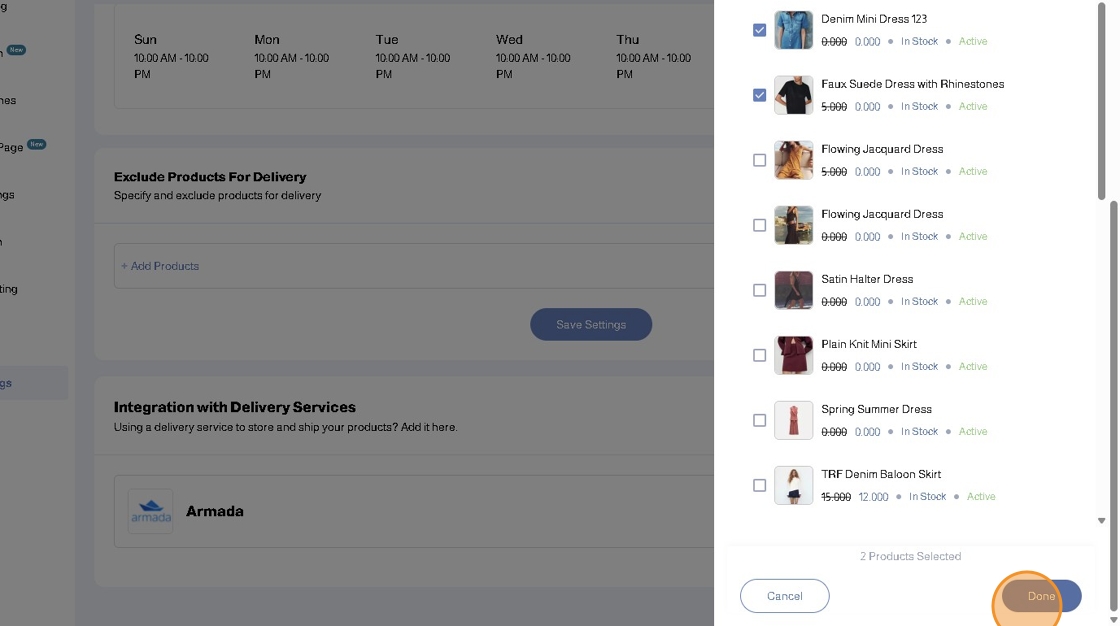
29. Choose the products you want to exclude from delivery for that specific branch
30. Click Done
31. Click Save Settings
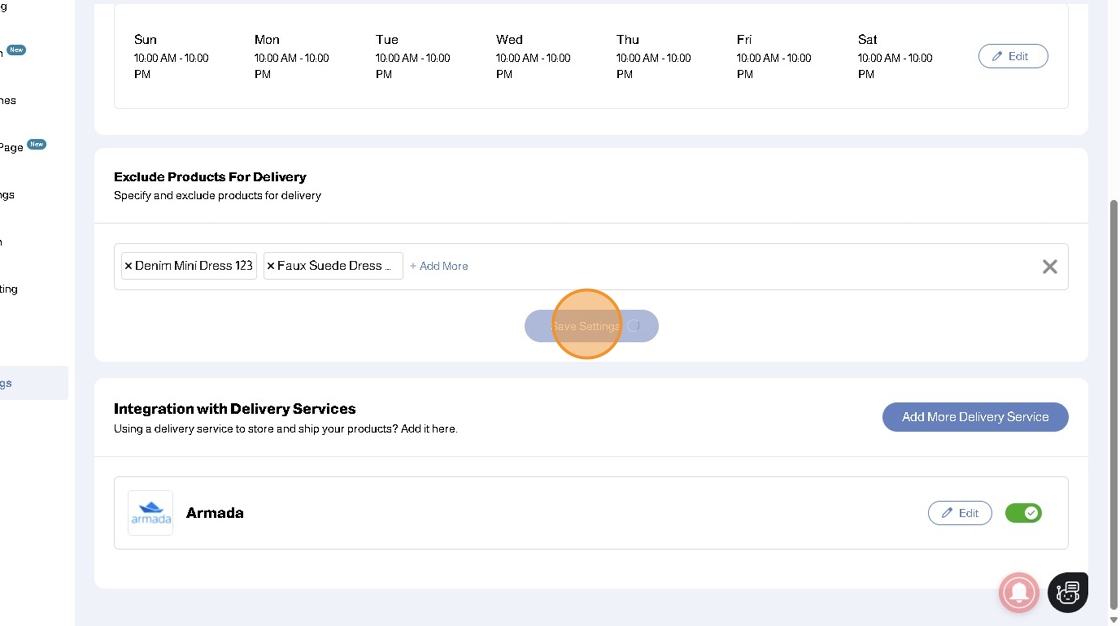
Read more about Integration with Delivery Services in our comprehensive guide
Controlling Deliver Now and Choose Delivery Time Visibility for Branch Delivery
If you want to show or hide the Deliver Now Option or Choose Delivery Time Option or Both, follow the steps below
1. Choose your desired branch and click Edit Delivery
2. To Hide/Disable the Deliver Now Option:
Set your Estimated Delivery time to be ZERO (0)
3. With these settings, in your store front, the option for Deliver Now will be disabled
4. To Hide/Disable the Choose Delivery Time:
Disable the Delivery Time Slots toggle
5. With these settings, in your store front, the option for Choose Delivery Time will be disabled

6. To Hide/Disable the both the Deliver Now Option and Choose Delivery Time:
Set your Estimated Delivery time to be ZERO (0)
and
Disable the Delivery Time Slots toggle
7. With these settings, in your store front, the options for Deliver Now Option and Choose Delivery Time will be disabled
Special: Product Preparation TIme Impact on Deliver Now Settings
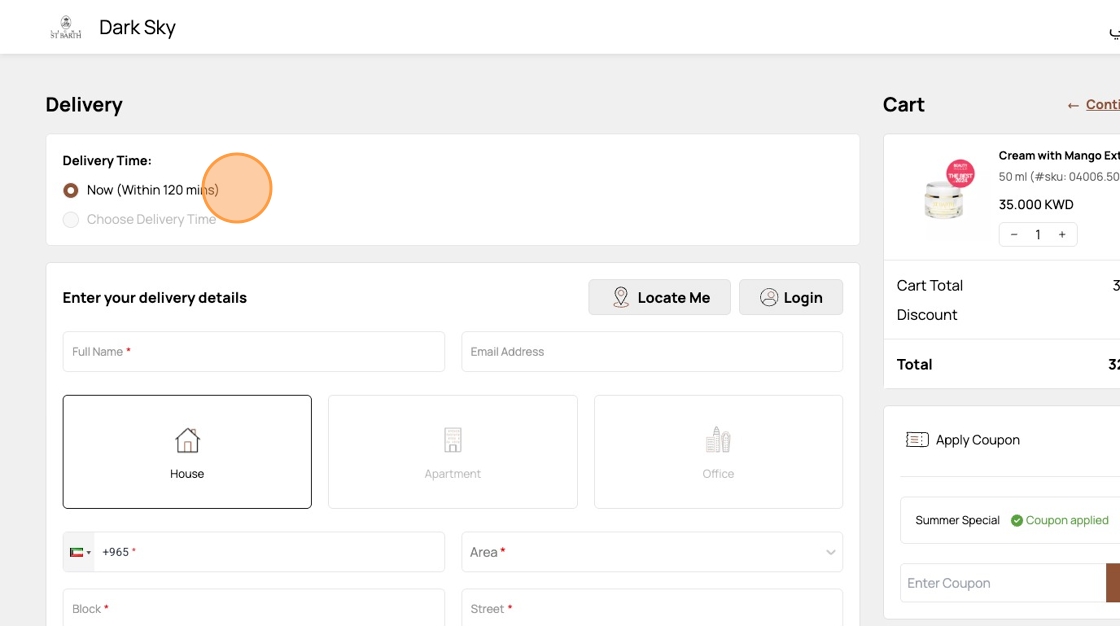
If you have Product Preparation Time enabled, and that product is added to cart, the delivery time for Now will display the highest time between Product Preparation Time and Estimated Delivery Time in the delivery settings
For example:
If your Estimated Delivery Time is 60 Minutes
and a product with Product Preparation time of 2 Hours (120 Minutes) is added to cart, the Deliver Now Option will display (within 120 Minutes)
To enable Product Preparation Time, follow the steps below:
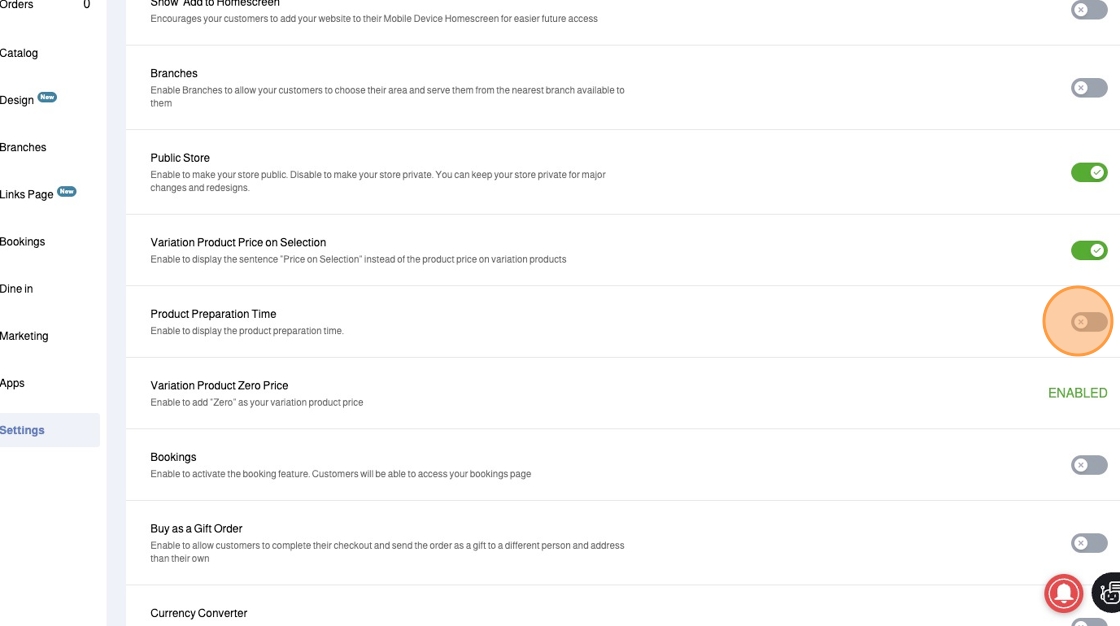
1. Under Store > Settings
Toggle the Product Preparation Time
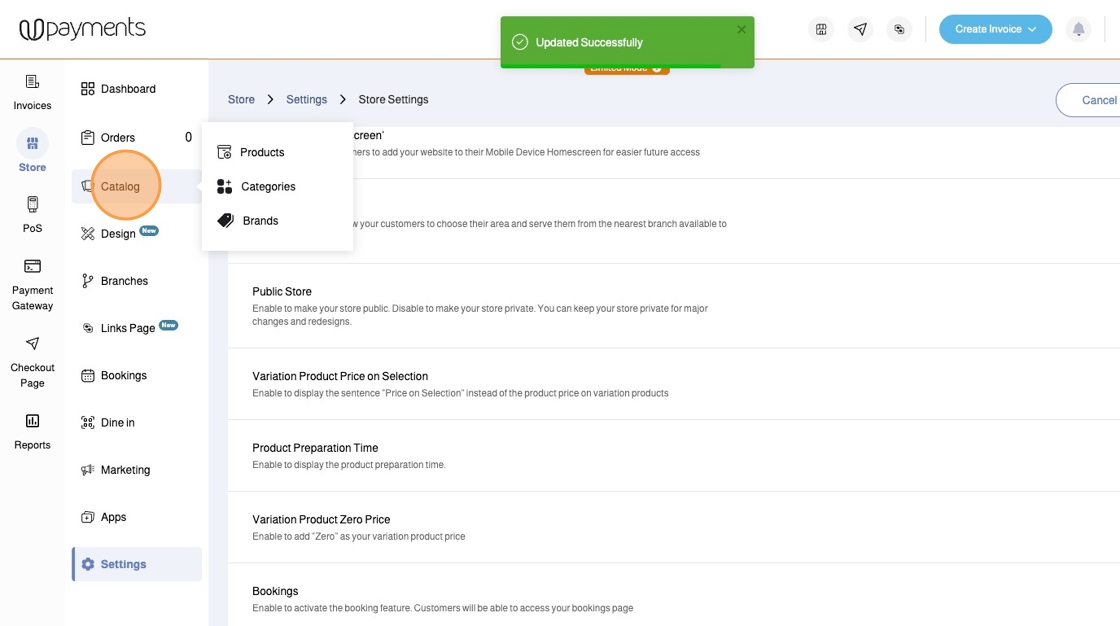
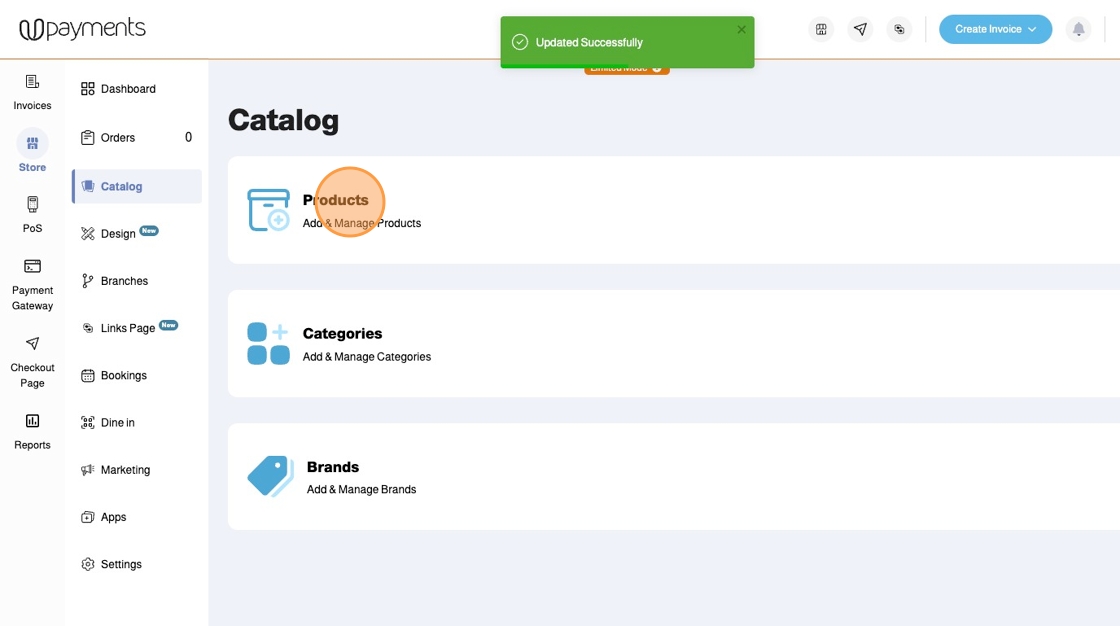
2. Click Catalog
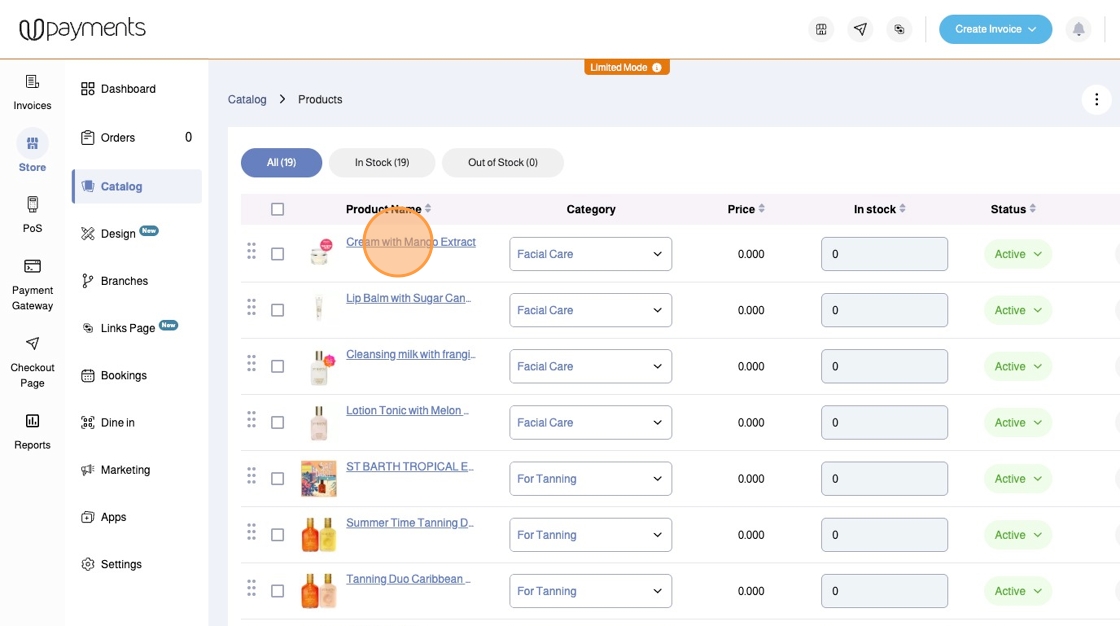
3. Click Products
4. Edit an existing product or add a new one
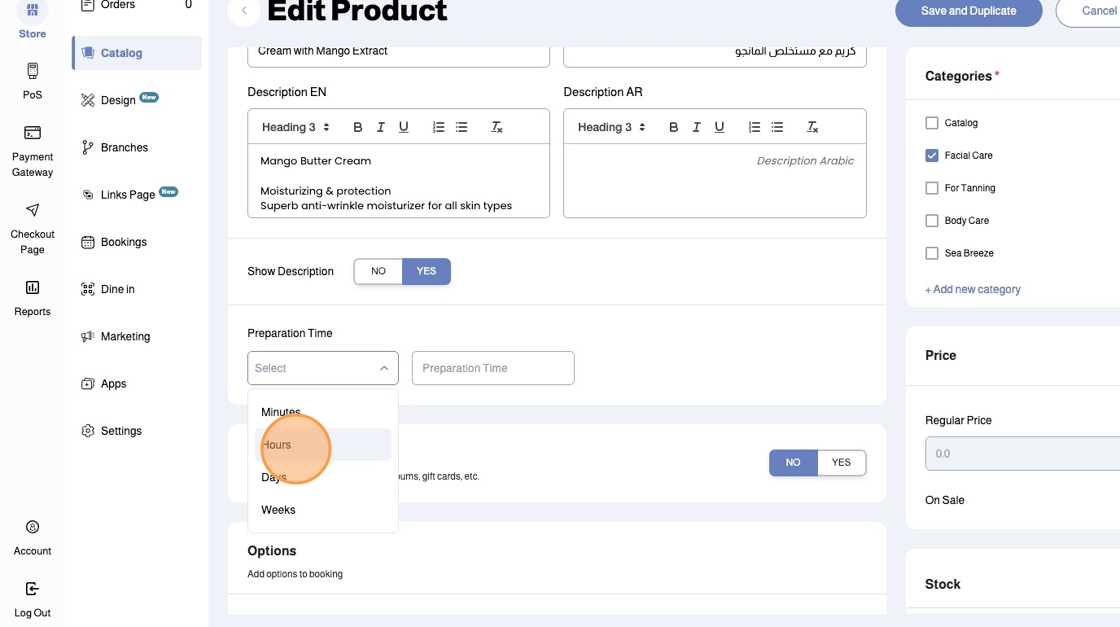
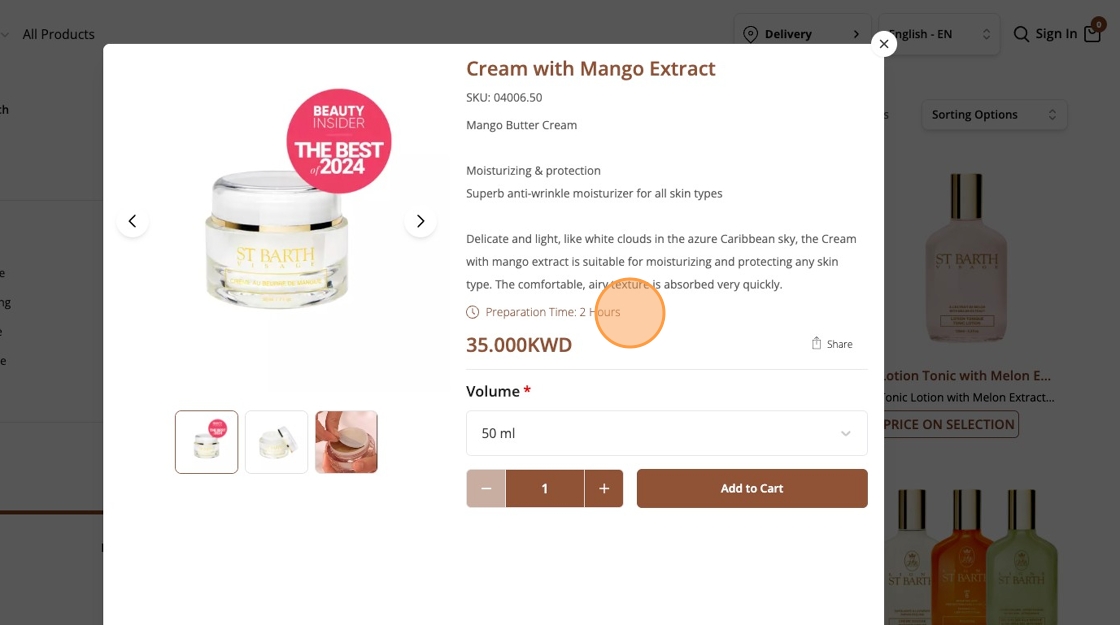
5. Under Preparation Time select the time unit and enter the number for the preparation time
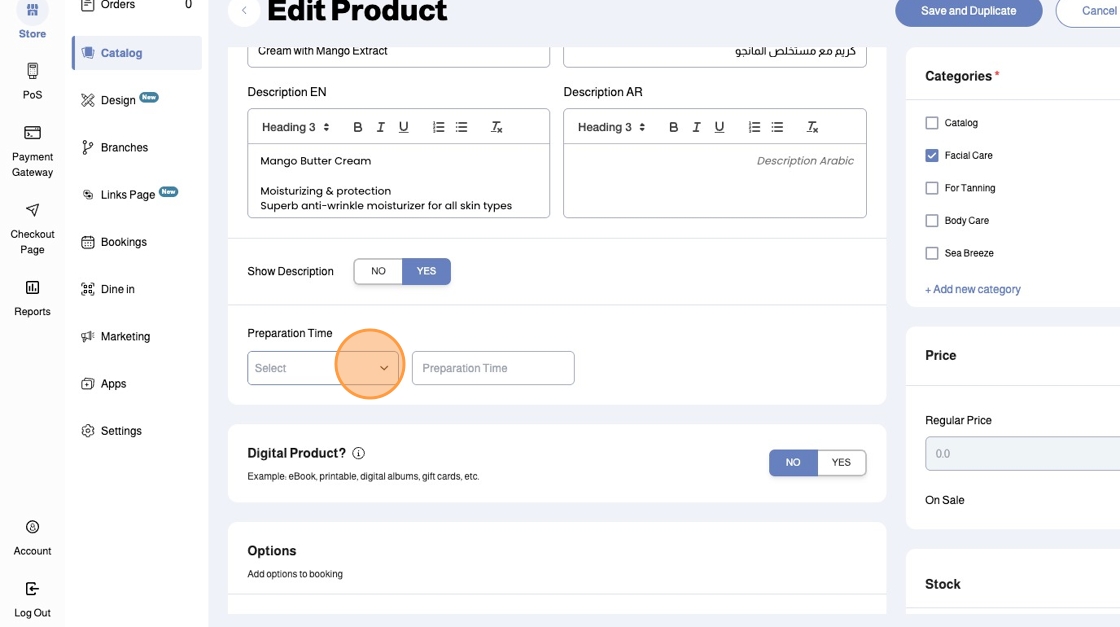
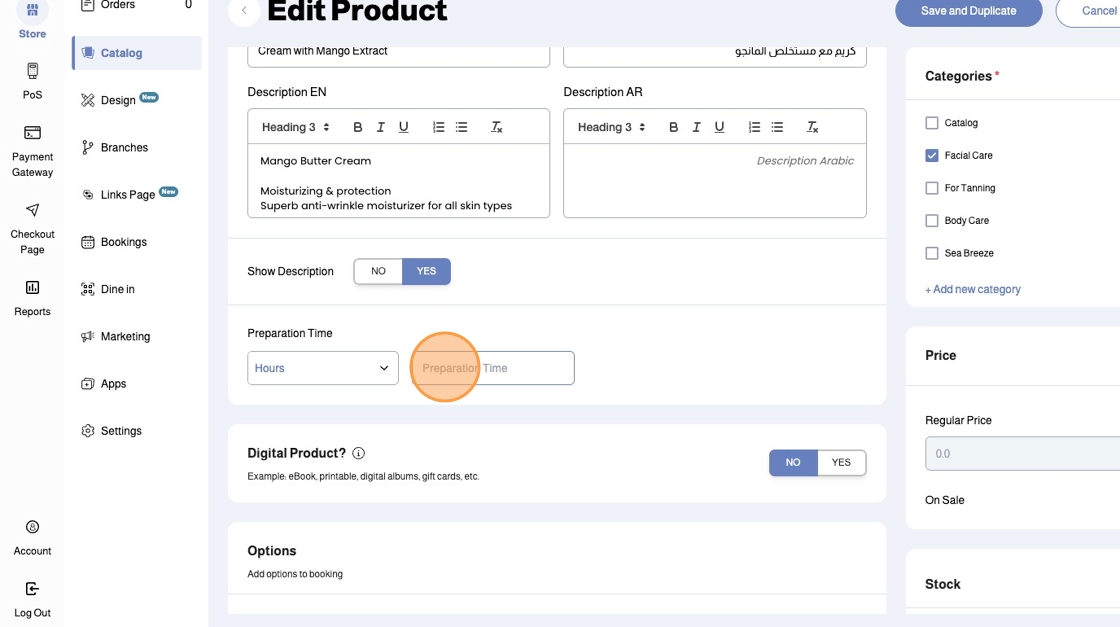
6. Select the Time Unit
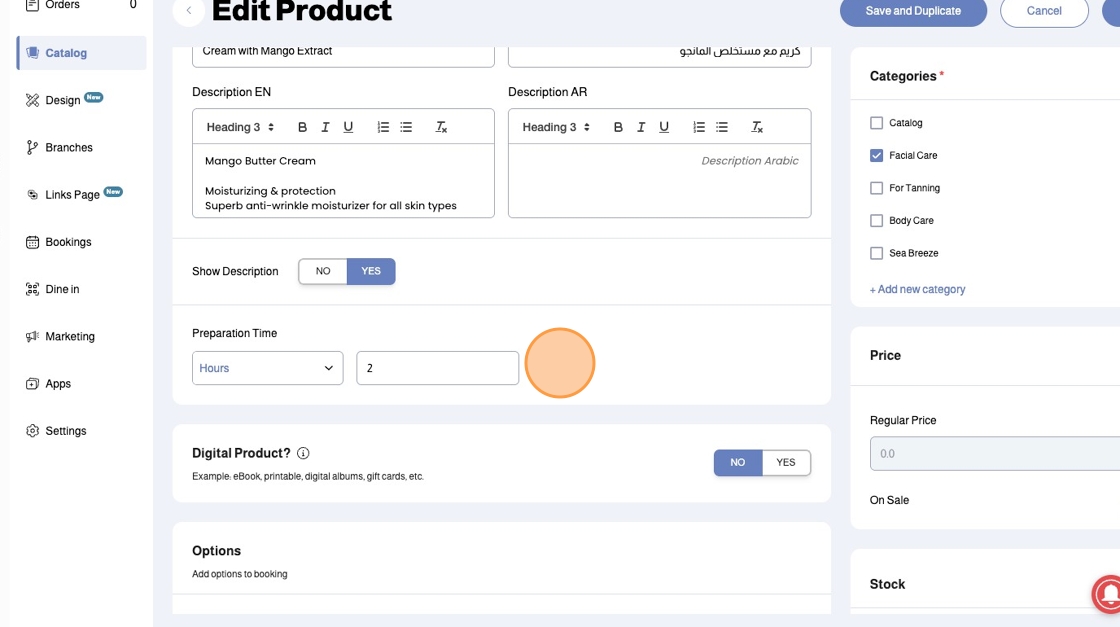
7. Enter the Preparation Time
8. In this example, we have entered 2 Hours (120 Minutes)
9. Let's check the current Estimated Delivery Time in our store:
10. Our Estimated Delivery time is 60 Minutes
11. If a product with NO Product Preparation Time is added to cart, the Estimated Delivery Time will be displayed

12. If a product with Product Preparation Time that is larger than the Estimated Delivery Time is added to cart (For example: Product Preparation time 120 Minutes > Estimated Delivery Time 60 Minutes) then the larger number will be displayed
13. The Deliver Now will show (Within 120 minutes) because this is the Product Preparation Time which is larger than the Estimated Delivery Time
Was this article helpful?
That’s Great!
Thank you for your feedback
Sorry! We couldn't be helpful
Thank you for your feedback
Feedback sent
We appreciate your effort and will try to fix the article