This guide provides step-by-step instructions on how to add a new product to UStore.
TABLE OF CONTENTS
- Images and Video
- Name and Description
- Preparation Time
- Digital Product
- Product Options
- Product Variants
- Pre-Order
- Inventory and Shipping Information
- Categories
- Price and Stock
1. Click My Store

2. Click Catalog

3. Click Products

4. Click Add Product

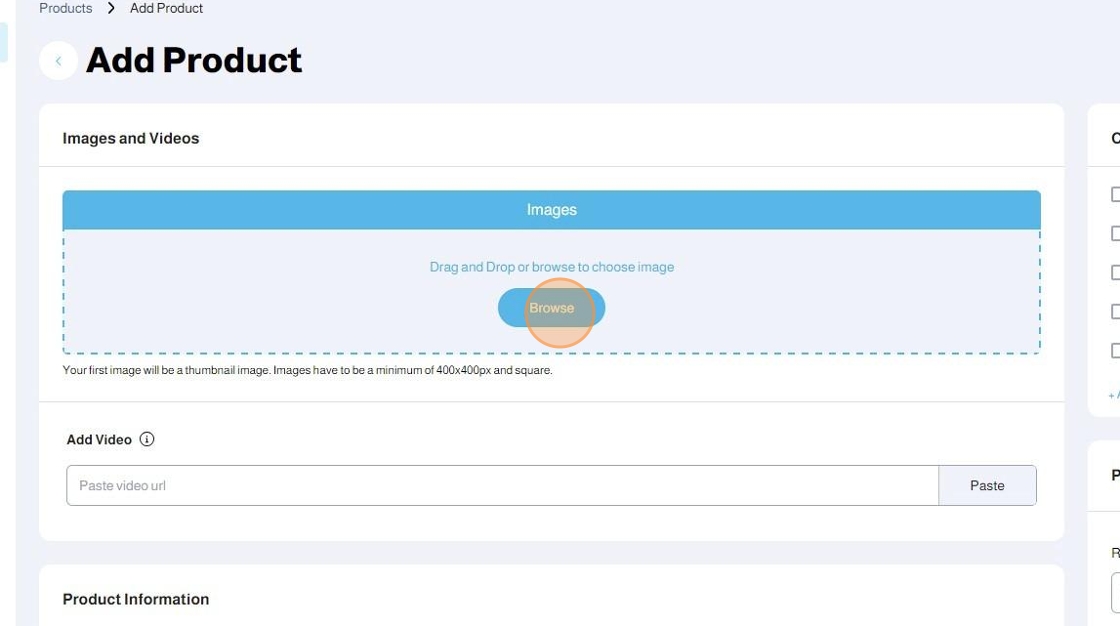
Images and Video
1. Start by uploading your product images
Click Browse to upload the images
Tip: Uploading your product images:
- The first image will be used for the product Thumbnail
- Your images must be square (1:1)
- Minimum size of 400x400 pixels
- Recommended size of 600x600 pixels (500 KB to 1MB per image)
- Supported image formats: .jpeg - .jpg - .png - .jfif - .pjp - .pjpeg
- We highly recommend that you use product images with a clean white background
2. Insert your product video link in the Add Video field

Tip: Inserting your product video:
- Supported Video Links: Youtube
- You can paste the direct youtube video link in the Add Video Field
Example: www.youtube.com/watch?v=XYZABC - We highly recommend using your own produced or uploaded youtube videos to ensure authenticity and ensure continuity of the video
3 Your video will appear in the last position of your product image gallery

Name and Description
1. Insert your Product Name EN in English

2. Insert your Product Name AR in Arabic

Tip: We highly recommend keeping your product names simple and descriptive to represent your product's nature
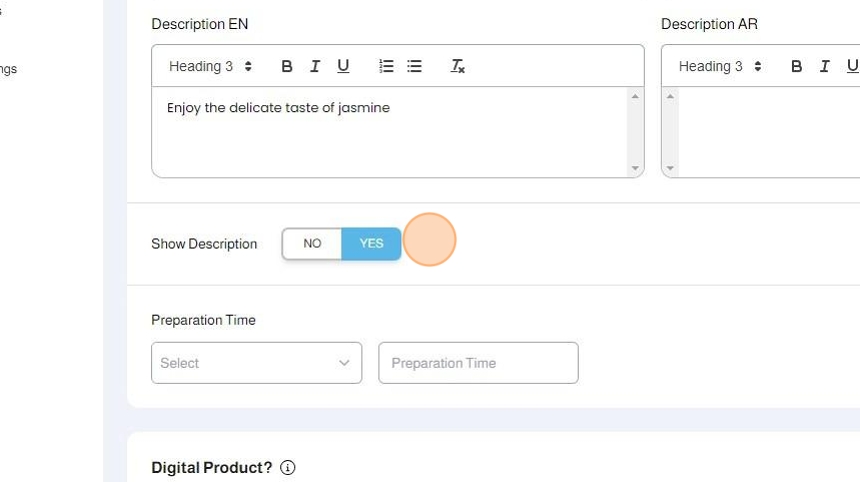
3. Insert your Product Description EN in English

4. Insert your Product Description AR in Arabic

Tip: We highly recommend keeping your product descriptions clear and comprehensive to represent your product's nature
5. Toggle Show Description to show or hide your product description
Preparation Time
Note: Click Here to Read more about Product Preparation Time and its impact on the Delivery Time
1. Under Store > Settings
Toggle the Product Preparation Time

2. Add your product Preparation Time

3. In the Time Unit dropdown, choose the unit to be: Minutes, Hours, Days or Weeks

4. Input the Preparation Time in numbers only

5. Your Product Preparation Time will appear on your store's home page catalogue underneath each product where it is inserted

6. Your Product Preparation Time will also appear on your product details page underneath the product description

Tip: We highly recommend adding your Preparation Time in order to communicate the expected wait time to your customers. This helps you maintain transparency and helps your customer make an informed decision about purchasing your products
Digital Product
1. Toggle the Digital Product if you are selling digital products

2. If you enable the Digital Product toggle, you can insert the Digital Product Download URL.
This URL will be available to your clients who successfully complete a purchase.

Alert: If you are selling digital products, you must make the Email checkout field to become Mandatory.
Read more about configuring checkout fields in the dedicated tutorial
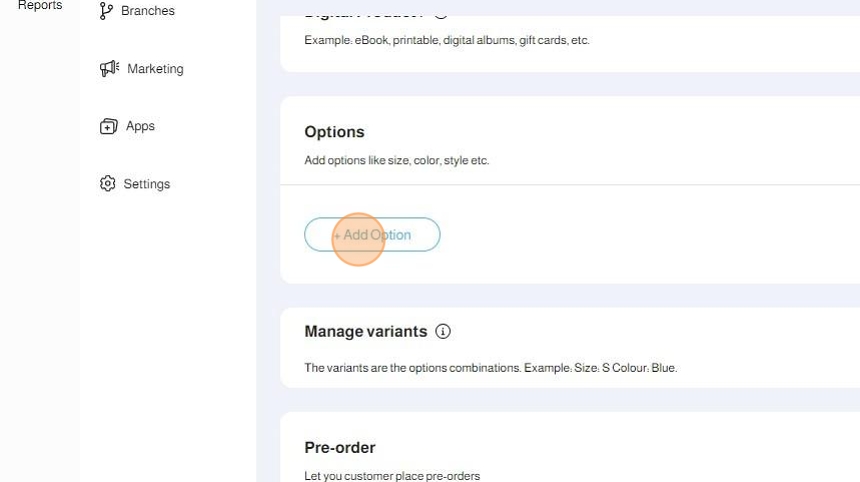
Product Options
1. Product Options:
Add options to your products where you require your client's input or choice regarding one or more aspects related to your product. Example: Color, size, material and more.

Tip: Product Options are a prerequisite to create Product Variants or Variations
2. Add a new Product Option by clicking +Add Option
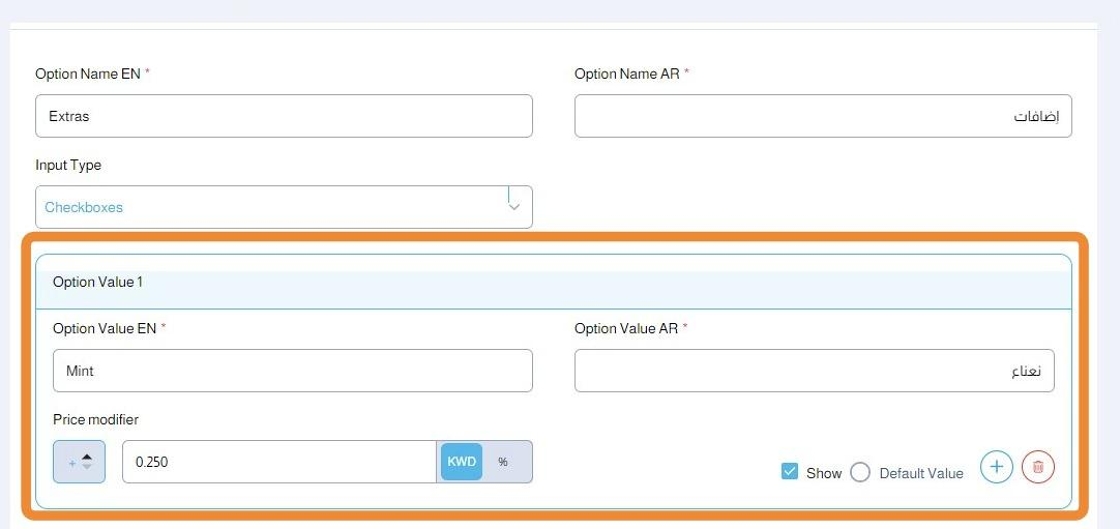
3. Insert the Option Name EN in English

4. Insert the Option Name AR in Arabic

5. Choose the Input Type from the dropdown

6. Based on your option's nature, you can choose the appropriate Input Type

Tip: Input Types have different presentations and behaviors for your customer interactions:
- Checkboxes
- Drop-down List
- Radio Buttons
- Date Picker
- Text Field
In this tutorial, we will cover the Checkboxes Type.
7. Learn more about the other types by clicking the link to our In-Depth Options Tutorial covering all types
8. Checkboxes
- Suitable for multiple simultaneous choices
- Allows product price modification based on the choice
- Allows choosing the minimum and maximum number of choices based on quantity or the number of selected options
For each Option Value, you have to input:
- Option Value EN: The value's English name
- Option Value AR: The value's Arabic name
- Price Modifier (Optional): Modify the product price by a fixed amount or a percentage when this checkbox is chosen
- Show toggle: Show or hide this option value
- Default Value: Select this if you want this option value to be chosen by default
- Add more Option Values by clicking the + Button
- Delete this Option Value by clicking the Delete Button
9. Continue adding more Option Values to your products

10. Choose the Minimum and Maximum number of choices you want to allow your customer to make from the Value Options

Alert: - If you keep the Minimum number of choices at 1, you are forcing your customer to choose one of the options. You can keep it at 0 to make it an optional choice
- If you keep the Minimum and Maximum number of choices to be 1 for both, you are only allowing your customer to choose 1 checkbox only. You can consider utilizing the Radio Button type instead
11. Choose how to apply the Minimum and Maximum number of choices from the Product Min & Max Checkbox Option

12. Choosing Apply on Quantity will enable quantity pickers for each of the checkboxes where the customer can add extra quantities from each of the checkboxes. In this case, the Minimum and Maximum rules will be applied on the total quantities chosen for all checkboxes

13. Choosing Apply on Number of Selected Checkboxes will make each checkbox a singular choice where your customers can choose any number of checkbox options within the Maximum and Minimum rules you have set

14. Click Done to save your options

15. You can edit the options you have created by clicking the Pen Edit Button or + Add More Options to add more

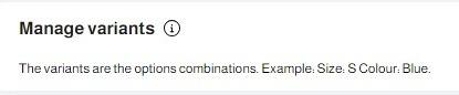
Product Variants
1. Product variants allow you to create variations from your product based on different options like color, size and more. Variants allow you to set different images, prices and quantities for each variation of your product.
2. Product Variants is a complex subject that you can learn more about by following the link to our In-Depth Product Variants Tutorial
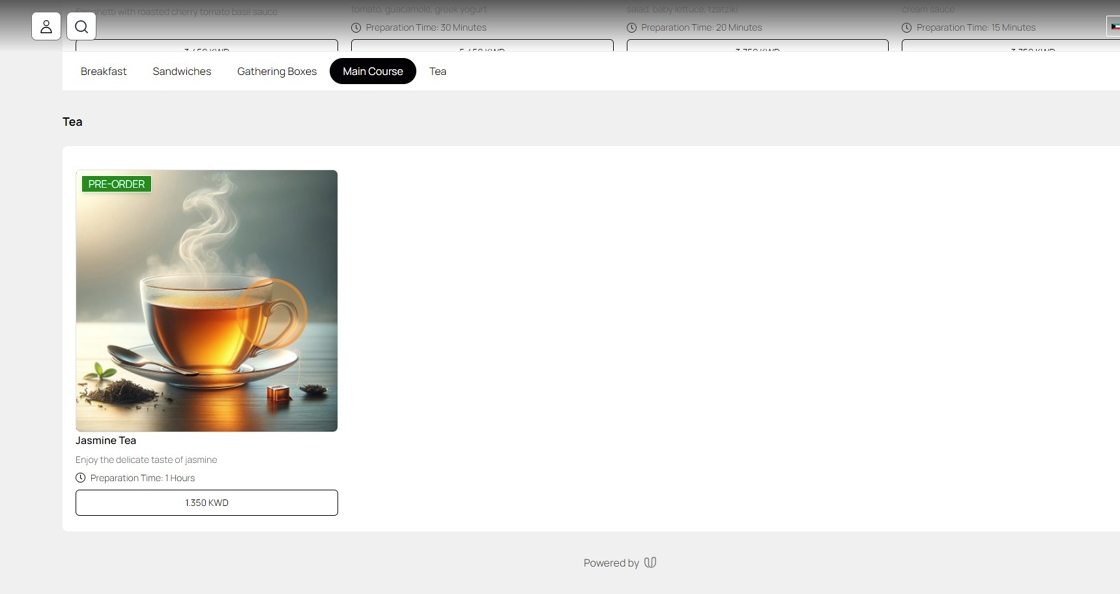
Pre-Order
1. You can toggle the Pre-Order option to allow your customers to purchase your product before it is available to be delivered to them on a specific date

2. Choose the Date of Availability for your Pre-Order product

Inventory and Shipping Information
1. You can add your products Inventory and Shipping Information

Alert: To utilize Shipping and Delivery Integrations, you have to input the required Inventory and Shipping Information for your products. You can learn more about the integrations in our In-Depth Inventory and Shipping tutorial
2. In the Inventory and shipping information, input the following:
- Country of Origin
- SKU
- Length Unit
- Dimensions
- Weight and Weight Unit

Categories
Choose your products Categories from the list of available categories or click +Add new category to insert a new one

Price and Stock
1. Input your product's Regular Price by typing the number in the field

Tip: If you are utilizing Product Variants, your regular price will be set to 0 as each variant might have a different pricing
2. You can enable a discounted price by using the On Sale toggle

3. Input the Discount Amount (in the toggle, KWD indicates a fixed amount discount). The Sale Price will be automatically calculated

4. Input the Discount Amount (in the toggle, % indicates a percentage amount discount). The Sale Price will be automatically calculated

5. Input the Available Quantity in the field
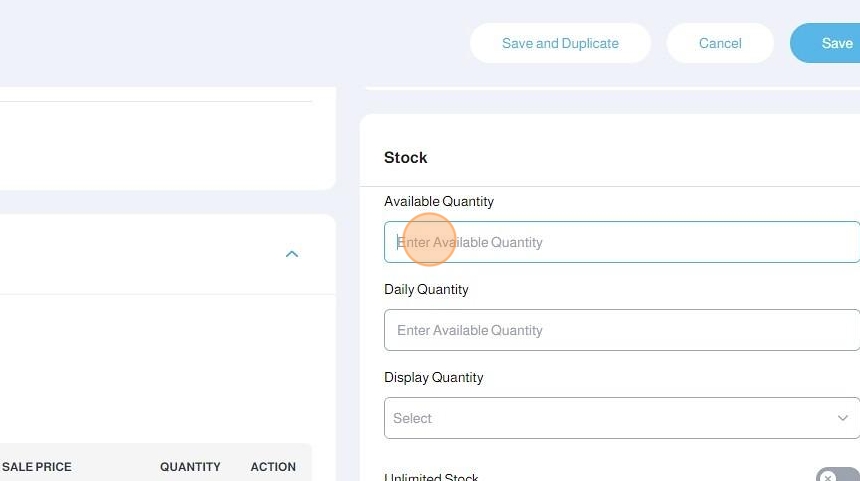
6. Input the Daily Quantity in the field

Tip: When you input a Daily Quantity, the system will reset the quantity to this number at the beginning of each new day.
You can utilize this feature if you have a limited number of products you can sell and dispatch every day
7. Choose the Display Quantity mode from the dropdown

8. Under the Display Quantity dropdown, you have the options:
- Display Available Quantity to Customers
- Display Available Quantity to Customers when it Reaches 10
- Do Not Display Available Quantity

9. Toggle the Unlimited Stock to bypass quantity availability and keep the product always available regardless of the sold quantity

10. Choose the Availability option to set your product to be:
- Available: Set your product to follow the stock and availability logic as per your setup
- Out of Stock: Set your product to be Out of Stock regardless of the stock and availability logic you have setup
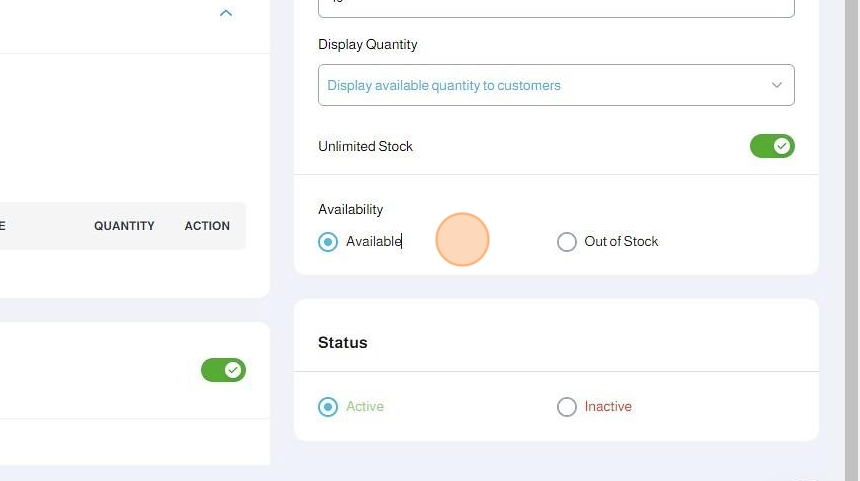
11. Choose the Status option to set your product to be:
- Active: Your product will be shown on your store catalog
- Inactive: Your product will be hidden on your store catalog

12. Click Save to save and publish your product

13. Your product will be available on your store with the setup and options you have completed

Was this article helpful?
That’s Great!
Thank you for your feedback
Sorry! We couldn't be helpful
Thank you for your feedback
Feedback sent
We appreciate your effort and will try to fix the article