Add options to your products where you require your client's input or choice regarding one or more aspects related to your product. Example: Color, size, material and more.
TABLE OF CONTENTS
1. Product Options:
Add options to your products where you require your client's input or choice regarding one or more aspects related to your product. Example: Color, size, material and more.
Tip: Product Options are a prerequisite to create Product Variants or Variations
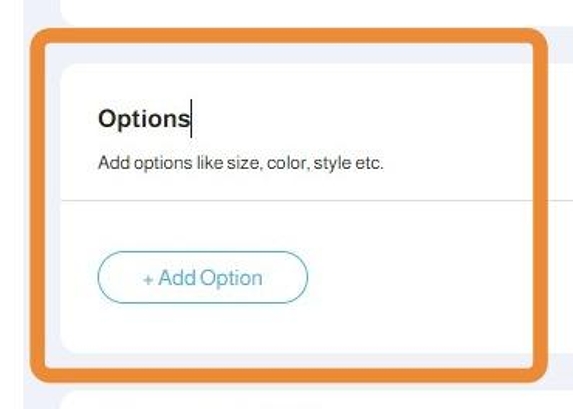
2. Add a new Product Option by clicking +Add Option

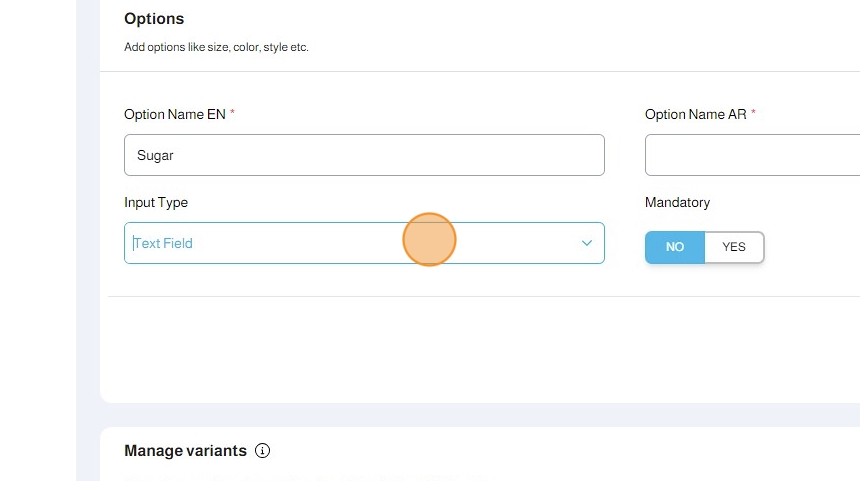
3. Insert the Option Name EN in English

4. Insert the Option Name AR in Arabic

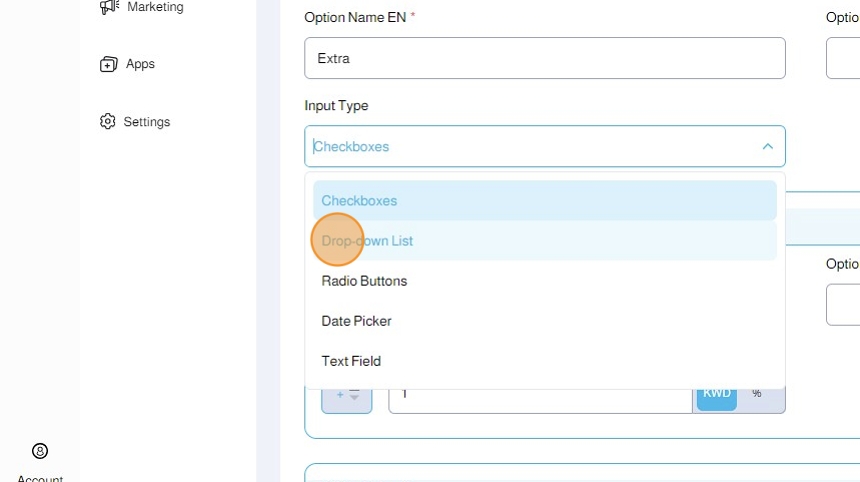
5. Choose the Input Type from the dropdown
6. Based on your option's nature, you can choose the appropriate Input Type

Tip: Input Types have different presentations and behaviors for your customer interactions:
- Checkboxes
- Drop-down List
- Radio Buttons
- Date Picker
- Text Field
Checkboxes
7. Checkboxes
- Suitable for multiple simultaneous choices
- Allows product price modification based on the choice
- Allows choosing the minimum and maximum number of choices based on quantity or the number of selected options
For each Option Value, you have to input:
- Option Value EN: The value's English name
- Option Value AR: The value's Arabic name
- Price Modifier (Optional): Modify the product price by a fixed amount or a percentage when this checkbox is chosen
- Show toggle: Show or hide this option value
- Default Value: Select this if you want this option value to be chosen by default
- Add more Option Values by clicking the + Button
- Delete this Option Value by clicking the Delete Button

8. Continue adding more Option Values to your products

9. Choose the Minimum and Maximum number of choices you want to allow your customer to make from the Value Options

Alert: - If you keep the Minimum number of choices at 1, you are forcing your customer to choose one of the options. You can keep it at 0 to make it an optional choice
- If you keep the Minimum and Maximum number of choices to be 1 for both, you are only allowing your customer to choose 1 checkbox only. You can consider utilizing the Radio Button type instead
10. Choose how to apply the Minimum and Maximum number of choices from the Product Min & Max Checkbox Option

11. Choosing Apply on Quantity will enable quantity pickers for each of the checkboxes where the customer can add extra quantities from each of the checkboxes. In this case, the Minimum and Maximum rules will be applied on the total quantities chosen for all checkboxes

12. Choosing Apply on Number of Selected Checkboxes will make each checkbox a singular choice where your customers can choose any number of checkbox options within the Maximum and Minimum rules you have set

13. Click Done to save your options

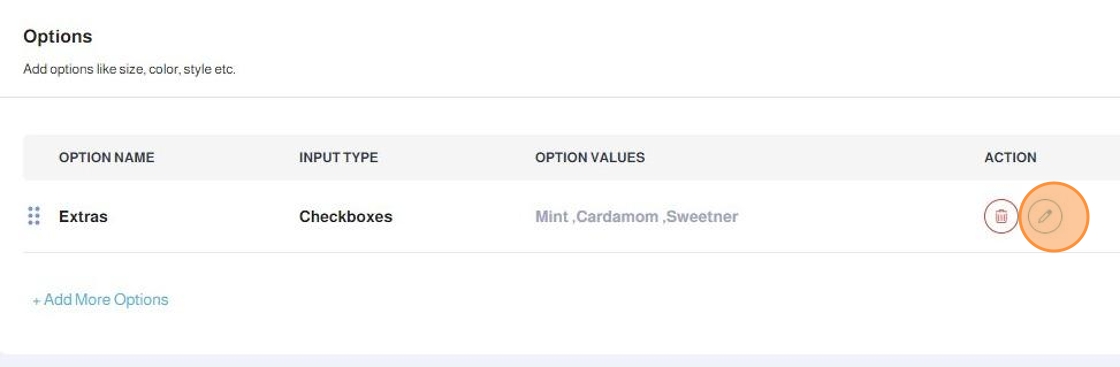
14. You can edit the options you have created by clicking the Pen Edit Button or + Add More Options to add more
Drop-down List
15. Drop-down List
- Suitable for a single option selection
- Keeps the list hidden under a dropdown
- Does not allow product price modification based on the choice
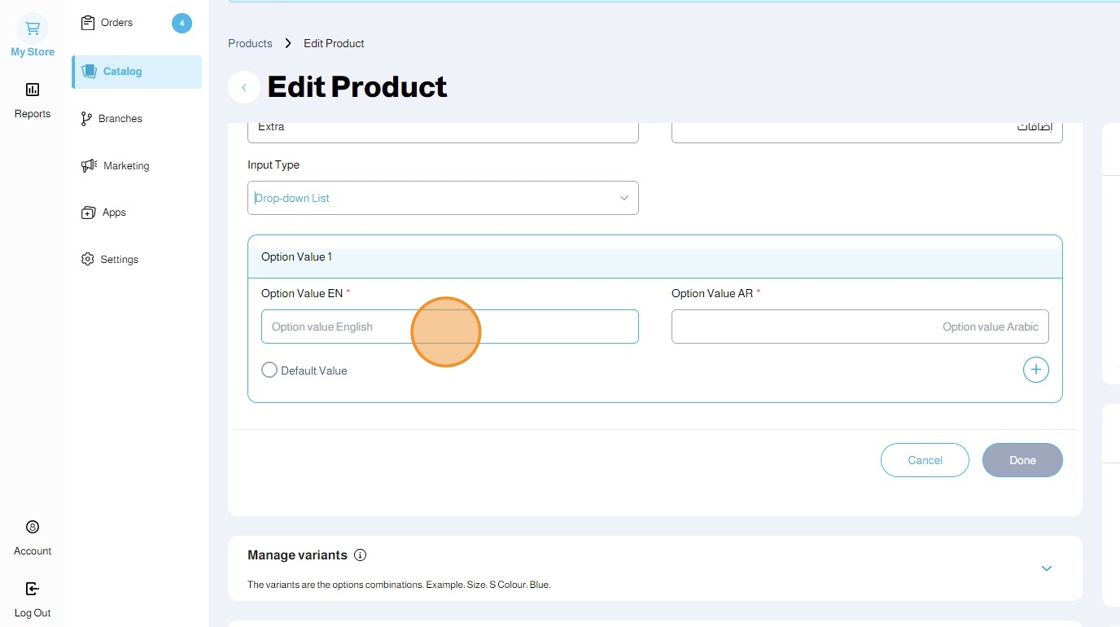
16. For each Option Value, you have to input:
- Option Value EN: The value's English name
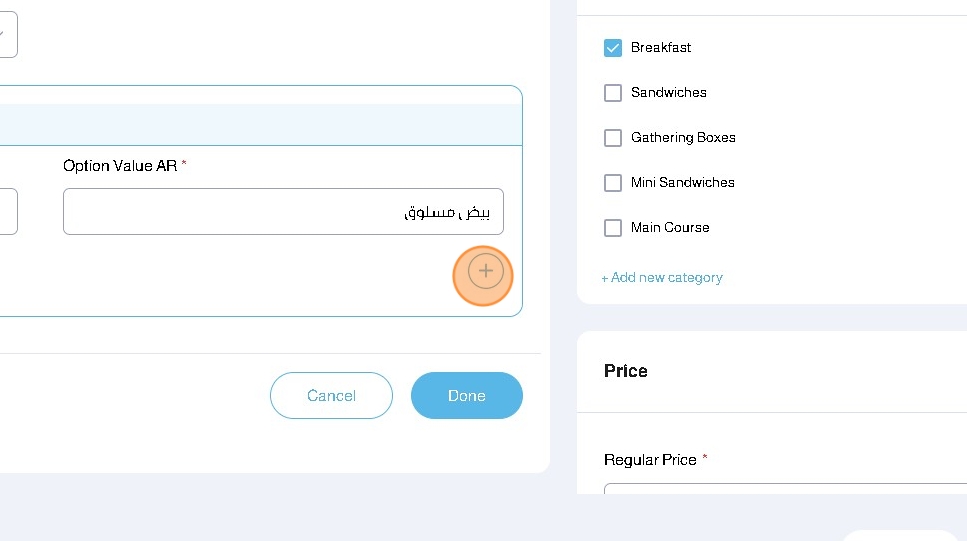
- Option Value AR: The value's Arabic name
- Default Value: Select this if you want this option value to be chosen by default
- Add more Option Values by clicking the + Button
- Delete this Option Value by clicking the Delete Button
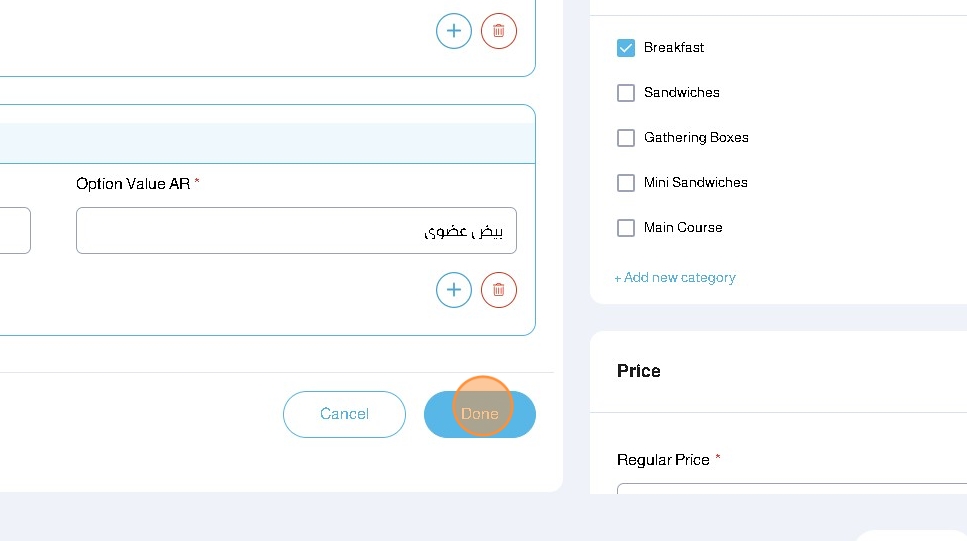
17. Add more Option Values by clicking the + Button

18. Click Done to save your options

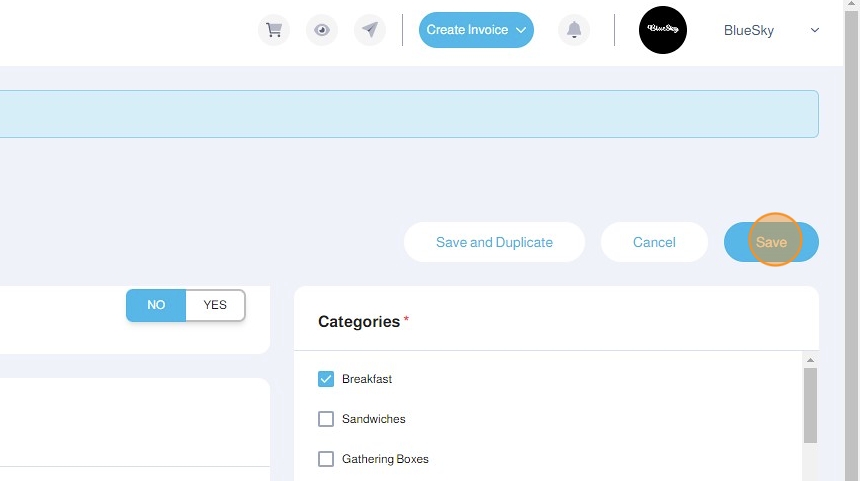
19. Click Save to save your product configuration
20. Your product will have a Drop-down list of options

21. Your customer will be able to choose a single option from the Drop-down list

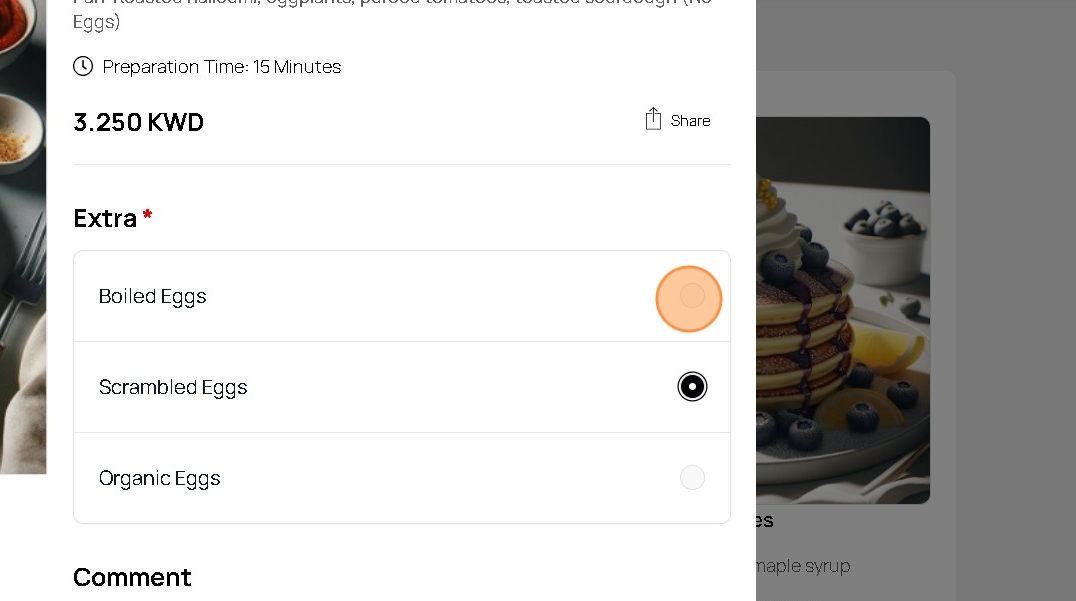
Radio Buttons
22. Radio Buttons
- Suitable for a single option selection
- Shows the list of options
- Does not allow product price modification based on the choice

23. For each Option Value, you have to input:
- Option Value EN: The value's English name
- Option Value AR: The value's Arabic name
- Default Value: Select this if you want this option value to be chosen by default
- Add more Option Values by clicking the + Button
- Delete this Option Value by clicking the Delete Button

24. Add more Option Values by clicking the + Button
25. Click Done to save your options
26. Click Save to save your product configuration

27. Your customer will be able to choose a single option from the Radio Buttons list
Date Picker
28. Date Picker
Suitable for date-oriented products
Shows a date picker
Does not allow product price modification based on the choice
For each Option Value, you have to input:
Option Value EN: The value's English name
Option Value AR: The value's Arabic name

29. Click Done to save your options

30. Click Save to save your product configuration

31. Your customer will be able to choose a date option from the Date Picker


Text Field
33. Text Field
- Suitable to provide customers with a text field where they can type their special requests
- Does not allow product price modification based on the entry
For each Option Value, you have to input:
Option Value EN: The value's English name
Option Value AR: The value's Arabic name

34. Toggle if the Text Field is Mandatory

35. Click Done to save your options

36. Click Save to save your product configuration

37. Your customers will be able to type their comments in the Text Field

Was this article helpful?
That’s Great!
Thank you for your feedback
Sorry! We couldn't be helpful
Thank you for your feedback
Feedback sent
We appreciate your effort and will try to fix the article